Adding a Colour Swatch
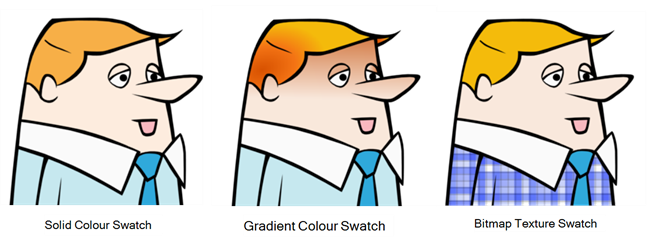
You can use several different types of colour swatches, including solid colour, gradient colour and bitmap texture swatches.
A colour palette is an actual file on the hard drive. These palette files can be stored in a different location on the server. They can be stored in the Environment, Job, Scene, or Element folder and linked to any palette list. This means that if the original palette file is modified, it will update in every drawing element the palette is linked to.
To avoid accidentally modifying the palette, the palette files can be locked. If a palette must be modified, you must get the rights to modify them before doing so.
In Toon Boom Harmony, when you click the Add Colour ![]() button, a new colour swatch is created using the colour of the currently selected swatch from your palette. However, you can set a default colour to be used every time you create a new colour in your colour palette. This is useful for creating different shades of the same basic colour.
button, a new colour swatch is created using the colour of the currently selected swatch from your palette. However, you can set a default colour to be used every time you create a new colour in your colour palette. This is useful for creating different shades of the same basic colour.
The default colour is also the colour used when you choose to vectorize images you're scanning into your scene, however you add the Default colour swatch to your palette in a different way, so it's unique. It has a unique ID number that makes it easily recognizable from all the other colours in your colour palettes. Being able to change this colour allows you to change the basic colour of all scanned drawings. This can be useful on more than just an aesthetic level as sometimes when you go to NTSC or PAL, pure colours, such as pure black, can create problems.
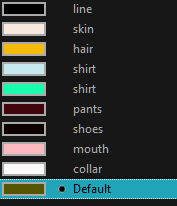
| ‣ | In the Colour view, click the Edit Palette Mode |
A grey pencil icon appears in the top-right corner of the Palette list.
- In the Colour view, click the Add Colour
 button.
- From the Colour View menu, select Colours > Edit or double-click on the colour swatch.
The Colour Picker window opens.
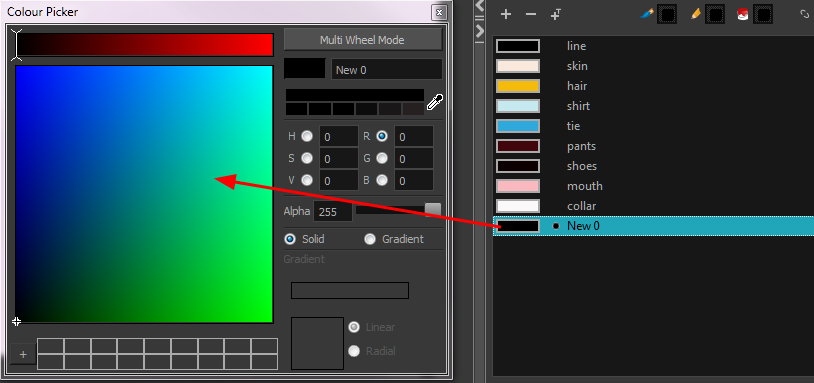
- To set your colour, do one of the following:
| ‣ | In the colour wheel, select a colour. |
| ‣ | Enter the HSV or RGB values in the corresponding fields. Select the R,G,B,H,S or V options to change the look of the colour picking area. |

| ‣ | Click the Dropper  button to select any colour on your screen. It can be from the Harmony interface, your operating system or any other open application. button to select any colour on your screen. It can be from the Harmony interface, your operating system or any other open application. |
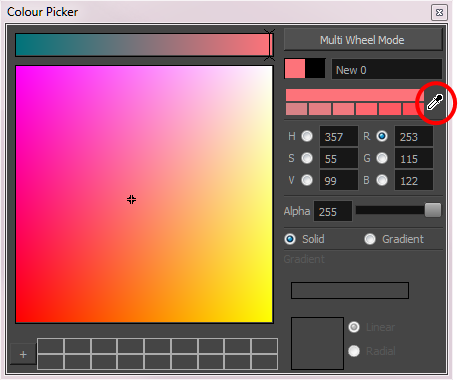
You can also click Multi Wheel Mode to open the Multiwheel Colour window. This displays all the picking area styles together and also contains a picking undo list. To return to the regular Colour Picker window, click Single Wheel Mode.
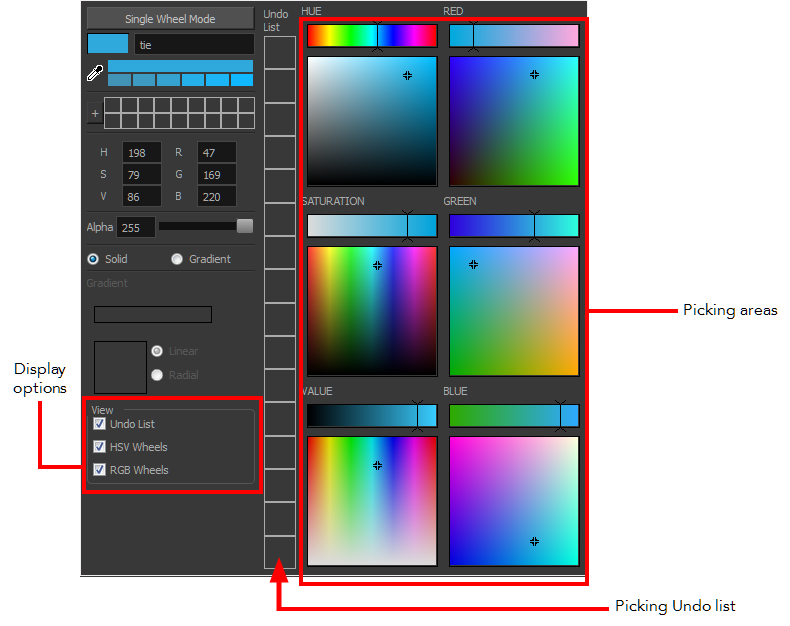
- Click on the Shade Scale swatches to modify the shade of the selected colour.

- Adjust the transparency with the Alpha slider or type the value directly in the Alpha field.

- Click the Add button to add the current selected colour to the Colour Storage Library, so you can quickly access it later.

- Rename the colour swatch in the Colour Picker window or directly in the colour list by double-clicking on its name.

- From the top menu, select Edit > Preferences (Windows/Linux) or Stage > Preferences (Mac OS X).
- In the Preferences dialog box, select the Drawing tab.
- In the New Colour Pots section, select the Create New Colour Pots Using the Default Colour option. You can also click on the colour swatch beside the option to change the default colour.
| ‣ | From the Colour View menu, select Colours > New. |
A new swatch is added to your palette using the default colour swatch colour. The new swatch created with the New command will be named New 0.
- In the Colour view, select a colour to modify .
- Do one of the following:
| ‣ | Click the new colour and from the Colour View menu, select Colours > New. |
| ‣ | Double-click on the colour swatch. |
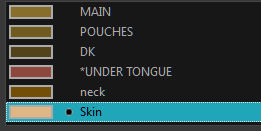
The Colour Picker window opens.
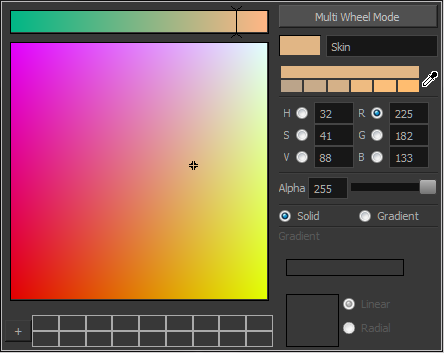
- Select the Gradient option.
- Select the Linear or Radial option.
- Adjust the Gradient arrows to modify the colours.
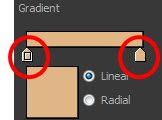
| ‣ | Add extra colours by clicking between the arrows below the gradient bar. Then click on the Colour Preview to select a colour. |
| ‣ | Pull down the arrows to remove them. |

| ‣ | Move the arrows left and right to modify the gradient distance. |

- From the Colour menu, select Colours > New Texture or click the New Texture
 button.
The Browser window opens.
- Browse for a PSD or TGA bitmap file created with a third party software and click Open.
The texture is added to the colour list.
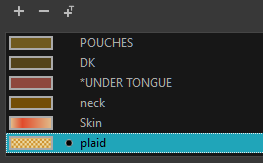
To learn how to reposition the textured zones in your drawings, see Editing Gradients and Textures .
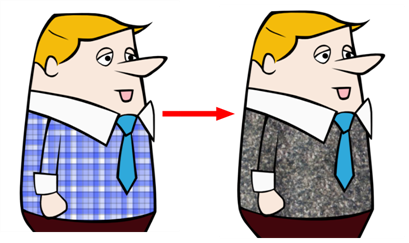
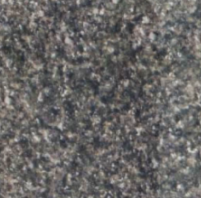
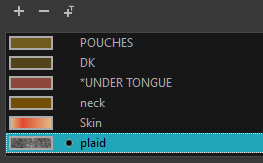
You can also replace a texture once it is painted. If you decide to make the character’s shirt wool instead of plaid, just update the texture file in the swatch and the entire project updates. Any transformation previously applied to the texture’s position in your drawings will be kept.
- In the Colour view, select the texture swatch that contains the bitmap texture you want to replace.

- From the Colour View menu, select Colours > Edit Texture or double-click on the swatch.
The Browser window opens.
- Browse for the new PSD or TGA bitmap file created in a third party software.
- Click Open to update the colour swatch.
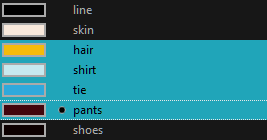
- In the Colour view, select the colour swatches to delete.
- Do one of the following:
| ‣ | From the Colour View menu, select Colours > Delete. |
| ‣ | Click the Delete Colour |
| ‣ | Right-click and select Delete. |
| ‣ | Press Delete. |
If the colour swatch is used in a drawing, the Delete Colour dialog box opens.
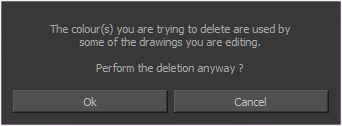
- Click OK to delete the colours or click Cancel to abort the operation.
| ‣ | If you delete colour swatches already in use, the zones painted with them turn red so you can easily identify them. |


