Node Library View
If you need to add new effects and other nodes to the Node view, you will need to get them from the Node Library view.
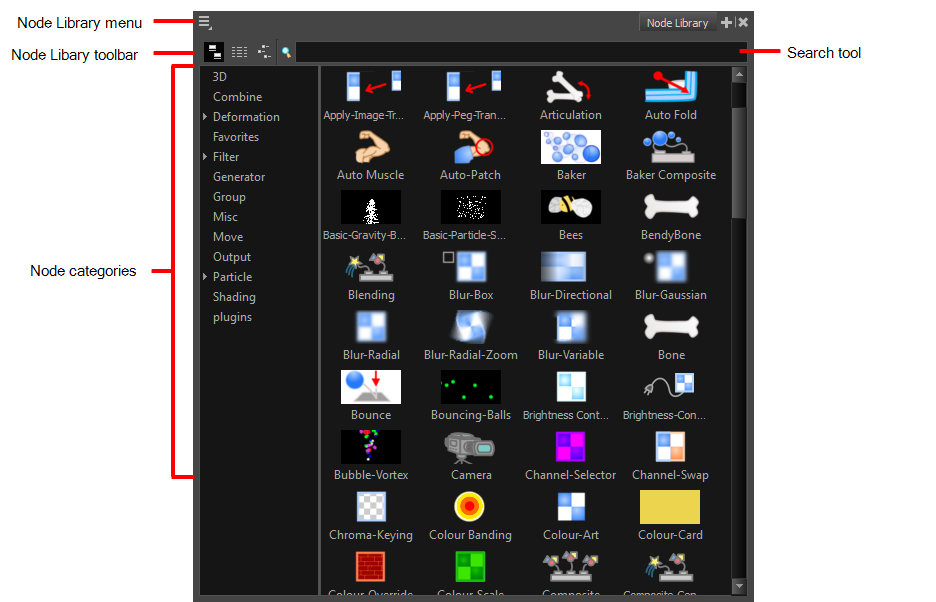
When you create a new project in Harmony, the default node system that appears in the Node view looks similar to the one below.
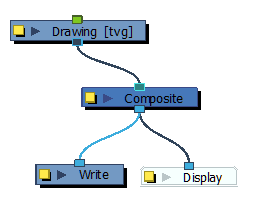
Node Library View Toolbar
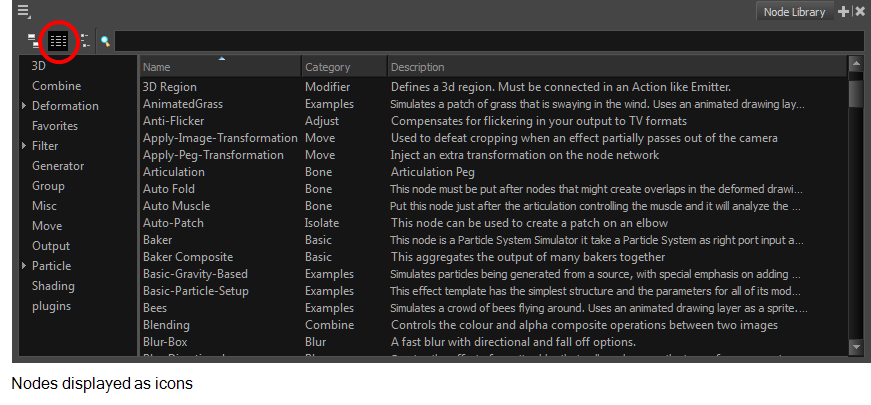
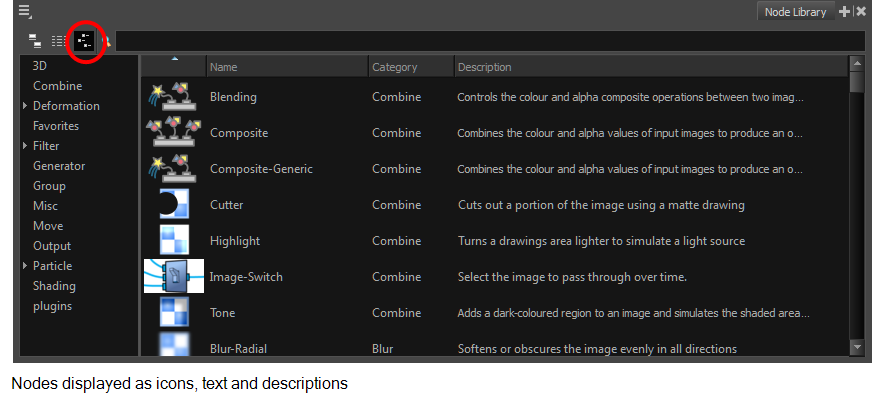
In the Node Library View toolbar, you can change how the nodes are displayed. You can display nodes as icons, as a textual list or as icons with their names and a description.

![]()
Node Categories
The Node Library view is conveniently divided into several categories:
| Category | Description |
| 3D | Nodes related to working with 3D models within Harmony. |
| Combine | Nodes for combining images. |
| Deformation | Nodes needed for building a deformation chain, as well as advanced effects such as Fold and Auto Muscle. The Deformation category is divided into the Bone and Distort categories. |
| Favorites | Nodes most commonly used. To add nodes to the Favorites category, select any node from any other section and drag it onto the Favorites category. |
| Filter | Effect nodes, such as blurs. This category is subdivided into the following categories: Adjust, Blur, Colour Correct, Isolate and Stylize. |
| Generator | Nodes that create an image, such as a gradient or colour. |
| Group | Nodes for grouping, like Group nodes and Multi-Port-In nodes. |
| Misc | Various nodes including External, Note, Script and Visibility. |
| Move | Nodes for changing elements over time, like Peg nodes, as well as certain transformations. |
| Output | Output (Export) nodes such as Crop, Display, Scale-Output and Write nodes. |
| Particle | Nodes needed to construct complex particle systems. This category includes a series of examples of particle effects and is subdivided into the following categories: Basic, Examples and Modifier. |
| Plugins | Plugin nodes. |
| Shading | Nodes for light shading. |
- If a category is selected and you want to see all the nodes available in the library, in the Node Library view, place your cursor in the Node Search field.

The Node Library view displays all the nodes.
Adding, Removing and Renaming Categories
Customizing the categories is a great way to organize the nodes according to how you like to work and the nodes you use most often. You can easily add categories and subcategories, remove categories you don't use, and rename categories.
- Do one of the following:
| ‣ | To create a new main category, click in the Node Search field. |

| ‣ | To create a subcategory, select a category. |
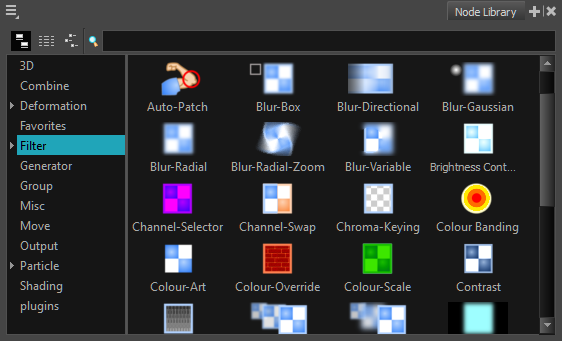
- Do one of the following:
| ‣ | From the Node Library menu, select New Category. |
| ‣ | Right-click in the category area and select New Category. |
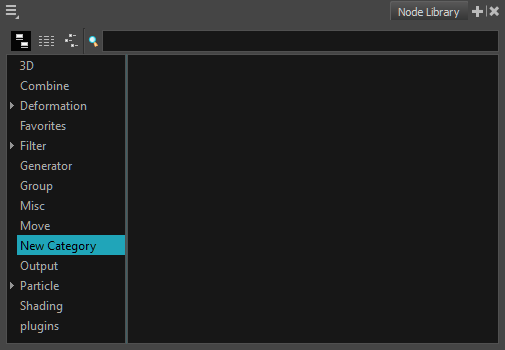
The New Category window displays.

- In the New Category window, type in the name of a new category and click OK.
The new category appears in the Category list. Now you can add nodes to your new category—see Adding and Removing Nodes.
- From the Category list, select a category to remove.
- Do one of the following:
| ‣ | From the Node Library menu, select Remove Category. |
| ‣ | Right-click in the category area and select Remove Category. |
The Confirm Remove Category window displays.

- Click Yes.
- From the Category list, select a category to rename.
- Do one of the following:
| ‣ | From the Node Library menu, select Rename Category. |
| ‣ | Right-click in the category area and select Rename Category. |
The Confirm Rename Category window displays.

- Type in a new name for the category and click OK.
Adding and Removing Nodes
Once you've created a category, you can add nodes to it for easy access. Later on, you can go back and remove any nodes you no longer use. You can only add and remove nodes from a category you created.
When you add a node to a new category, it is essentially a copy of the node. The node in its default location remains there. You cannot delete nodes from their default categories or move them.
- Select a node from any category and drag it to a category you created.
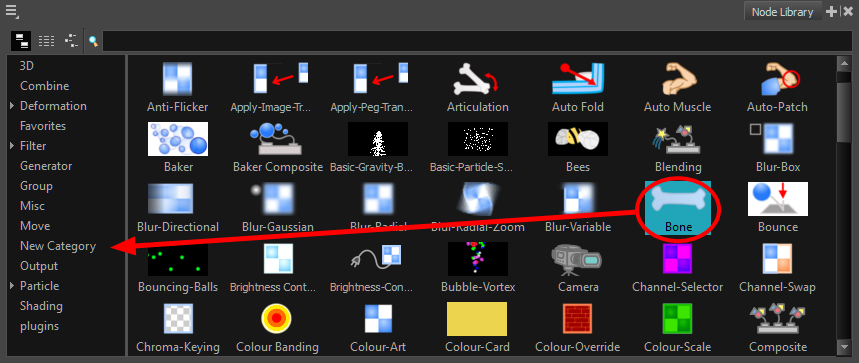
A copy of the selected node is added to your new category.
- Select a node from a category you created.
- Do one of the following:
| ‣ | From the Node Library menu, select Remove Node. |
| ‣ | Right-click in the category area and select Remove Node. |
| ‣ | Press Delete. |
The node is removed from the category.
Searching for Nodes, Categories and Descriptions
Sometimes it's faster to type in the name of a node instead of looking through all the categories. You can also search for category names or descriptions as well. Once you type in the name of a node, description or category in the Node Search tool, it is displayed in the library. Sometimes the result of a node search is in one or more categories for convenience.
- In the Node Library, place your cursor in the Node Search field.

The Node Library view displays all the nodes.
- Type in the name of a node, category or description.
Depending on how you are viewing the nodes, the Node Library view displays the node, categories and/or description you typed in.

- To return to displaying all the nodes, place your cursor in the Node Search field again and delete the node name in the Search field.


