


Working with Groups
With so many connections and nodes possible, the Timeline
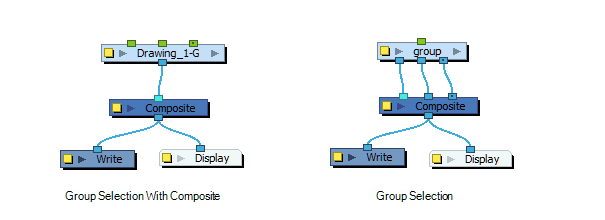
You can create a simple group or a group with a Composite node. There are several advantages to using the Group Selection With Composite command over the simple Group Selection (which references both the Group layer in the Timeline view and the Group node in the Node view.
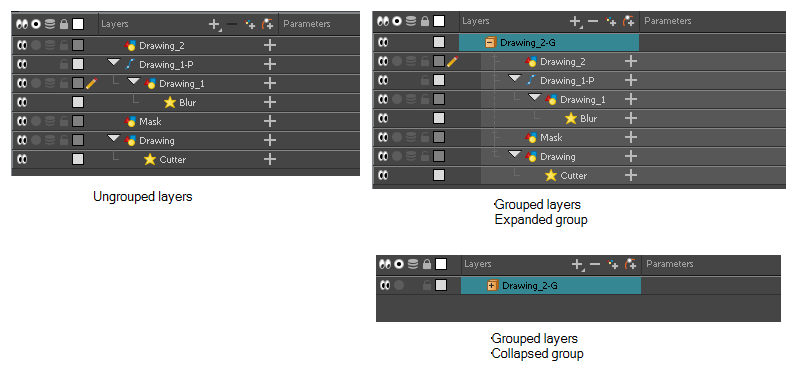
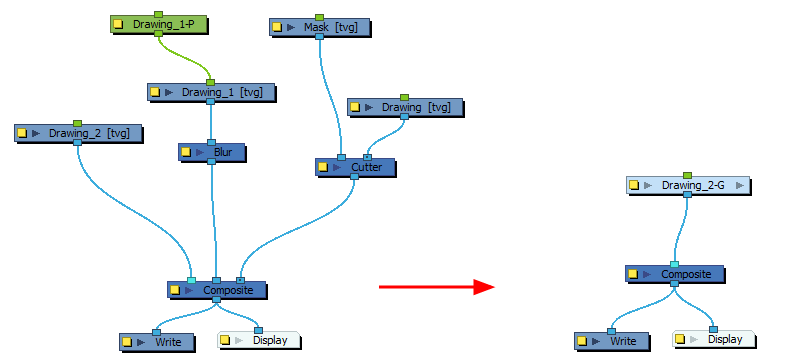
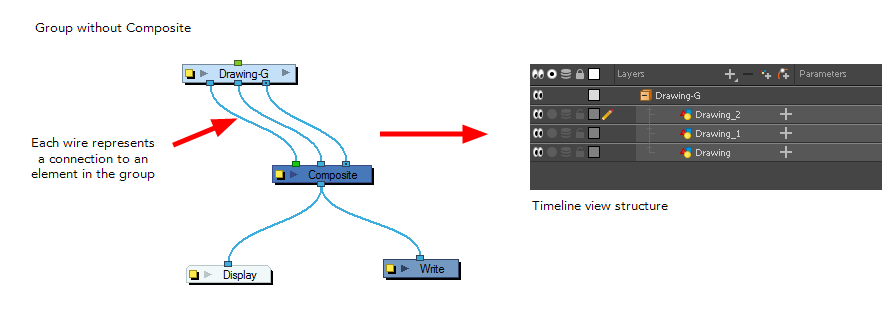
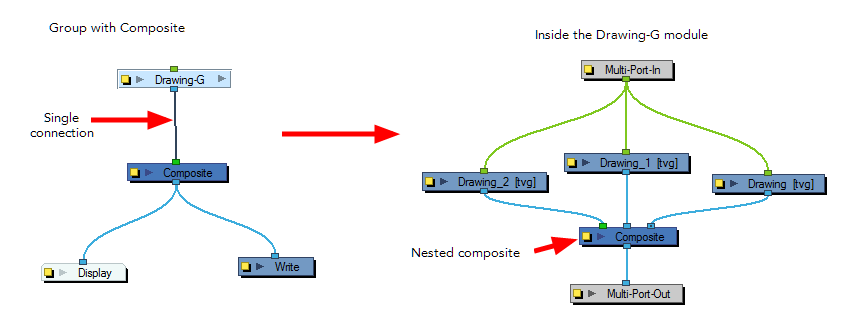
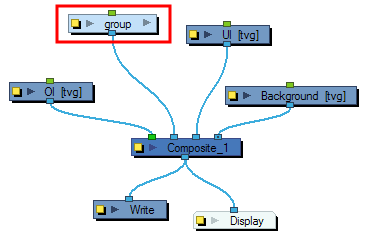
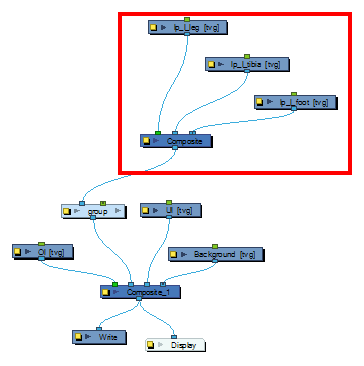
One of the advantages of using this command is that it groups all the selected elements into a neat node that has a nested composite. This means there is only one connection coming out of the Group node. With the simple Group node or command, the Group displays the same number of connections as elements in the group. Both grouping commands display the same structure in the Timeline view.
The Group Selection With Composite command should only be used before any work has been done in the Node view and is recommended for objects whose stacking order is of no consequence.
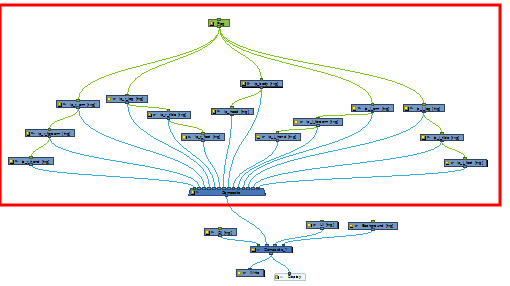
Using the Group Selection from Composite command on elements that have effects, have been tweaked in the Node view, or whose stacking order is of consequence, may cause the grouped elements to lose their properties once grouped in this way. In addition, though you may only select a few nodes to group, if there are other layers in the Timeline view that exist between the selected layers, they will automatically be grouped, even if not selected.
Once you create a group node, it is easy to enter into or exit from it.
Using the Move to Parent Group command allows you to move the selected node to the parent level, maintaining all connections. If the operation cannot maintain the connections between the nodes, you will be notified and the operation will be terminated.
To quickly access parameters for nodes that are grouped, you can use the Publish Attribute Mode feature to select your most common parameters to modify and make them appear in the group Layer Properties editor. This way, you can access them directly without having to enter the group every time.
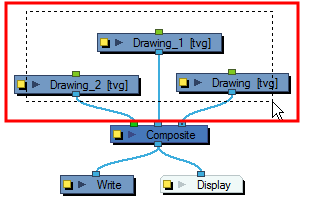
- In the Node view, drag a selection around the nodes you want to group.

- In the Node menu, do one of the following:
| ‣ | Select Edit > Group > Group Selected Layers. |
| ‣ | Press Ctrl + G (Windows/Linux) or ⌘ + G (Mac OS X). |
The selected nodes are grouped.
To ensure that you have a Multi-Port Out node in your group and that your group remains connected, include a Composite node in your selection and make sure it is connected to the main Composite node of the scene before grouping.
- In the Node view, select the elements you want to group.
- Right-click in the Node view and select one of the following:
| ‣ | Group > Group Selection With Composite or press Ctrl +Shift + G (Windows/Linux) or ⌘ + Shift + G (Mac OS X). |
| ‣ | Group > Group Selection or press Ctrl + G (Windows/Linux) or ⌘ + G (Mac OS X). |
The selected nodes are grouped.
- In the Timeline view, select the elements you want to group.
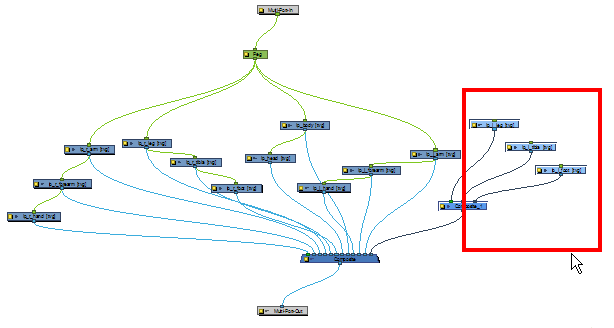
Any layers between the selected layers will be automatically grouped as well, so if the stacking order does not matter, move extra layers above or below the layers want to group.
- Do one of the followings:
| ‣ | Right-click on the highlighted layers and select Group Selection With Composite. |
| ‣ | Right-click on the highlighted layers and select Group Selection. |
| ‣ | From the top menu, select Edit > Group > Group Selected Layers. |
The layers appear indented under a new Group layer in the Timeline view
- In the Node view, select the group you want to ungroup.
- In the Node menu, select Edit > Group > Ungroup.
The selected group is ungrouped.
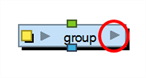
- In the Node view, click the arrow on the right side of the group node you want to enter.
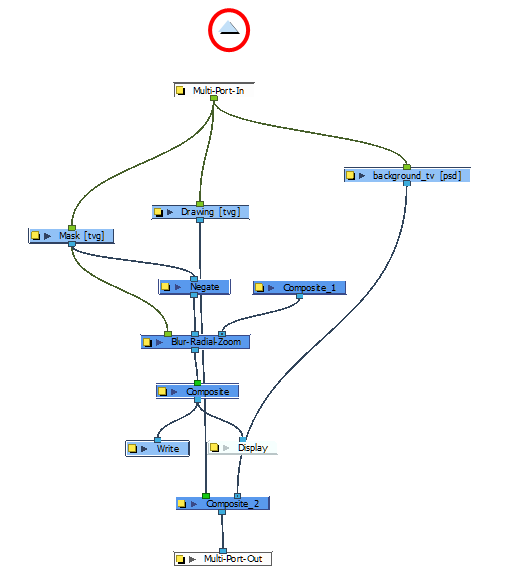
| ‣ | Inside the group node, the Multi-Port In and Multi-Port Out nodes ensure that your connections continue beyond the group. |

- In the Node view, click the destination in the Group Hierarchy menu. You can also select Nodes > Exit Group from the Node menu.
| ‣ | You can click on the top blue arrow in the Node view to exit the current group. |
| ‣ | When you enter a group, the Group Hierarchy menu displays the path to where you are. In this example, we are inside the group named Deform_Bob. To exit this group, click Top at the bottom-left corner of the Node view. |
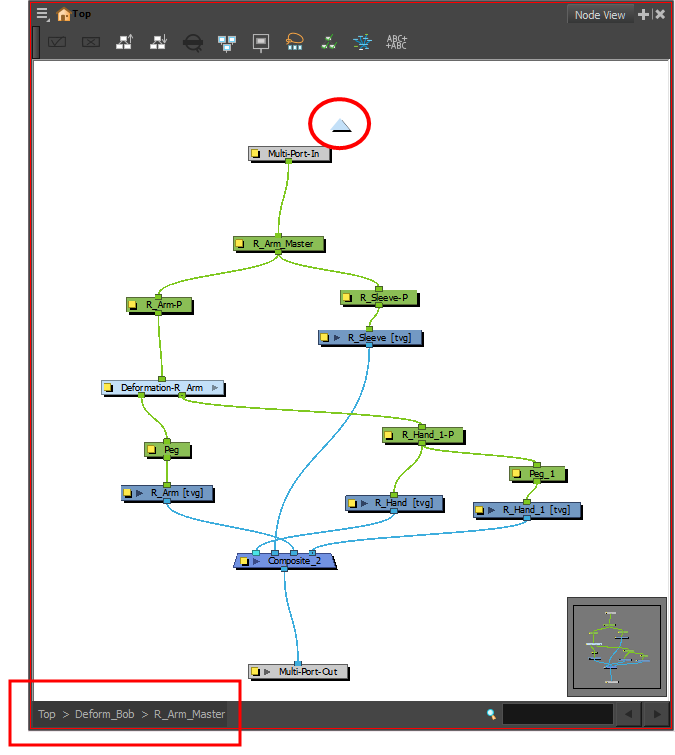
| ‣ | Click the arrow at the top of the Node view. |
- In the Node view, go inside the group and select the nodes you want to move up to the parent group level.
- From the Node menu, select Nodes > Move to Parent Group or press Ctrl + Shift + U (Windows/Linux) or ⌘ + Shift + U (Mac OS X).
The selected nodes are moved to the parent group level.
- From the Node menu, select View > Publish Attribute Mode.
- In the Node view, enter the group containing the nodes you want to promote.
- Select the node whose attributes you want to publish.
- In the Layer Properties view, enable or disable the publishing options for the different parameters. You can easily distinguish them as they are labeled in red.

- Repeat the previous step for all the nodes that contain attributes you want to publish.
- In the Node view, exit the group.
- Select the Group node.
In the Layer Properties view, you can see all published attributes. The different nodes are tabbed for easy access and organization.
