


Creating a Vectorization Style
With Harmony, you can create custom vectorization parameters that can be saved, reused, shared, or used to set the Scan module vectorization style list.
You can vectorize drawings using one of the following methods:
| • | Black and White: All the lines become vector based and 100% black. The white areas become completely transparent. |
| • | Greyscale: All the lines preserve their initial textured look in grey shades as a bitmap image contained inside a vector frame. The white areas become completely transparent. |
| • | Four Colours: With the advanced parameters, you can isolate the red, green, blue, and black lines and turn them into 100% vector lines, preserving their original colours—see Custom Vectorization Parameters . |
- Set the different options available in the Vectorization Parameters dialog box.
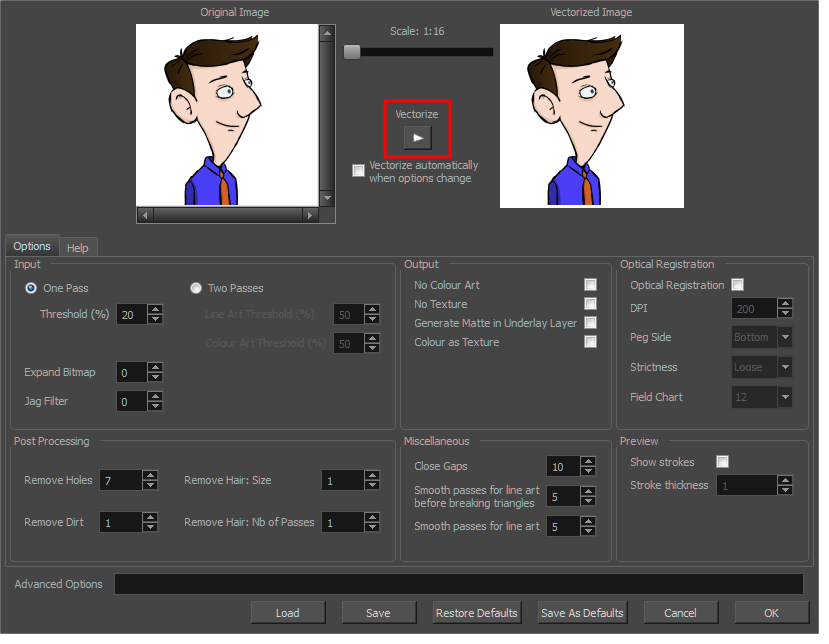
- Click the Vectorize button to update the Vectorized Image preview.
The vectorized image is just a preview. The actual vectorization happens when you click OK in the Import Images dialog box. There are many options to try in the Vectorization Parameters dialog box. These are applied during the vectorization process.
- To set advanced parameters, read the information on the Help tab, then type in the Advanced Options field at the bottom of the dialog box.
- To save your vectorization parameters to reuse them later, share them, or use them to set the Scan module vectorization style list, click Save.
- In the Browser window, name and save the file.

- To save the current settings as your default settings, click Save As Default. To restore the default settings, click Restore Defaults.
- To load a vectorization style, click Load and locate the existing
*.voffile.
- Click OK.