Adding an Empty Sound Layer
When performing sound editing tasks, it can be useful to chop up a sound sample into different layers. For example, when performing a lip-sync, only a single view of the various mouth positions for a character can exist on one layer. Therefore, if you want to have a character turn its head from a profile view to a three-quarter view and have mouth position changes to fit with the sound sample from these two different views, you would need to cut up the sound samples needed for the profile view mouth positions on one layer and the sound samples needed for the three-quarter view on another.
For this task, you will need an empty sound layer.
- In the Timeline Layer toolbar, click the Add Layer button.
- From the drop-down menu, select Sound.
An empty (silent) sound layer appears in both the Timeline and Xsheet views.

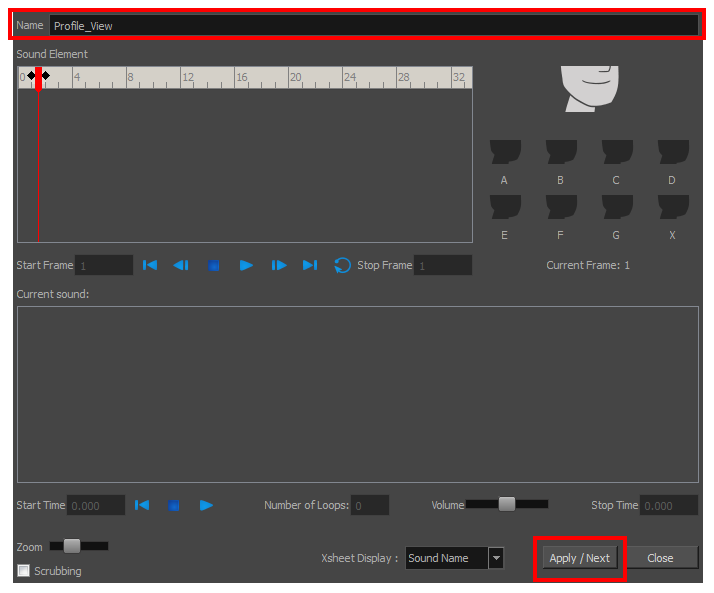
- Rename the layers accordingly by double-clicking on the layer name and renaming it in the Sound Element editor. Click Apply/Next to accept the change.

| 1. | In the sound file you want to grab sounf frames from, click the cell where you want to start the cut and Shift + click on the final cell of the cut. The sample to be cut becomes highlighted. |

| 2. | Drag the selection into the empty sound layer below. |

- You can now continue to cut-up and distribute the sound sample between the two layers or carry on to the lip-synching process for each layer and its corresponding facial view.


