


Chapter 9: How to Paint
Toon Boom Harmony has some very powerful colouring features when it comes to painting. To paint your drawings, you will use different colour swatches, unlike some other painting programs where you modify the main swatch each time you want to paint with a different colour.
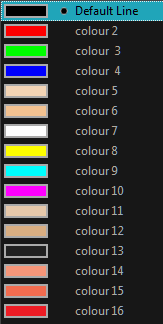
In the Colour view, you choose a different colour swatch for each colour you want to paint in your drawing. You can add as many swatches as you want. You can also rename them and modify existing ones.
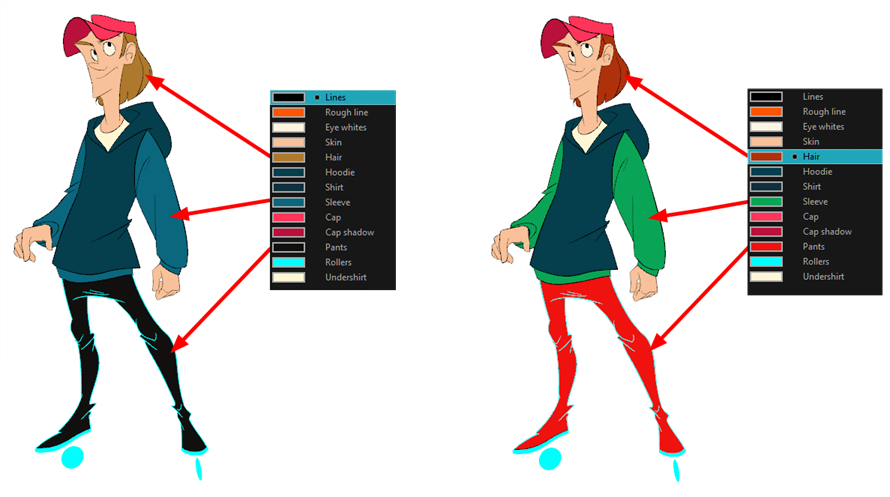
When you modify the colour of an existing swatch, it automatically updates all the zones painted with this swatch throughout the entire project. The colour swatch has a unique ID number that associates it with the painted zones. This way, you can change the look of your character at any time without having to repaint it!
In animation, specific colours are used to paint each particular character. In order to maintain absolute consistency, a colour palette is created for each character, prop and effect throughout the production. This is referred to as a master palette.
Master palettes contain a colour swatch for each zone to colour with a precise RGBA colour value.
Using a master colour palette has many benefits, including:
| • | Each character consistently retains their dedicated colours. |
| • | You cannot accidentally use a colour which is not in the master palette. |
| • | Standardization and colour consistency throughout the production |
| • | Multiple artists can use the same colour palette and produce the same results. |
Toon Boom Harmony uses palettes to hold all the colours needed to paint your elements, allowing complete control and consistency in your painting process.
A palette is created by assigning a set of colours to each character, prop or effect. You will create a new palette and add a new colour, known as a colour swatch, for each zone of the character, such as the skin, hair, tongue, shirt, pants, and so on.
- In the Timeline view, select the drawing you want to paint.
- In the Tools toolbar, select the Paint
 tool or press Alt + I.
- In the Colour view, select a palette.
- Select a colour from the palette.
| ‣ | If you are working with vector layers, double-click on a colour swatch to open the Colour Picker window and modify the colour. |

- In the Drawing or Camera view, start painting the colours on your drawing.

Closing Gaps
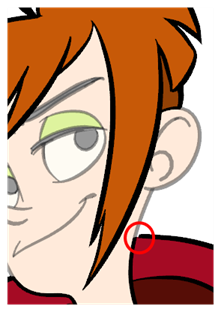
When painting, notice that some of your drawing areas are not closed. To close the zone, you can draw the missing line with the Brush or Pencil tool or close the gap with an invisible line. To do so, you will use the Close Gap tool.
The Close Gap tool lets you close small gaps in a drawing. The Paint tool only paints closed areas. The Close Gap tool creates small, invisible strokes between the two closest points to close the colour zone. You do not need to trace directly over the gap. You can draw it a few millimetres away and the Close Gap tool will automatically choose the two closest points and close the gap.
- Do one of the following:
| ‣ | In the Tools toolbar, select the Close Gap |
| ‣ | From the top menu, select Drawing > Drawing Tools > Close Gap. |
| ‣ | Press Alt + C. |
- In the Tool Properties view, select the Auto-Flatten
 button if you want the stroke you draw to be flattened in your drawing instead being on top.
- You can display invisible lines by selecting View > Show > Show Strokes or pressK. If you do not display the strokes, a message box will appear.

Select the Don’t Show This Message Again option to prevent this message box from appearing again.
- In the Camera view, trace an invisible line near to the gap to be closed.
The gap automatically closes.
