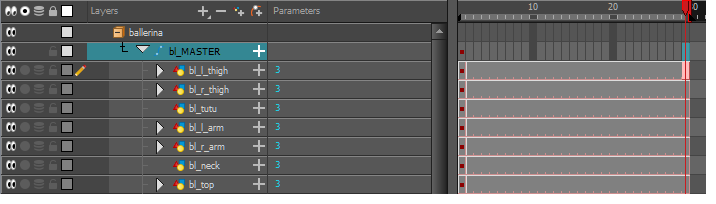
Getting the Character
The first step in animating your character is to import a master template from the library.
- Create a new Harmony project.
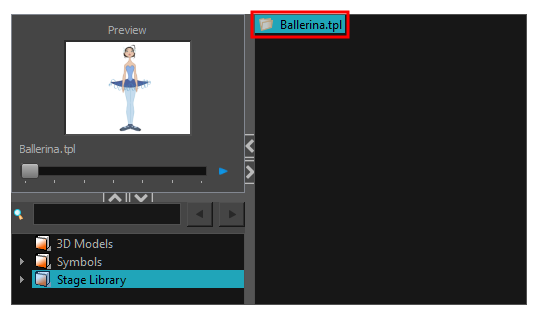
- In the Library view, select a character master template to animate.
- Drag the selected template to the Camera or Timeline view’s left side.
- In the Timeline view, drag the red scene length bracket to extend or shorten the scene length.
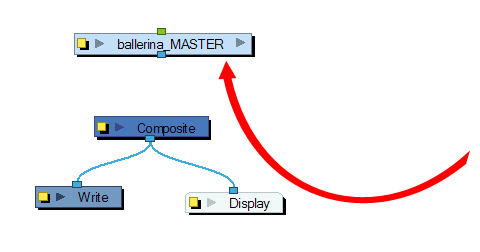
- Create a new Harmony project.
- In the Library view, select the character's master template you want to animate.
- Drag the selected template in the Node view.
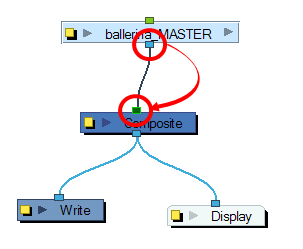
- In the Node view, connect the template's group node to the Composite node by clicking its out-port and dragging the connection to the Composite node until an in-port appears.
- In the Timeline view, extend or shorten the scene length by dragging the scene length bracket.

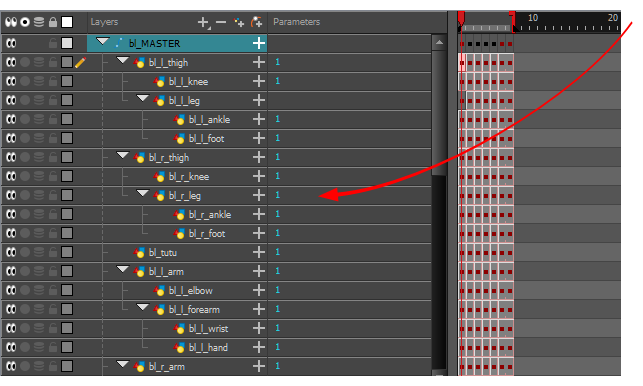
Extending the Exposure
Once you have chosen a pose, all that's left to do is extend the exposure of the character to the end of the scene.
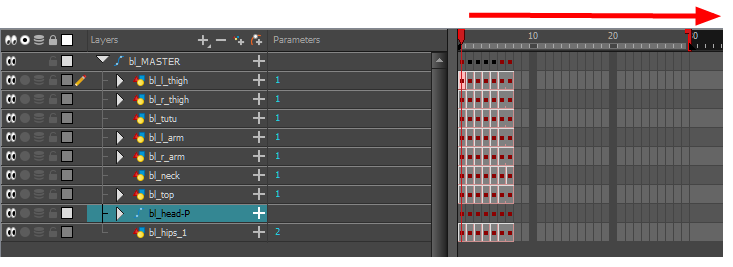
- In the Timeline view, collapse the character.

- In the Timeline view’s right side, select the last cell of the character.

- Right-click and select Extend Exposure or press F5. You can also copy the first pose and paste it in the last cell.
The drawing exposure is extended to the end. You will not see any changes in the Timeline view when the master peg is collapsed.