Converting the Layers into Symbols
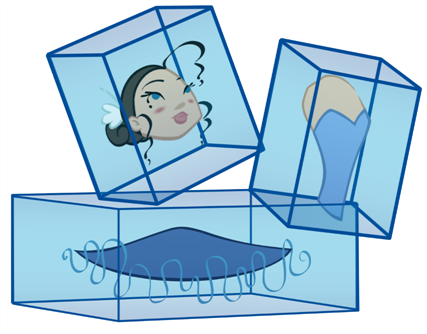
Once the breakdown is completed, you can create symbols out of each drawing. The symbol will encapsulate each drawing of the layer. Later on, even if you only expose the first frame, such as the front head, you will still have access to all of the head drawings you placed in the symbol. This will also allow you to add more drawings, as your characters' master templates will evolve throughout the production of your movie or series.
All your layers should be stored in the library as symbols. Before building your puppet, remove all the current layers in your scene. All of your work is saved in the library.
If you are not sure that you put everything in your library, you can always perform a Save As on your scene and work on a new version.
- Create a symbol by doing one of the following:
| ‣ | From the Timeline view, drag the layer to the Symbols library folder. |
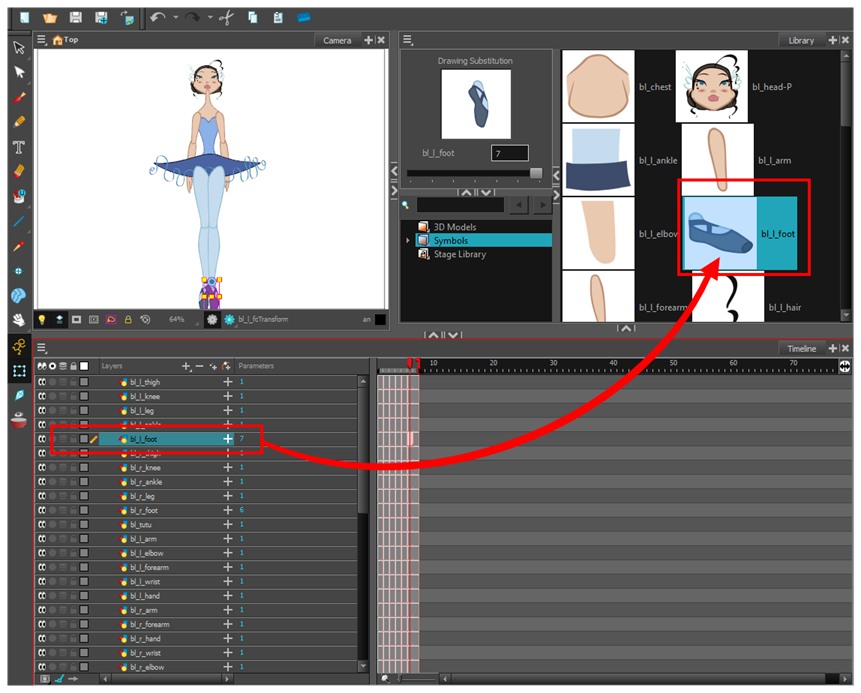
| ‣ | In the Timeline view, select the layer to convert to a symbol. From the top menu, select Edit > Create Symbol or press F8. You can also click on the Create Symbol |
The Create Symbol dialog box opens.

- In the Enter Symbol's Name field, type the new symbol's name. It is recommended that you keep your original layer's name.
- Click OK.
- Repeat this process for each layer in the Timeline view.
NOTE: Make sure all your layers are stored in the symbol library.
| ‣ | From the top menu, select File > Save As. You can also click the Save As |
- In the Timeline view, select all of your layers.
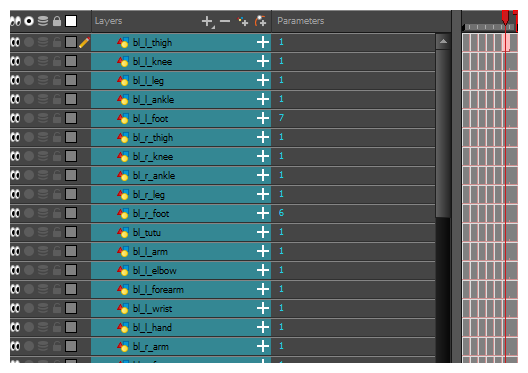
- In the Timeline's Layer toolbar, click the Delete Layers
 button.
- In the Confirm Delete dialog box, click OK.
Your timeline is now ready to receive the body part symbols for the rigging process.
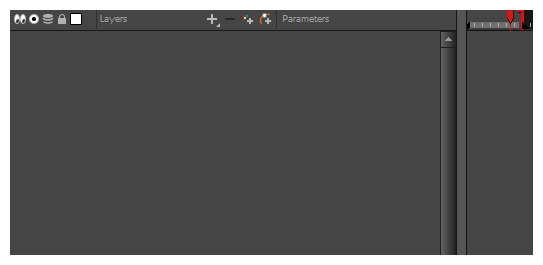
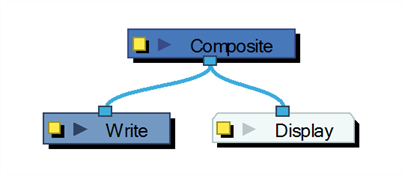
Your Node view should look like this:
