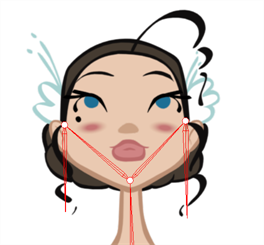
Setting Up the Character to Use IK
The first time you display the character's skeleton, notice a series of bones on the extremities which are out of place. There may also be some elements that you would like to exclude from the IK chain.
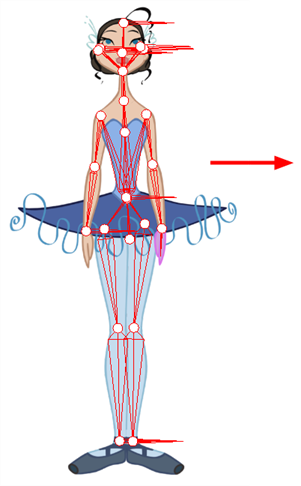
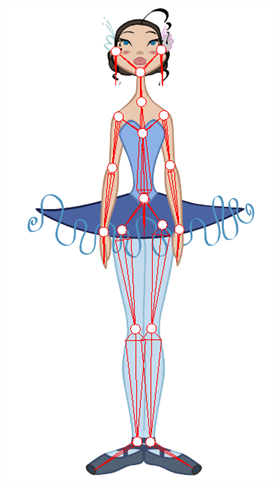
It is highly recommended to set up the skeleton before starting your animation.
Before fixing any bones, or excluding layers from the IK skeleton, make sure all the elements you want to be parented in a chain are set up.
You do not need to have hierarchy chains all over the body. They could exist only on the legs and arms. If the body is not completely rigged in hierarchy, the skeleton will look a bit more messy, but the IK tool will still work properly.
When working with the IK tool, you will probably want to move the main parts around, but not necessarily the small ones such as the nose or ears. To do this, you can select some elements on your character and exclude them from the skeleton.
Once you remove the extra elements from the skeleton, set the bone orientation for the extremity parts. By default, they are oriented horizontally towards the right. This orientation often works for the feet but not necessarily for the hair or hands.
- In the Tools toolbar, select the Inverse Kinematics
 tool or press Shift + I.
- In the Tool Properties view, make sure the IK Manipulation Mode
 is enabled.
 - In the Camera view, Ctrl + click (Windows/Linux) or ⌘ + click (Mac OS X) on the part to exclude from the skeleton.
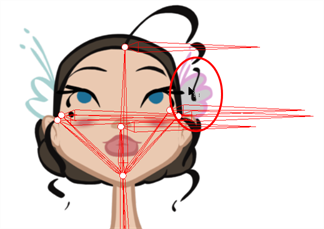
- In the Tool Properties view, click the Exclude from IK
 button.
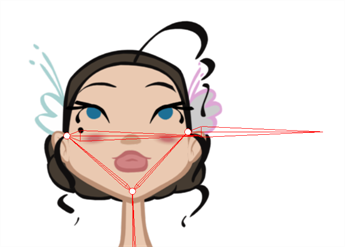
- Repeat the process for every part to be excluded from the skeleton.
- In the Tools toolbar, select the Inverse Kinematics
 tool or press Shift + I.
- In the Tool Properties view, enable the Bone Editing
 mode.
mode. - In the Camera view, click on the pivot belonging to the part whose bone you want to reposition, then pull the pivot in the desired direction.
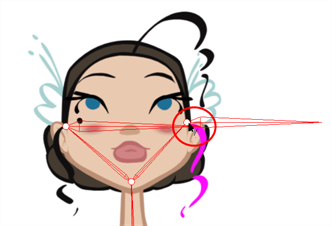
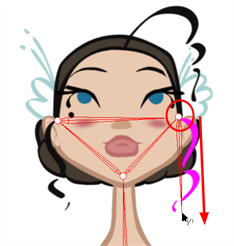
- Repeat this process for each bone you want to position.
