IK Keyframes

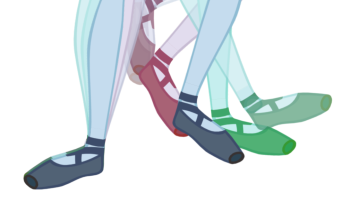
When you animate a walking character and lock the feet down, the locked position will be perfect on the key poses. However, when you use motion keyframes to auto in-between the animation, you'll notice a movement of the feet. This motion is caused by the in-betweening of the rotations.
The nail holds in place the body part on the keyframe, but it will not hold it for the entire duration between keyframes.
If you place a nail on the shoulder to move just the arm, you don't necessarily want to keep the shoulder in the same place until the next key pose. You will probably want the shoulder, or any other part that is nailed, to have a slight, natural motion following the main body action. Of course, this is not the case when you fix a hand or a foot on the spot. If you have a fixed hand or foot, you will probably want it to stay exactly where you placed it. That is why you can apply an IK constraint on a frame range and on selected body parts.
To fix the part on the same spot requires an angle (rotation) correction on the parts that are moving too much. For example, to fix a foot that is moving too much, you must correct the angles on the foot, leg and thigh. To fix a hand, you must correct the angles on the hand, forearm and upper arm.
- In the Tools toolbar, select the Inverse Kinematics
 tool or press Shift + I.
- In the Camera view, click on the part on which you want to apply the constraint.
- In the Timeline view, select the first frame on which you want to start applying the constraint.

- In the Tool Properties view, enable the Apply IK Constraints
 mode.
mode.
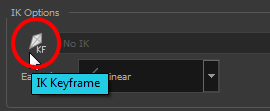
- In the Tool Properties view, click the IK Keyframe
 button to enter the first frame number.

- In the Timeline view, move the playhead to the last frame on which you want to apply the constraint.

The IK Keyframe field should now look like this:

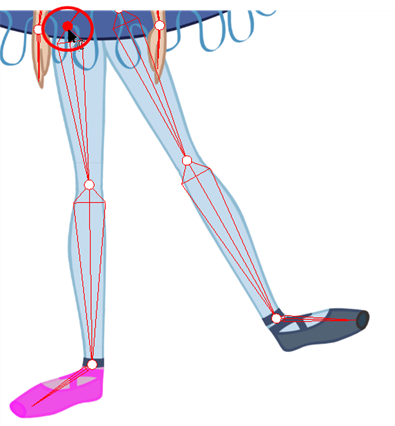
- In the Camera view, set a nail at the top of the limb you are correcting. For a foot, set the nail on the thigh by holding down the Shift key and clicking its pivot.

- In the Tool Properties view, select the type of constraint to apply to the piece.The most common one is a combination of the regular Nail
 and Hold Orientation
  options.
- In the Camera view, click on the bone of the part you want to apply a constraint to.
A warning message appears asking you to confirm that you want to add a constraint on that particular piece and for that frame duration.

- Click OK.
The constraint is applied.
