Chapter 10: How to Create a Traditional Animation
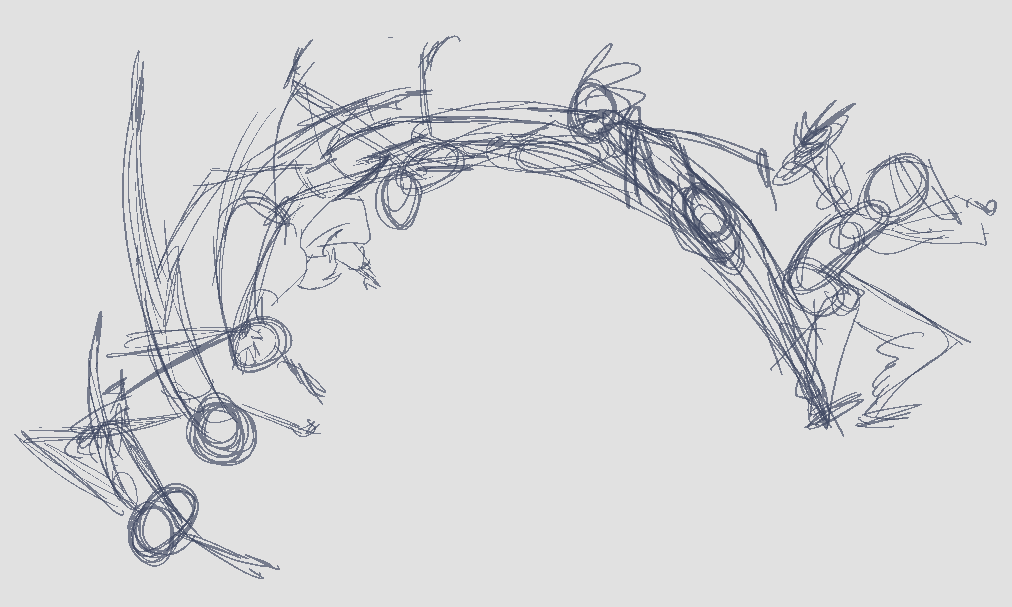
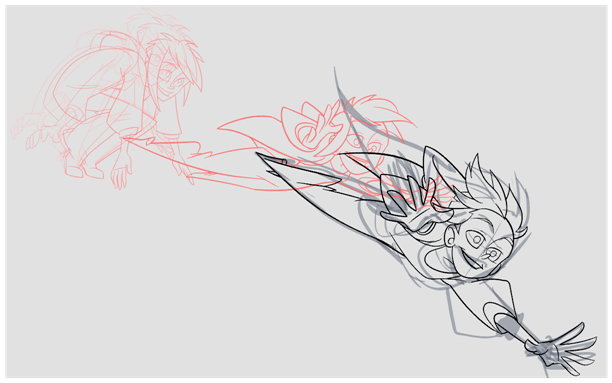
The first step to complete a traditional paperless animation is the rough construction, which is the skeleton of your animation. You would usually start with the main action. For example, to animate a walk cycle, you will start with the torso motion and the legs. Head, arms and clothes will be added later during the secondary animation.
For a satisfactory animation, complete the main action before adding all the details. If you start animating all the details right away, you will lose a lot of time if you have to make corrections. Your animation will often look too rigid.
- In the Tools toolbar, select the Brush
 tool or press Alt + B.
- In the Colour view, select a colour for the brush. It is a good idea to choose a light colour for your rough animation. This will help you in the task that follows, the clean up process.
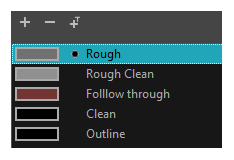
- In the Timeline or Xsheet view, select the cell where the first drawing will appear.
- In the Camera or Drawing view, draw the first key drawing.
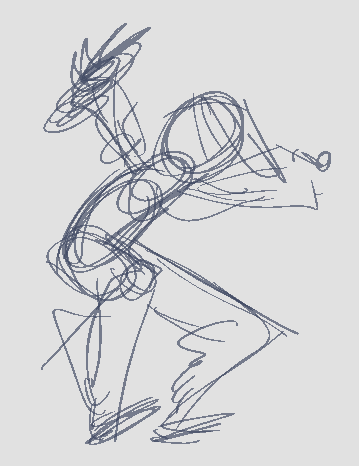
- In the Tools toolbar, click the Onion Skin
 button. The Onion Skin feature displays your previous and next drawings as visual references to help you draw your new pose.
- In the Timeline view, click and drag the blue onion skin markers to extend the number of previous and next visible drawings.
- In the Camera View or Drawing View toolbar, press either the Onion Skin Reduce One Next/Previous Drawing or Onion Skin Add One Next/Previous Drawing to reduce or increase the number of previous and next visible drawings. The red icons

 are for the previous drawings and the green icons
 are for the next drawings.

- In the Camera or Drawing view, draw your second key drawing.
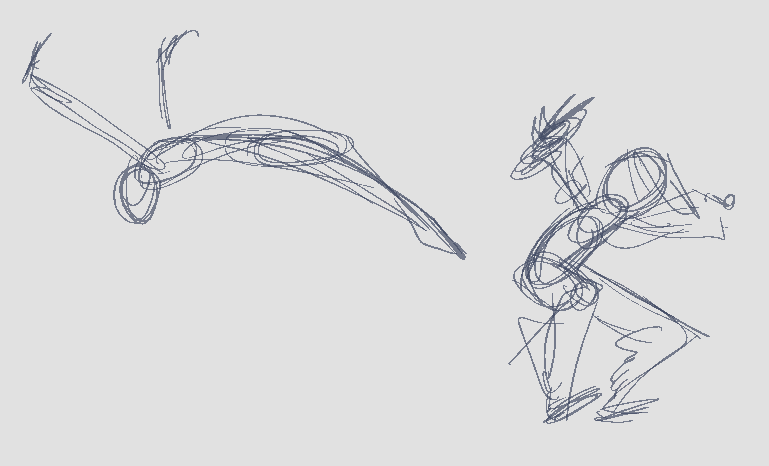
- In the Timeline or Xsheet view, select a cell between the two key drawings.

- From the Timeline toolbar, click Create Empty Drawing
 to create an empty drawing or press Alt + Shift + R.
| ‣ | In the Xsheet view, right-click and select Drawings > Create Empty Drawing or press Alt + Shift + R. |

- In the Camera or Drawing view, draw your new pose.
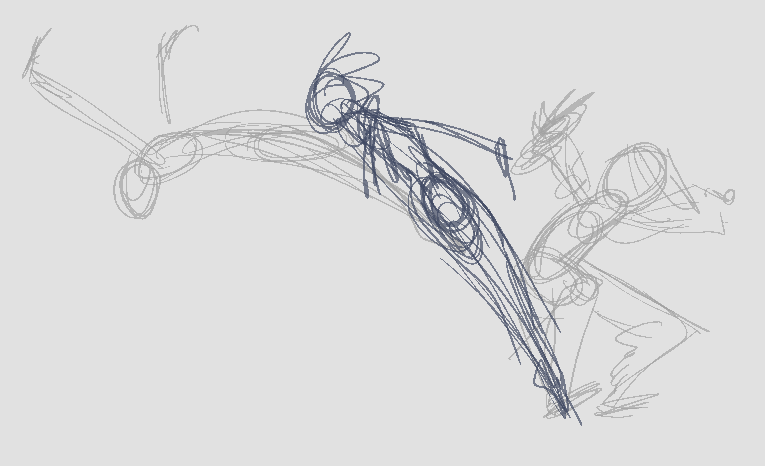
- In the Timeline or Xsheet view, select a new cell and repeat the previous steps for each new drawing.
- In the Timeline view, use the Enable/Disable All
 and Solo
  buttons to turn off any layers you don't want to see during playback.

- To loop playback, move the red playhead to the desired start frame and click the Start button on the Timeline toolbar. Move the playhead to the last frame of the playback and click the Stop button.

- in the Playback toolbar, click the Loop
 button to start the playback.
- In the Playback toolbar, click the Play
 button to start the animation.
Cleaning Up
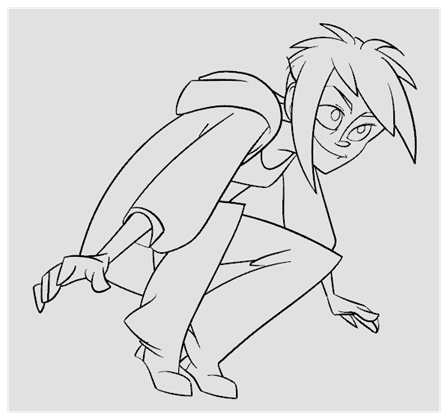
When your rough animation is completed, it is time to clean it up and ink it. This step is also called tracing. It consists of tracing solid and clean lines over the rough animation to close any open zones. This is the final paperless animation step before the ink and paint step.
You will need to add a new drawing layer to draw your clean. This is the equivalent of adding a sheet of paper and tracing the rough using the animation disk. This method allows you to keep the roughs and the cleans intact. You only need to disable the rough layer to prevent it from appearing in the scene.
If you plan on tracing your animation in the Drawing view, you can turn on the light table to display all the layers in your project.
- In the Timeline view, click the Add Drawing Layer
 button or press Ctrl + R (Windows/Linux) or ⌘ + R (Mac OS X).
The Add Drawing Layer window opens.
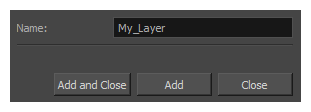
- In the Name field, name your new layer.
- Do one of the following:
| ‣ | Click Add to add a first layer and keep the window open to add more layers. |
| ‣ | Click Add and Close to add a new layer and close the window. |
A new drawing layer is added to the Timeline view.
- In the Timeline view, click the Lock
 icon of the layer containing your rough animation to prevent the layer from being selected in the Camera view.

- In the Timeline or Xsheet view, select the new layer’s cell corresponding to the first key drawing of your rough animation.
- In the Tools toolbar, select a drawing tool such as the Pencil
 tool.
tool.
- In the Colour view, select a colour for tracing your animation. Pick a dark bold colour, such as black, to make sure it contrasts well with the light colour of your rough animation.
- In the Camera or Drawing view, start tracing the first key drawing.
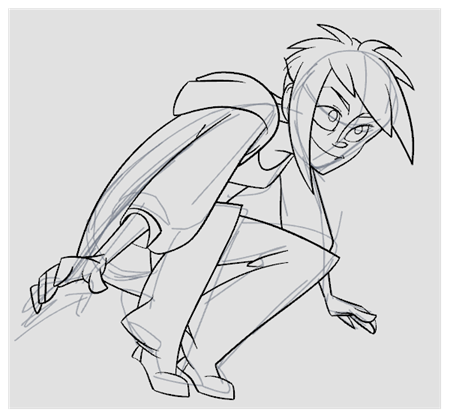
- If you have other layers in the way, you can disable them temporarily in the Timeline view, so that only your rough animation and your clean up layer are displayed in the Camera view.
- In the Tools toolbar, click the Enable Onion Skin
 button.
- If you are not using the Onion Skinning by Drawing option, extend the Onion Skin range in the Timeline view, otherwise use the Onion Skin Add One Previous Drawing and Onion Skin Add One Next Drawing buttons in the Camera or Drawing View toolbar to add drawings to your onion skin display.

- Repeat the previous steps for each drawing.
