
Animating an Effect over Time
When compositing your scene, you will often want to animate the parameters of an effect over time. For example, you may want an object to fade in or out by changing the transparency level over time or by increasing the colour contrast on one of your drawings over a certain frame range.
To animate an effect over time, create a function curve by adding keyframes to the parameters you want to animate. To do this, you will use these views: Layer Properties and Timeline. You can fine tune your animation using the Function view.
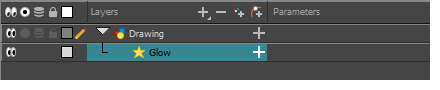
- In the Timeline view, select a layer and add an effect to it by doing one of the following:
| ‣ | Click the Add Layer |
| ‣ | Right-click and select Insert > Effects > desired effect. |
| ‣ | From the top menu, select Insert > Effects > desired effect. |
- Create the function curve by doing one of the following:
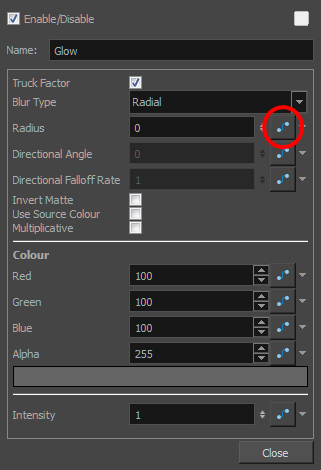
| ‣ | Double-click on the effect layer to display the effect properties. Click the Function |
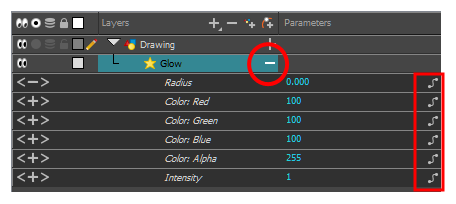
| ‣ | In the Timeline view, expand the effect layer's parameters by clicking the Collapse/Expand |
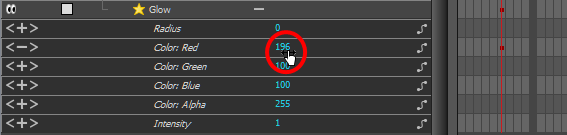
- In the Timeline view, go to the frame on which you want to start animating the effect.
- In the Timeline toolbar, click the Add Keyframe
 button.
- In the Value field of the parameter you want to animation, enter the keyframe value. If your keyframes are stop-motion keyframes, in the Timeline view, select the new keyframes. Right-click and select Set Motion Keyframe.
- Repeat this process for each keyframe to be added.