


Animating a Layer
Before animating the position of drawing layers, you need to create motion paths which are trajectories on which you can attach drawing objects. Using keyframes, you can then record key positions along the trajectory.
Harmony’s wide range of features let you produce simple and advanced motions and trajectories. By creating a simple motion, you will learn the basics animating a layer.
The Animate mode lets you keyframe drawing layers to create computer-generated animation. When the Animate mode is enabled, you can animate a layer's position and disable it to reposition a layer for the entire scene. In this mode, keyframes are created on selected layers at the current frame. Depending on what transformations were performed (rotation, translation, skew, etc.), the new keyframes are added on the corresponding parameters (function curves).
| 1. | In the Tools toolbar, click the Animate |
| 1. | In the Tools toolbar, select the Transform |
| 2. | In the Tool Properties view, make sure that the Peg Selection Mode |
| 3. | In the Tools toolbar, enable the Animate |
| 4. | In the Timeline view, go to the first frame. |

| 5. | In the Camera view, select the element to animate and move it to its first position. |
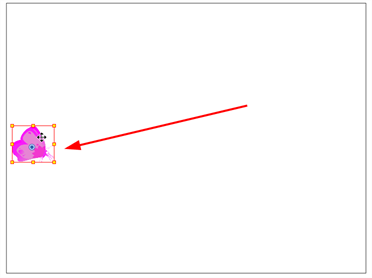
A keyframe is created on the first frame of the Timeline view.

| 6. | In the Timeline view, go to the frame on which you want to set the second position. |

| 7. | In the Camera view, move the element to its second position. |
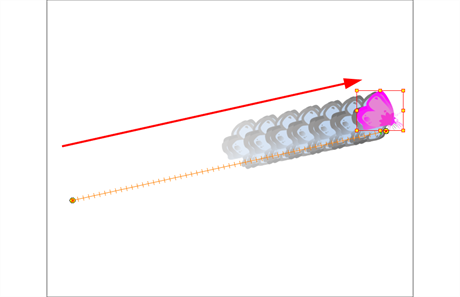
A second keyframe is created on the Timeline view.

| 8. | Play back |
To see your motion animations in the Top, Side or Perspective views while you play back, you must turn on the Playback option. From the top menu, select Play > Enable Playback > Top View or Side View or Perspective View.