Art Layers
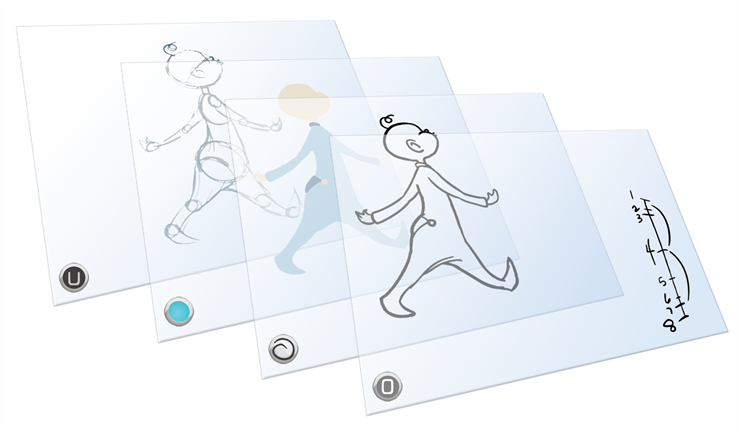
Art layers give you the possibility to divide the artwork in your drawing on different layers. For example, you can separate the outline and colour fill on two art layers, similar to 1950s traditional cell animation. These art layers are contained within a single drawing as opposed to the timeline layers or Xsheet columns where individual drawings with individual timing are stacked one on top of the other—see Creating Strokes .
Toon Boom Harmony drawings include four art layers.
You can access the art layers through the Art Layer toolbar. By default, only the Line Art and Colour Art are displayed. You need to enable the Support Overlay and Underlay Arts option in the Preferences dialog box.


Each layer can be used for separate hand-drawn animation tasks, letting you organize your work and facilitate creation and revision.
 Overlay
The Overlay layer can serve multiple purposes:
|
•
|
Annotations and corrections |
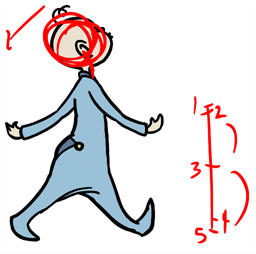
You can also draw in the Overlay layer as it is a regular layer.
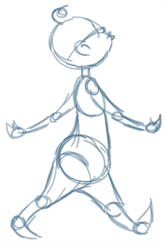
Line Art
In hand-drawn animation, the Line Art layer is mainly used to trace and clean up animation. The outline is drawn in the Line Art layer and colour is painted in the Colour Art layer.
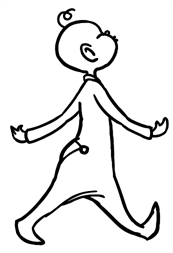
Colour Art
In hand-drawn animation, you use the Colour Art layer to paint your animation. The outline is drawn in the Line Art layer and colour is painted in the Colour Art layer. Strokes (invisible lines) are generated from Line Art to contain the painted area.
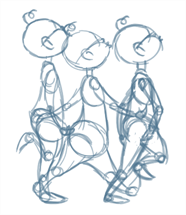
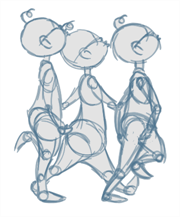
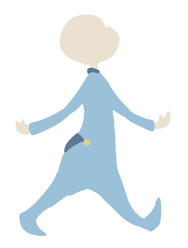
When you are doing rough animation, you may want to send a clip to somebody for feedback or approval before carrying on with your work. If you have several characters in your project that are overlapping, it may be difficult to understand what is going on as you can see through the characters. Toon Boom Harmony can generate a matte automatically in the Underlay, or even in the Colour Art layer, and fill all the zones inside your characters making them opaque. This process is fast and easy and allows you to send easy-to-understand movies.
Underlay
The Underlay layer can serve multiple purposes. It is frequently used by animators to sketch rough animation or generate a matte colour when doing line testing.
How to enable the Support Overlay and Underlay Arts option
|
1.
|
From the top menu, select Edit > Preferences ( Windows/Linux ) or > Preferences ( Mac OS X ). |
|
2.
|
In the Preferences dialog box, select the Advanced tab. |
|
3.
|
In the Advanced Options section, select the Support Overlay and Underlay Arts option. |
How to generate a matte
|
1.
|
Do one of the following: |
|
‣
|
In the Tools toolbar, select the Select  tool. tool. |
|
2.
|
In the Camera or Drawing view, select the drawing you want to create a matte for. |
You can also apply the operation to all the drawings in the layer at the same time.
|
3.
|
Do one of the following: |
|
‣
|
From the top menu, select Drawing > Generate Auto-Matte. |
|
‣
|
In the Camera or Drawing view menu, select Drawing > Generate Auto-Matte. |
The Auto-Matte dialog box opens.
|
4.
|
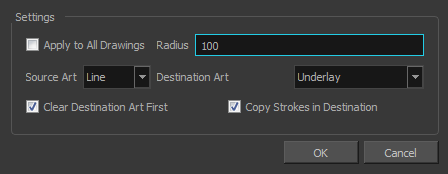
If you want to create a matte for all the drawings included in your layer, select the Apply to Multiple Drawings option. |
|
5.
|
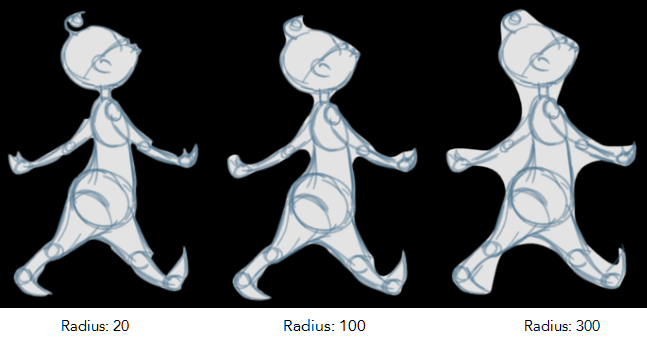
Depending on how precise or rough your line is, increase or decrease the radius value. The lower the value is, the closer to your lines’ contours the matte will be shaped. The higher the value is, the looser the matte will be shaped. |
|
6.
|
In the Source Art menu, select the layer from which you want the matte created: Line Art, Colour Art, Underlay or Overlay. |
|
7.
|
In the Destination Art menu, select the layer you want the matte to be created on: Line Art, Colour Art, Underlay or Overlay. |
|
8.
|
If you already have artwork on the destination layer and you want the content to be deleted before the matte is added into it, select the Clear Destination Art First option. |
|
9.
|
If you want the contour of your lines to be copied as invisible lines in your matte drawing (in case you ever need to keep them for later), select the Copy Stroke in Destination option. |


