Advanced Export
The Network view allows you to make advanced connections and isolate certain portions of your project. It also allows you to perform multiple exports from the entire network or from specific sections.
For this kind of process, use the Write module in the Module Library view. The Write module lets you render and output the connected image information. Using the Write module, you can export a project as a QuickTime movie or as image sequences. You can export one format at a time or both simultaneously.
To export an image sequence, you need to adjust a few settings in the Write module’s properties.
You can export image sequences as several different formats:
|
•
|
TVG
TVG (Toon Boom Vector Graphic) is the Toon Boom vector proprietary format. |
|
•
|
TGA (TGA1, TGA3, TGA4)
Select TGA4 to export your sequence with an alpha channel (transparency). |
|
•
|
SGI (SGI1, SGI3, SGI4)
Select SGI4 to export your sequence with an alpha channel (transparency). |
|
•
|
SGIDP (SGIDP1, SGIDP3, SGIDP4)
Select SGIDP4 to export your sequence with an alpha channel (transparency). |
|
•
|
PSD (PSD1, PSD3, PSD4)
Select PSD4 to export your sequence with an alpha channel (transparency). |
|
•
|
PSDDP (PSDDP1, PSDDP3, PSDDP4)
Select PSDDP4 to export your sequence with an alpha channel (transparency). |
|
•
|
PNG (PNG4)
Select PNG4 to export your sequence with an alpha channel (transparency). |
PNG4 is the recommended format to export an image sequence with transparency.
|
•
|
BMP (BMP4)
Select BMP4 to export your sequence with an alpha channel (transparency). |
|
•
|
OPT (OPT1, OPT3,OPT4)
Select OPT4 to export your sequence with an alpha channel (transparency). |
|
•
|
DPX (DPX3_8, DPX3_10, DPX3_12, DPX3_16, DPX3_10_INVERTED_CHANNELS, DPX3_12_INVERTED_CHANNELS) |
The formats used if you need to output a vector format are TVG and PDF. You can also export a SWF movie.
To export a QuickTime movie, you need to adjust few settings in the Write module’s Properties.
 How to add a Write module
|
1.
|
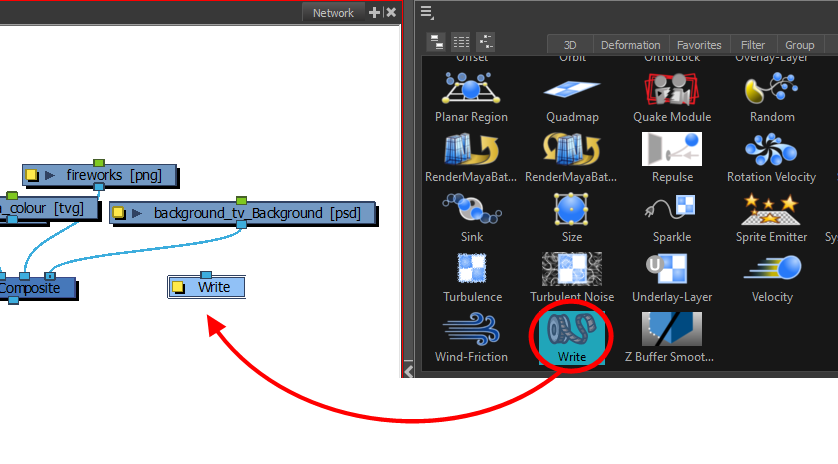
In the Module Library, select the IO tab. |
|
2.
|
Select the Write module and drag it to the Network view. |
|
3.
|
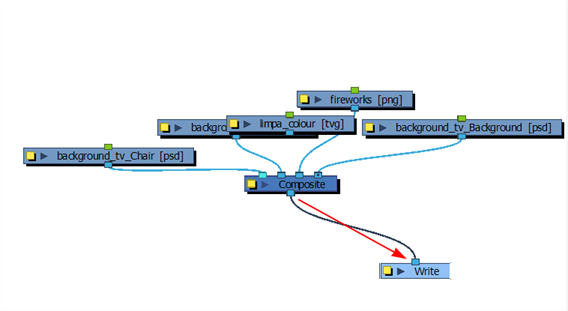
In the Network view, connect the final Composite module or any other module which outputs an image you want to render to the Write module. |
How to set the Write Module to export an image sequence
|
1.
|
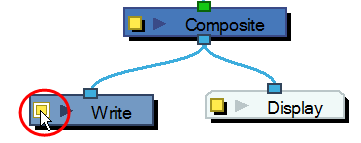
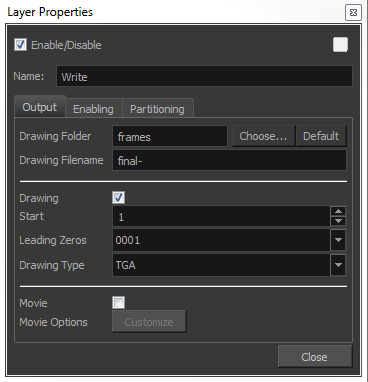
In the Network view, open the Write module’s editor by clicking its yellow Properties button. |
|
2.
|
In the Output tab, select the Drawing option to create an image sequence. |
|
3.
|
Click Choose and browse to the directory where you want to save the output. You can also use the default directory to save in the default frames folder included in the scene directory. |
|
4.
|
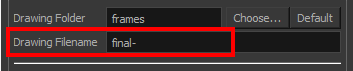
In the Drawing Filename field, type the image sequence’s name prefix. It is recommended to leave the hyphen (-) at the end of the name to separate the image name from the image number. |
|
5.
|
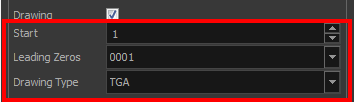
In the Start field, select the starting number for the image sequence. |
|
6.
|
In the Leading Zeros field, select the number of digits you want to see after the sequence prefix. |
|
7.
|
In the Drawing Type field, select the file format in which your project will output. |
When the file format includes a "4" at the end of its name, it means that an alpha channel will be created.
The project will not start rendering yet, since these are only the settings. You can still modify your scene.
How to set the Write module to export a QuickTime movie
|
1.
|
In the Network view, open the Write module’s editor by clicking on its Properties button. |
|
2.
|
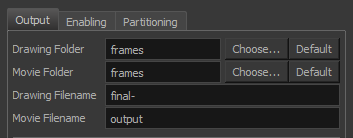
In the Output tab, select the Movie option to create a movie file. |

|
3.
|
Click Choose and browse to the desired directory to save the output. |
|
‣
|
You can also use the default directory to save in the default Frames folder included in the scene folder. |
|
4.
|
In the File name field, name the output file. You do not need to write the file format extension. |
|
5.
|
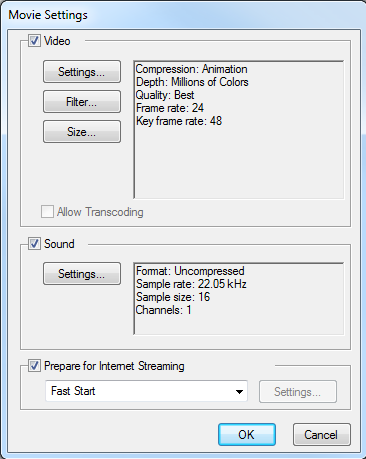
In the Movie Options field, click Customize to open the Movie Settings dialog box. |
|
6.
|
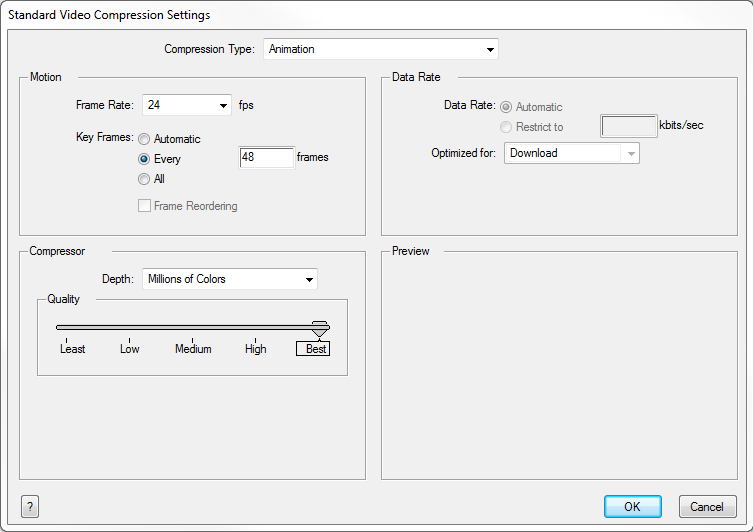
In the Movie Settings dialog box, in the Video section, click Settings to set your video options. |
|
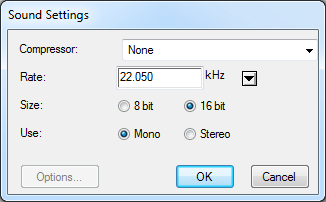
8.
|
In the Movie Settings dialog box, in the Sound section, click Settings to set your audio options. |
The project will not start rendering yet. These are only the settings. You can still modify your scene.


