|
1.
|
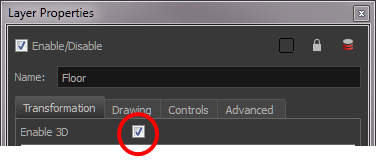
In the Timeline view, double-click on the new layer to open the Layer Properties dialog box. |
|
2.
|
In the Transformation tab, select the Enable 3D option. |
|
3.
|
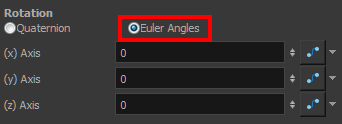
In the Rotation section, select the Euler Angles option. |
|
4.
|
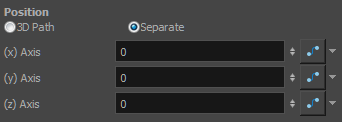
In the (x) Axis field, type 90 to flip the floor so it is flat on the ground. |
|
5.
|
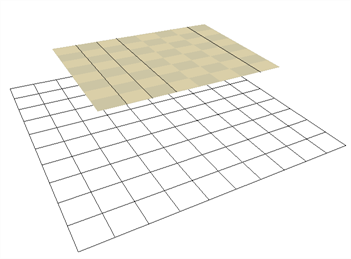
To position the height of the floor, type values in the Position section of the Layer Properties, use the 3D Translate  tool or 3D Transform tool or 3D Transform  tool. tool. |
|
6.
|
Repeat the process for the other pieces to import. |
|
7.
|
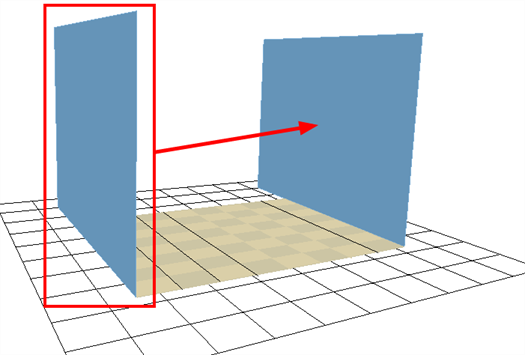
If you have parallel walls, once you have positioned one, select the Wall layer in the Timeline view. |
|
8.
|
From the top menu, select Edit > Duplicate to duplicate the layer. |
If the drawing is contained within a symbol, the symbol will not be duplicated, only the layer containing the symbol. This way, you are still using the same drawing.
|
9.
|
Once the layer is duplicated, use the Layer Properties window to enter the positioning values or use the 3D transformation tools. |
|
10.
|
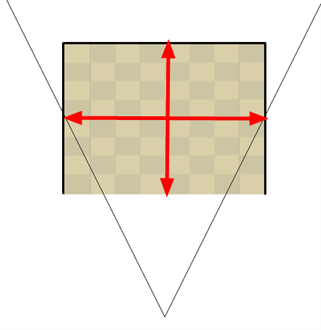
When using the transformation tools, use the Camera, Top, or Side view to position the elements instead of the Perspective view to position your layers precisely. |
|
11.
|
If your walls are touching each other, you should make them intersect by extending one end of the wall through the other wall. This prevents seeing a small gap between them. |
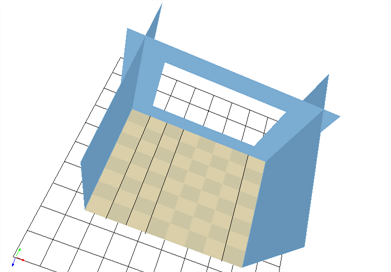
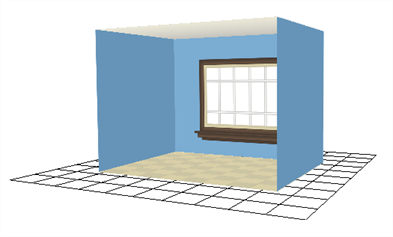
Now have a complete 3D room.