Deformation Basics
Before starting to work with Deformation effects, you should :
Setting the Performance Preferences
There are some preferences that you must set in order to work efficiently with the Deformation effects.
You can customize the display of deformation, its functionality, and the performance of the system by altering the preferences—see the Preferences Guide to learn more.
When using deformation, set the Use Hardware Vertex Texture Fetching if Available option for optimal performance—see the Preferences Guide to learn more.
 How to access the Preferences dialog box
|
1.
|
Do one of the following: |
|
‣
|
From the top menu, select Edit > Preferences (Windows/Linux) or > Preferences (Mac OS X). |
|
‣
|
Press Ctrl + U (Windows/Linux) or ⌘ + U (Mac OS X). |
|
2.
|
Select the OpenGL tab. |
|
3.
|
In the Settings section, select the Use Hardware Vertex Texture Fetching if Available option.
This option is deselected by default, however it is strongly recommended that you enable it before using the deformers. If your CPU and graphics card allow it, the system will use vertex shaders to considerably help the process of deformation. |
Displaying the Deformation Controls
Before you can manipulate the deformer outside of the Setup mode, you must enable the Deformation Controls.
If you have just created the bone rig, the controls will still be showing. However, when you close your project, the deformers are turned off. By enabling the Deformation Controls, the controls will display when you reopen a project so can you see the ones you need while you are animating.
You can also select all the modules from Network view and select View > Show > Controls from the top menu.
How to display the selected deformation controls
|
1.
|
In the Network view, select the Deformation Group containing the deformation chain you want to display. |
|
2.
|
Do one of the following: |
|
‣
|
In the Camera View toolbar, click the Show Control  button. button. |
|
‣
|
From the top menu, select View > Show > Control. |
How to display the selected deformation controls and hide all the others
|
1.
|
In the Network view, select the Deformation Group containing the deformation chain you want to display. |
|
2.
|
In the Deformation toolbar, click the Show Selected Deformers and Hide All Others  button. button. |
The selected deformation controls appear in the Camera view and all the others are hidden.
How to display all the deformer controls at the same time
|
1.
|
In the Top level of the Network view, select Edit > Select All from the top menu to select all the modules or press Ctrl + A (Windows/Linux) or ⌘ + A (Mac OS X). |
|
2.
|
In the Camera View toolbar, click the Show Control button or press Shift + F11. |
All deformation controls in your scene are displayed.
How to hide the deformer controls
|
1.
|
Do one of the following: |
|
‣
|
In the Camera View toolbar, click the Hide All Controls  button. button. |
|
‣
|
From the top menu, select View > Hide All Controls. |
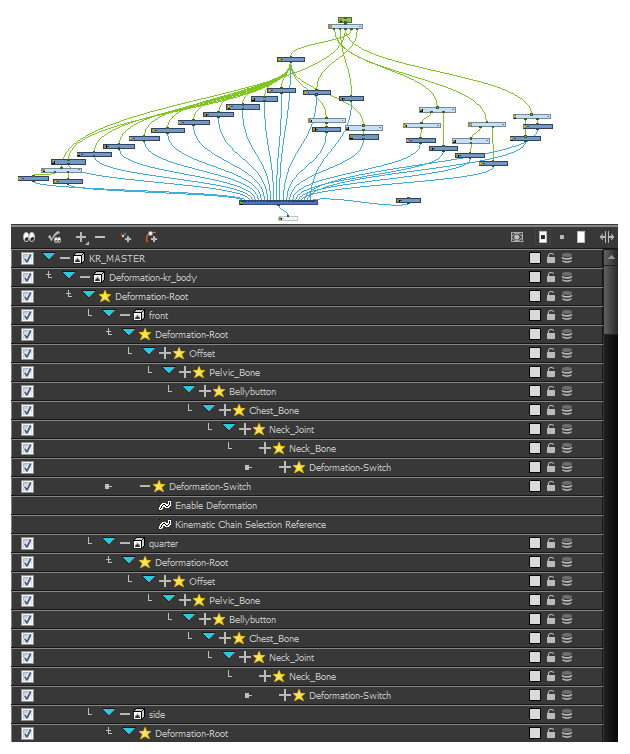
Deformation in the Network and Timeline Views
The Deformation effect layers and modules are visible in the Network and Timeline views. You can modify their values and set up function curves using both views.
Refer to the Compositing Guide to learn how to work with functions.