Articulations

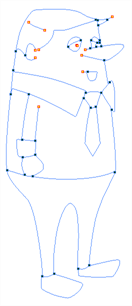
Once your pieces are traced, you can proceed to the completion of the articulations.
Articulations are an important aspect of any cut-out break down because without them, a puppet cannot move properly and will not look good.
This topic is divided as follows:
| • | Classical Articulation |
| • | Auto-patch Articulations |
Classical Articulation
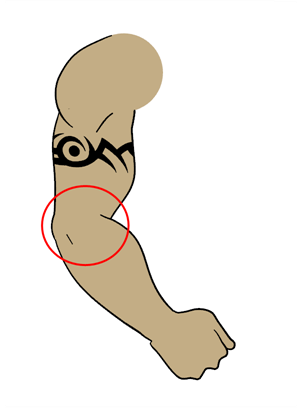
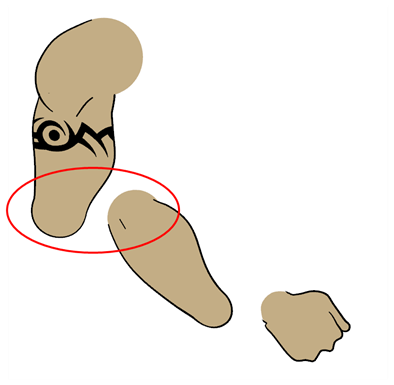
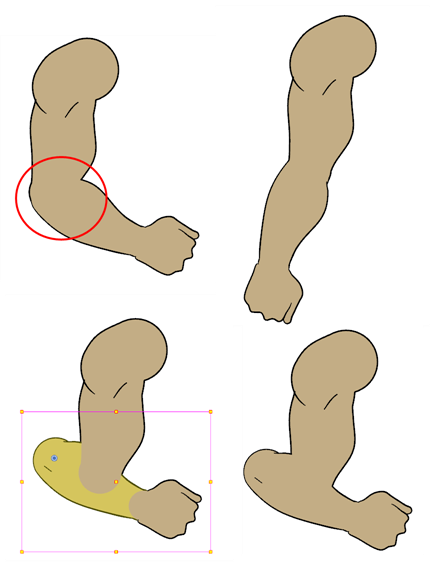
Classical articulation is the most popular technique for basic characters. It is quite simple and produces excellent results, but it is not the most efficient method. In many instances, it causes limitations and extra drawing corrections. For example, there may be a gap in the articulation if the part is bent too far. Joint design is usually a circle; the overlapping part cannot be sent behind without showing the joint.
For a more advanced articulation, see Patch Articulation in the Appendix section.
Classical articulation is done by erasing a part of the line from the overlay layer, leaving the colour overlapping the bottom one. You can use this technique for all the articulations on your puppet.
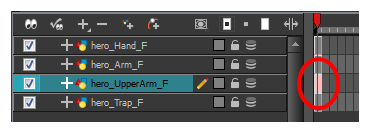
| 1. | In the Timeline view, select the cell containing the first part to modify, such as the upper arm. |
| 2. | In the Tools toolbar, select the Pencil |
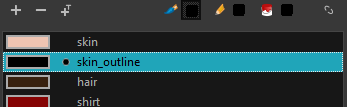
| 3. | In the Colour view, select an outline colour. |
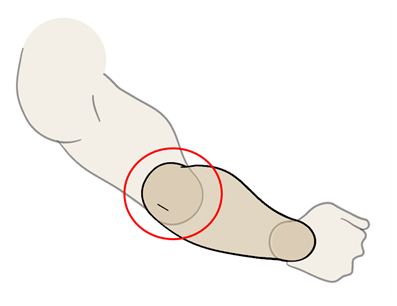
| 4. | In the Drawing or Camera view, use your drawing tool to make sure that the joint overlaps the other part in a half-circle shape. |
| ‣ | If you are working in the Drawing view, click the Light Table |
| 5. | From the top menu, select View > Show > Show Strokes or press K to display the invisible lines that may be present in your drawing. |
| 6. | In the Drawing or Camera view, select all the strokes in your drawing. |
| 7. | In the Tools Properties view, click the Flatten |
| 8. | In the Drawing or Camera view, select all the strokes in your drawing. |
| 9. | In the top menu, select Drawing > Optimize > Remove Extra Strokes to remove any unnecessary invisible lines in your drawing. |
| 10. | Repeat steps 1 to 9 for the other part of the joint. |
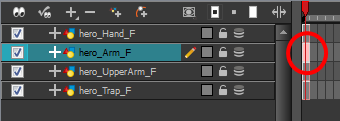
| 11. | In the Timeline view, select the cell of the part that will be on top of the joint. |
| 12. | In the Tools toolbar, select the Select |
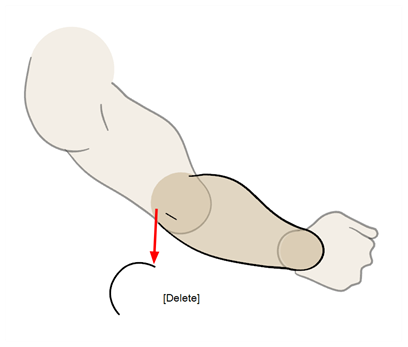
| 13. | In the Drawing or Camera view, remove a part of the overlapping outline in order to have only the filling colour overlapping the joint. |
| 14. | In the Tools toolbar, select the Contour Editor |
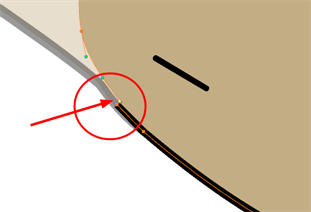
| 15. | In the Drawing or Camera view, adjust the colour fill so that the pencil outline does not overlap it. Be careful not to leave a gap between the line and the fill. |
Auto-patch Articulations
Harmony has a very efficient module to automatically patch an articulation without you having to do any line adjustment or colour overlapping. You can draw your two pieces with their complete lines overlapping each other in semicircles and the Auto-patch module will create a perfect articulation from it.

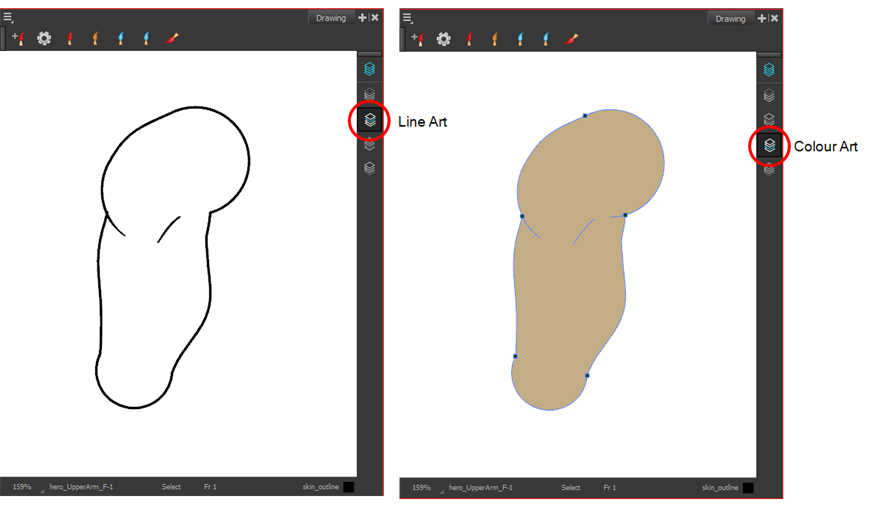
In order for the Auto-patch to work on your puppet, you must draw the outline with the Pencil tool (pencil lines) on the Line Art layer or y our drawing, and then paint the colour on the Colour Art layer of your drawing.
| 1. | In the Tools toolbar, select the Select |
| 2. | In the Tool Properties view, enable the Permanent Selection |
| 3. | In the |
| 4. |
|
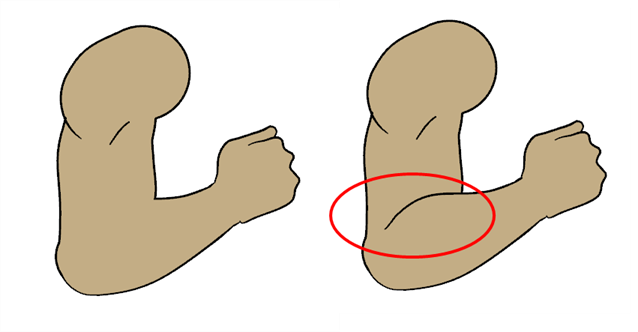
You can use this technique in an even more efficient way by adding extra lines in the Overlay layer of your drawing to create a fold illusion for a bent elbow.
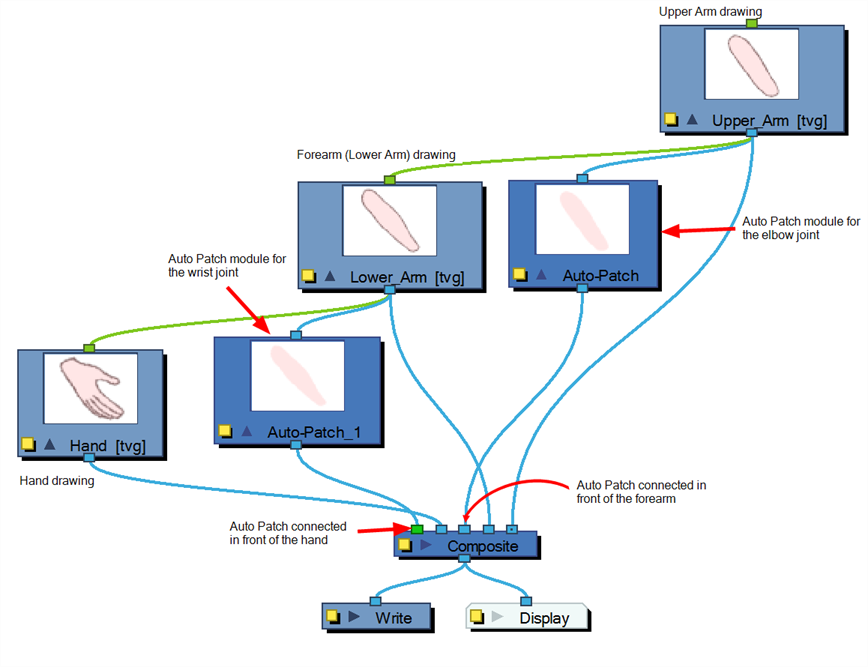
About the Auto Patch Module
The Auto Patch module is used mainly when creating joint patches for cut-out puppets drawn with pencil lines and painted in the Colour Art layer. Instead of removing a portion of the outline to attempt to create a seamless joint, you can draw complete pieces, and with the Auto Patch module, automatically create a perfect articulation.
The requirements for this effect to work are:
| • | Drawing outlines must be drawn in pencil lines |
| • | Drawing outlines must be drawn in the Line Art layer |
| • | Drawing fill colours must be painted in the Colour Art layer |
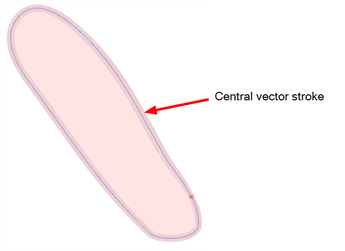
Pencil lines are central vector lines. The vector is located along the centre of the line. This means that when you paint a zone delimited by a pencil line, the colour fill will expand to the centre of the pencil line.
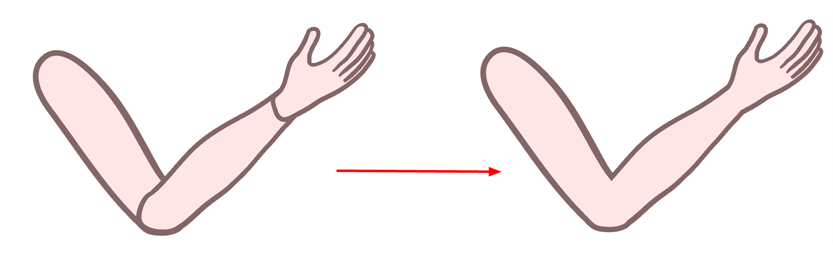
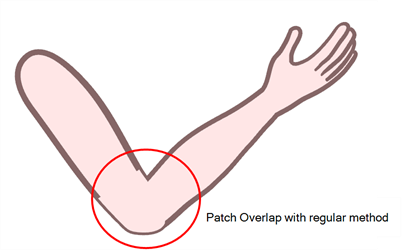
When using the regular patch technique, recommended for the brush line, the result with pencil lines is very odd looking because the colour fill zone is bigger than the pencil line inner contour.
Instead of using the regular patch method, you can use the Auto Patch module. It will automatically extract the Colour Art and clip it to the right size. Then, you can connect it in front of the piece to be covered.
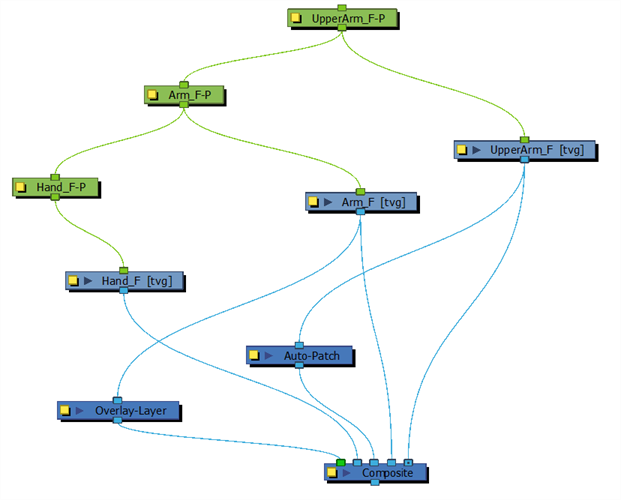
The network connection for the Auto Patch is quite simple. Once your basic character rigging is done, you can add the Auto Patch module to the joints you want to cover. There is no need to set any parameters.