Configuring Scanners Using the Configuration Wizard
After upgrading your SCSI adapter and recording information about the scanner attached to your computer, you are ready to configure the scanner to communicate with Harmony. Use the Harmony Configuration Wizard to configure your scanner.
How to start the Harmony Configuration Wizard
|
1.
|
From the Start menu, select All Programs > Toon Boom Harmony 11 > Tools > Configuration Wizard. |
The Harmony Configuration dialog box opens.
How to configure your scanners
|
1.
|
In the Harmony Configuration dialog box, click Scanners Configuration. |
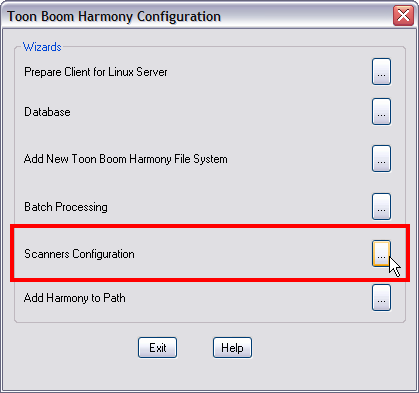
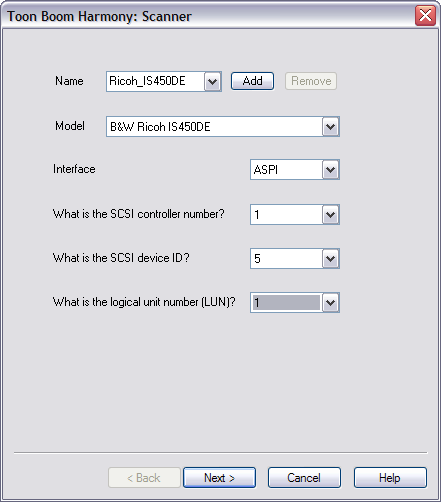
The Scanner dialog box opens.
|
2.
|
In the Name menu, type or select the scanner's name. |
|
3.
|
In the Model menu, select the scanner model. |
|
4.
|
In the Interface menu, select the scanner interface type. |
|
5.
|
From the SCSI controller number menu, select the SCSI number that identifies your SCSI Adapter. |
|
6.
|
From the SCSI ID menu, select the SCSI number of the scanner. |
|
7.
|
From the logical unit number (LUN) menu, select logical unit number. Due to a scanner's default configuration and the nature of the device, the LUN should always be zero (0). |
|
8.
|
After you have completed all the fields in this dialog box, click Add. |
|
9.
|
Repeat the previous steps in this procedure for each scanner you want to add. |
To remove a scanner from the list, select the scanner from the Name field and click Remove.
|
10.
|
After you have added all your scanners, click Next. |
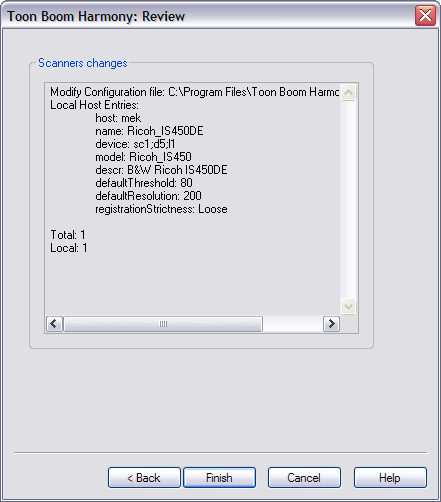
The Review dialog box opens.
|
11.
|
Read the summary of how you have configured your scanner and decide if you want to continue. |
|
‣
|
If the summary is accurate, click Finish to complete the configuration. |
|
‣
|
If you want to change the configuration, click Back until you reach the dialog box where you can change the option. |
|
‣
|
After you make your changes, click Next until you reach the Review dialog box again. |
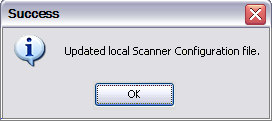
A confirmation message appears when your Scanner configuration file (Scan.conf) is updated.