Creating Elements from the Scan Module
How to create elements from the Scan module
|
1.
|
Start the Harmony Scan module and log in to the database using your Harmony Scan user name.
|
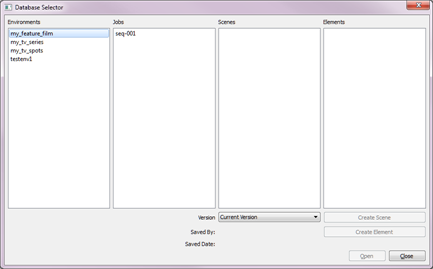
The Database Selector dialog box opens, displaying the Environments available from the Harmony Stage database.
|
2.
|
Select the Environment, Job and Scene in which you want to add elements. |

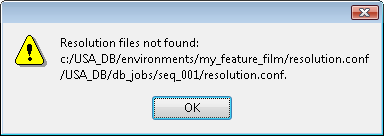
If your system administrator did not complete the resolution configuration tasks, a warning message displays. This message notifies you that the resolution.conf file was not properly inserted in the configuration folder.
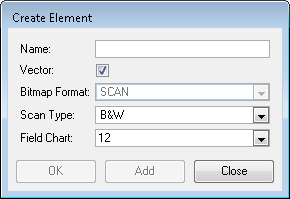
The Harmony Scan module opens and the Create Element dialog box opens.
|
5.
|
In the Name field, type the new element’s name. |

|
6.
|
Select Vector option if the element is to be vectorized. |

|
7.
|
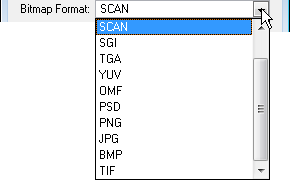
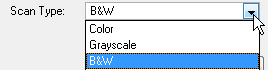
Select the bitmap format of your element; this list is only available if you did not select the Vector option. |
|
‣
|
Colour: Creates a colour bitmap element. |
|
‣
|
Greyscale: Creates a greyscale bitmap element. |
|
‣
|
B&W: Creates a vector-based element that is going to be painted using the Harmony Stage or Harmony Paint module. |
|
9.
|
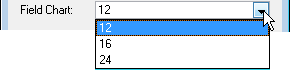
Select the field chart size of your element. |
|
‣
|
Click OK to add the element and return to the Database Selector. |
|
‣
|
Click Add to add the element and keep the dialog box open to add more. |
|
‣
|
Click Close to cancel and return to the Database Selector without adding an element. |


