


Starting the Harmony Scan Module and Loading Drawings
Usually, when you are ready for scanning, a scene has been created containing the elements to be scanned and the exposure sheet has been filled.
How to start the Scan module and load your scene
| 1. | Double-click on the Harmony Scan module  icon or do one of the following: icon or do one of the following: |
| ‣ | Mac OS X: Select Applications > Toon Boom Harmony 11 > Scan. |
| ‣ | Windows: Select Start > All Programs > Toon Boom Harmony 11 > Scan. |
| ‣ | Linux: Select /usr/local/ToonBoonAnimation/harmony_11/lnx86_64/bin > Scan. |
If there is no scanner properly installed or connected to the computer you are using, the following message displays:
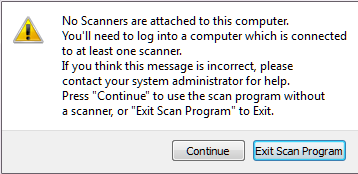
| ‣ | Click Continue to open the Harmony Scan module. Note that you will not be able to scan. |
| ‣ | Click Exit Scan Program to quit the Scan module. |
If you think this message is incorrect and your computer is connected to a scanner, contact your system administrator.
The database login dialog box opens.
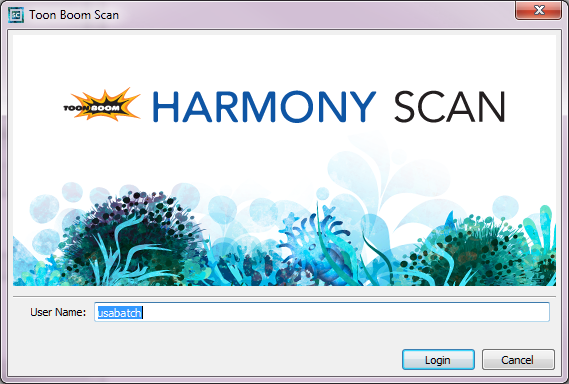
| 2. | Enter your Harmony username in the User Name field and click Login. |
The Database Selector dialog box opens, displaying the Environments available from the Harmony database.
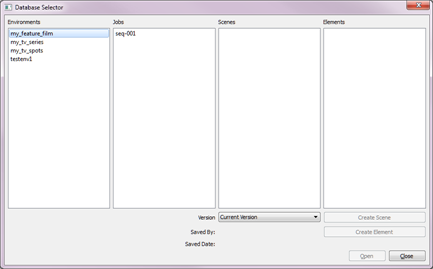
| 3. | Select the Environment, Job, Scene and then the Element you want to scan. |

| 4. | Click Open. |
The Drawings Selector dialog box opens, listing all the drawings contained in the selected element.
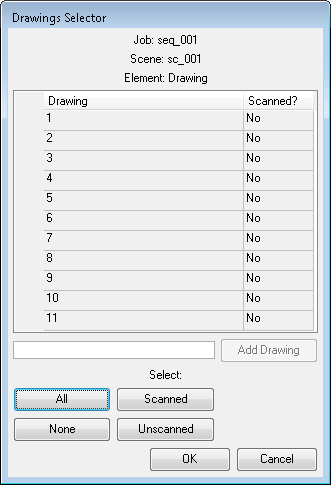
The Drawing column displays the names of the drawings. The Scanned column indicates if the drawing has been scanned.
| 5. | If needed, add new drawings to the list by typing a drawing name in the Add Drawing field and click Add Drawing. |

The new drawing appears in the list.
| 6. | Select the drawings you want to scan. |
| ‣ | Select the specific drawings from the list. You can select several drawing using Shift + click. |

| ‣ | Click All to select all the drawings in the list. |
| ‣ | Click None to unselect all drawings. |
| ‣ | Click Scanned to select only the drawings that are indicated as scanned (Yes) in the list. |
| ‣ | Click Unscanned to select only the drawings that are indicated as not scanned (No) in the list. |
| 7. | Click OK. |
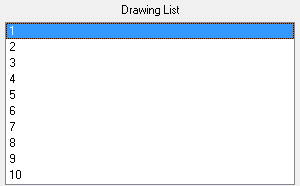
The selected drawings appear in the Drawing List column.
Once your session is started, you can open the Database Selector window at any time to load other drawings.
How to load drawings when the Scan module is already started
| 1. | Select File > Open Drawings. |
| 2. | Follow steps 4 to 7 in the previous procedure: "How to start the Scan module and load your scene". |