Animation Clean-up
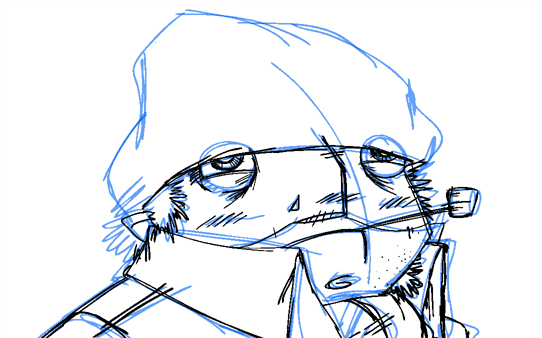
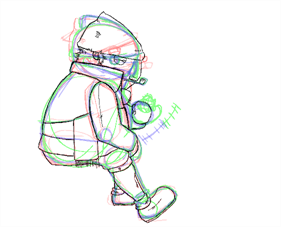
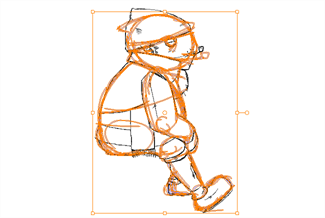
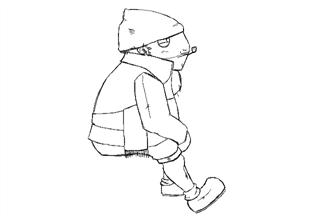
When your rough animation is ready, it is time to clean it up and ink it. The clean-up is also called tracing. It consists of tracing solid and clean lines over the rough animation to get closed zones. This is the final paperless animation step before the ink and paint step.
You will need to add a new drawing layer to create your cleaned up drawing. This is the equivalent of adding a sheet of paper and tracing the rough using the animation disk.
Tracing in a New Layer
If you plan on tracing your animation in the Drawing view, enable the light table to display all the layers in your project.
 How to trace your animation in a new layer
|
1.
|
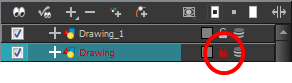
In the Timeline View toolbar, click the Add Drawing Layer button. button. |
|
2.
|
In the Timeline view, click the Lock button of the layer containing your rough animation to avoid selecting the layer in the Camera view. button of the layer containing your rough animation to avoid selecting the layer in the Camera view. |
|
3.
|
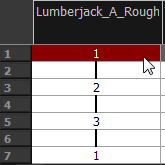
In the Timeline or Xsheet view, in the new layer, select the cell corresponding to the first key drawing of your rough animation. |
|
4.
|
In the Tools toolbar, select the drawing tool of your choice. The Pencil  tool is recommended. tool is recommended. |
|
5.
|
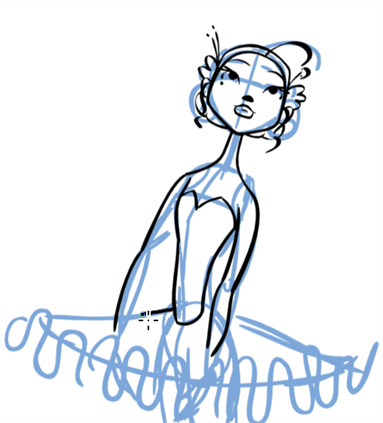
In the Colour view, select a colour for tracing your animation. A dark bold colour, such as black, would ensure that it contrasts well with the light colour of your rough animation. |
|
6.
|
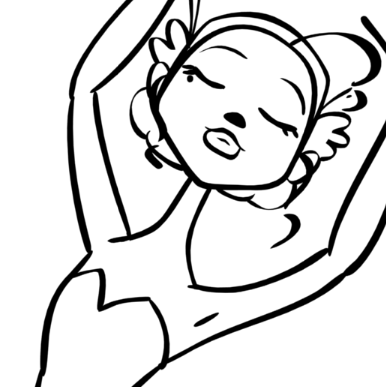
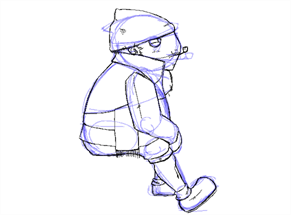
In the Camera or Drawing view, start tracing the first key drawing. |
|
7.
|
If you have some other layers in the way, you can disable them temporarily from the Timeline view so that only the rough animation and clean-up layer are displayed in the Camera view. |
|
8.
|
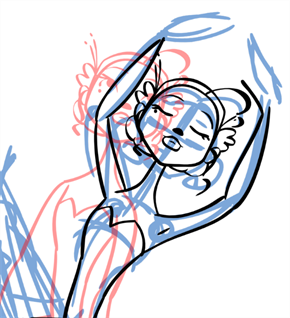
In the Tools toolbar, click the Onion Skin button and pull on the blue onion skin handles in the Timeline view to extend the number of frames you can see. button and pull on the blue onion skin handles in the Timeline view to extend the number of frames you can see. |
|
9.
|
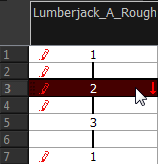
In the Timeline or Xsheet view, select the next cell corresponding to a rough drawing. |
|
10.
|
In the Camera view, trace your next drawing. |
|
11.
|
Repeat the previous steps for each drawing. |
This method allows you to keep the roughs and the cleans intact. You only need to disable the rough layer to prevent it from appearing in the scene.
Tracing Directly Over
Tracing or cleaning directly over means to clean your drawing in the same cell. This method avoids adding too many layers to your scene or demanding too much power from a low performance graphics card when using the light table or onion skinning. However, the rough animation has to be removed.
This technique is the equivalent of sketching on paper with a blue animator pencil and then inking directly onto it in black. Harmony allows you to select all the zones using a certain colour from your palette. Then you can trace over your sketch with a different colour. Once you are done, you can select all the zones painted with the sketch colour and delete them, keeping only the clean drawing.
How to trace directly over your rough animation
|
1.
|
In the Timeline or Xsheet View, select the first rough drawing to clean. |
|
2.
|
Do one of the following: |
|
‣
|
In the Colour view, if you have already made a palette for this character, select its outline colour. |
|
‣
|
Create a new colour in your palette and select it. It is recommended to name it Clean or Trace. |
|
3.
|
Select a drawing tool. |
|
4.
|
In the Camera or Drawing View, trace over your rough model. |
|
5.
|
Do one of the following: |
|
‣
|
In the Drawing or Camera view menu, select View > Onion Skin > Show Onion Skin. |
|
‣
|
In the Timeline view menu, select Onion Skin > Show Onion Skin. |
|
6.
|
In the Timeline view, extend the onion skin. |
|
7.
|
Do one of the following: |
|
‣
|
In the Xsheet View, select the next cell in which you want to draw. |
|
‣
|
In the Camera, Drawing or Xsheet view, press F and G to navigate between your drawings. |
|
8.
|
In the Camera or Drawing view, trace your next drawing. |
|
9.
|
Repeat steps 6 and 7 for each drawing. |
|
10.
|
Use the Flip and Easy Flipping toolbars to review your animation. You can also use the Playback toolbar to play the animation in real time. |
|
11.
|
Once the drawings are completed, select the rough colour from the Colour view. |

|
12.
|
Do one of the following: |
|
‣
|
In the Drawing or Camera View menu, select Edit > Select Strokes With Current Colour. |
|
‣
|
Press Ctrl + Shift + A (Windows/Linux) or ⌘ + Shift + A (Mac OS X). |
|
13.
|
In the Drawing or Camera View, Press Delete to delete the selected zone. |
|
14.
|
Repeat steps 10 to 13 for each drawing. |


