Painting the Background
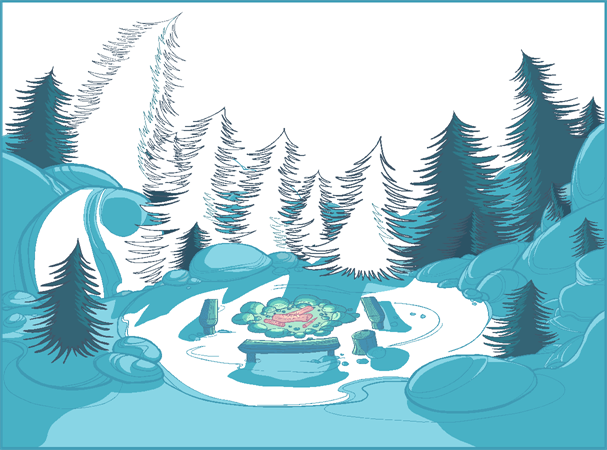
Now that your background layout, master palette and location colour model are imported in your scene, you are ready to paint your background.
A Harmonydrawing is composed of several art layers. Lines and colours can be separated or joined, depending on the animation process. When a traditional drawing is scanned in, strokes are automatically created in the Colour Art from the Line Art. For paperless drawings, once the drawing sequence is completed, create your Colour Art strokes if you plan to paint your animation in the Colour Art layer. Use the Create Colour Art from Line Art option to create strokes from your lines—see Art Layers.
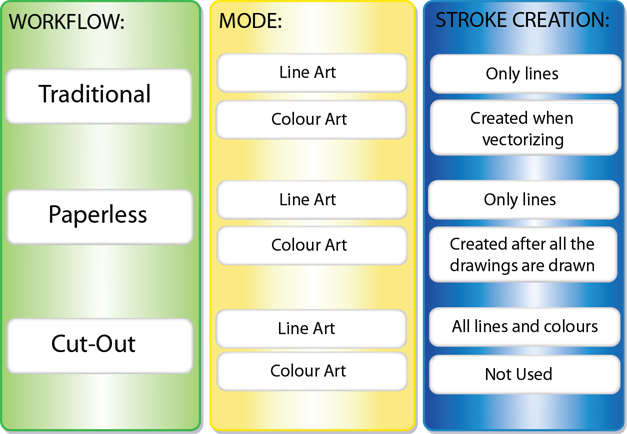
You may prefer to create strokes once the drawing is cleaned up. In this case, select the full drawing and create the strokes in Colour Art.
| 1. | Skip this step if you are creating strokes for a single drawing. Do one of the following: |
| ‣ | In the Select Tool Properties view, click the Permanent Selection |
| ‣ | PressCtrl + Shift + P (Windows/Linux) or ⌘ + Shift + P (Mac OS X). |
| 2. | Do one of the following: |
| ‣ | In the Drawing Tools toolbar, click the Select |
| ‣ | Press Alt + S. |
| 3. | Select the entire animation sequence. |
| 4. | Do one of the following: |
| ‣ | In the |
| ‣ | Press * |
| 5. | Repeat steps 1 to 4 for each drawing in the animation sequence. |
If you have some traditional drawings that need to be fixed, for example, need extra lines to patch gaps, the strokes can be created in the Colour Art layer at the same time as the lines are drawn using the Auto-Create Colour Art from Brush feature. This feature creates strokes from the lines and brush strokes created in the Line Art layer as you draw.
You can use it to fix drawings, but if you draw a sketch from scratch it is better to create the strokes afterward using the Create Colour Art from Line Art option.
| 1. | Do one of the following: |
| ‣ | In the |
| ‣ | When the Brush, Pencil or any shape tool is enabled, in the Tool Properties editor, click the Automatically Create Colour Art from Brush |
| 2. | Draw the extra lines required. |
| 3. | Once you are done, deselect the Automatically Create Colour Art option. |
You are now ready to paint your background.
| 1. | Do one of the following: |
| ‣ | In the Camera |
| ‣ | Press L. |
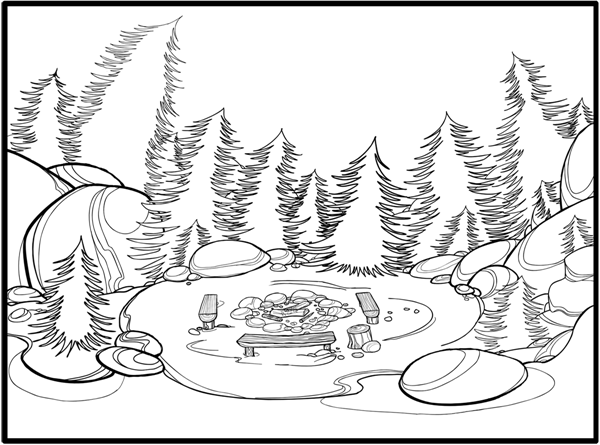
| 2. | Select one of the Paint Bucket |
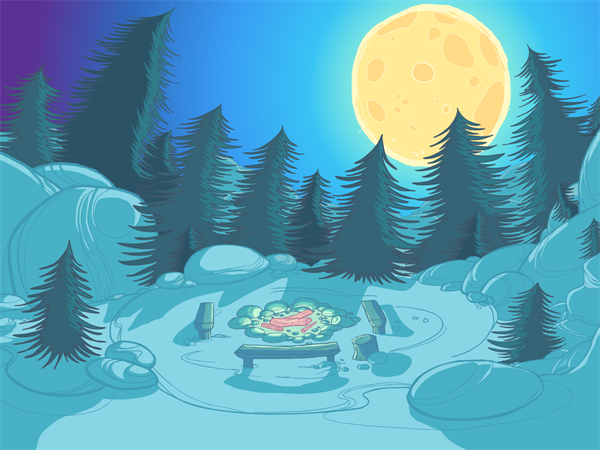
| 3. | Paint the background by selecting the colours from the colour model or the palette, and clicking on the different drawing zones. |
You can use the Stroke ![]() tool to draw invisible vector strokes and separate some of the drawing sections to create tone and highlight zones.
tool to draw invisible vector strokes and separate some of the drawing sections to create tone and highlight zones.
| 1. | Do one of the following: |
| ‣ | In the Camera view |
| ‣ | Press Alt + V. |
| 2. | Do one of the following: |
| ‣ | In the Camera view |
| ‣ | Press K. |
The strokes appear.
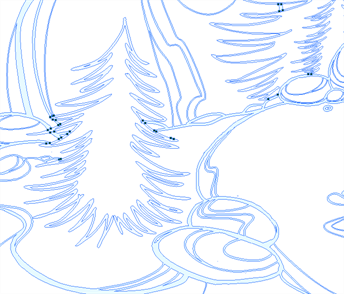
| 3. | Draw the stroke on the background drawing. |
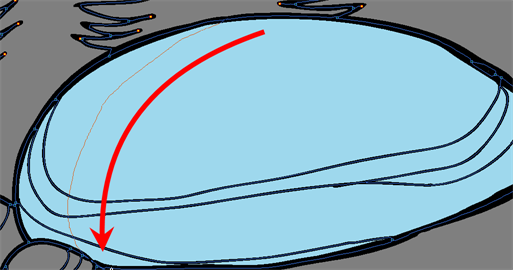
| 4. | In your colour palette, select the colour needed to paint the new zone. |
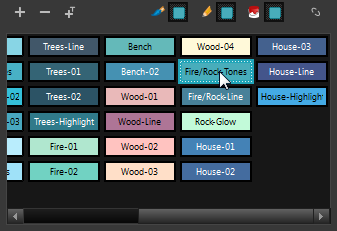
| 5. | In the Tools toolbar, click the Repaint |
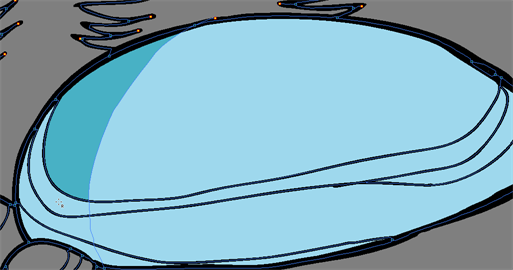
| 6. | Do one of the following: |
| ‣ | In the |
| ‣ | Press K. |
Using a gradient colour adds more depth and variation to your drawings.

| 1. | In the Colour view, select the colour to be modified. |
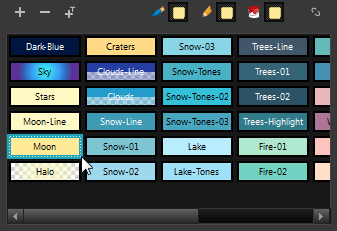
| 2. | Do one of the following: |
| ‣ | In the Colour view menu, select Colour > Edit Colour. |
| ‣ | Double-click on the colour swatch. |
The Colour Picker window opens.
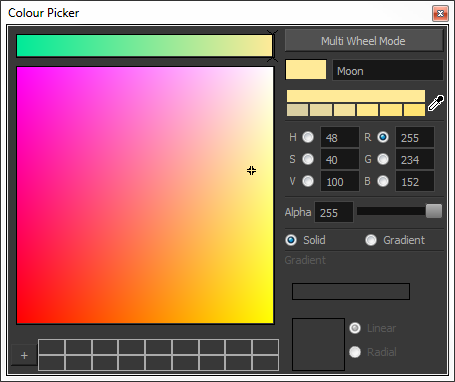
| 3. | Select the Gradient option. |

| 4. | Select the Linear or Radial option. |

| 5. | Select the Gradient arrows to modify the colours. |
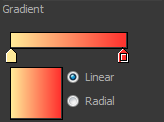
| ‣ | Click between the arrows to add extra colours. |
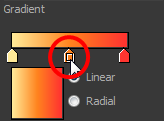
| ‣ | Pull down the arrows to remove them. |
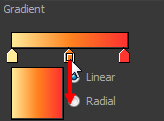
| ‣ | Move the arrows left and right to modify the gradient distance. |
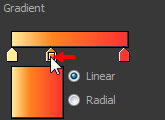
| 6. | Use the Edit Gradient/Texture tool to set your gradient's position. |
| 1. | Do one of the following: |
| ‣ | In the Camera view |
| ‣ | Press Shift + F3. |
| 2. | Click on the gradient or texture colour to be modified. |
The Edit Gradient/Texture selection frame appears.
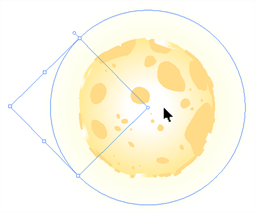
| 3. | Move the edit texture's parameters to the desired result. |
| 4. | If the same modification needs to be applied to another gradient or texture zone, do one of the following: |
| ‣ | Select the modified zone and select Edit > Copy. |
| ‣ | Press Ctrl + C (Windows/Linux) or ⌘ + C (Mac OS X). |
| 5. | Select the zone you want to modify. |
| 6. | Do one of the following: |
| ‣ | From the top menu, select Edit > Paste. |
| ‣ | Press Ctrl + V (Windows/Linux) or ⌘ + V (Mac OS X). |


