Brush Tool Options
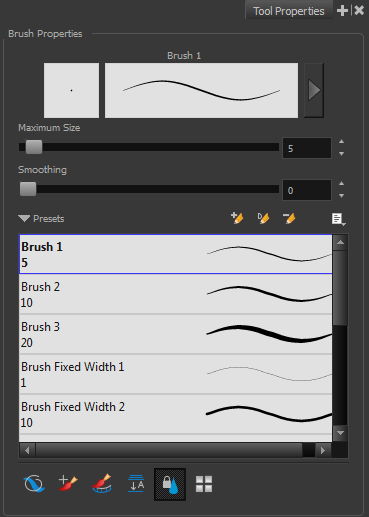
When you select the Brush ![]() tool, its properties and options appear in the Tool Properties view.
tool, its properties and options appear in the Tool Properties view.

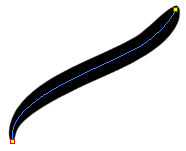
This is where you set the minimum and maximum sizes of your drawing tool which will produce the thick and thin effect on your stroke. This works with the pressure sensitivity of a pen tablet.
| ‣ | Maximum and Minimum Size: Defines the maximum and minimum width of the stroke. |
| ‣ | Smoothing: Defines the number of control points added to the centre line. |
Brush presets are created by saving the properties of the current brush to a new preset, which you can reuse for repeated tasks. You can create as many brush presets as you need—see Drawing with the Brush Tool.

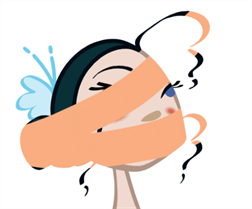
When the Draw Behind ![]() mode is enabled, the lines you draw will appear behind the art that already exists.
mode is enabled, the lines you draw will appear behind the art that already exists.

The Repaint Brush ![]() is used to repaint zones that have already been painted, it will not affect empty zones or pencil lines. It also automatically flattens each of its brush lines so it does not add new brush lines on top of existing ones. You can use this mode to paint tones or highlights onto your character.
is used to repaint zones that have already been painted, it will not affect empty zones or pencil lines. It also automatically flattens each of its brush lines so it does not add new brush lines on top of existing ones. You can use this mode to paint tones or highlights onto your character.

As you draw in the Line Art layer, the Create Colour Art Automatically ![]() option automatically creates the corresponding strokes in the Colour Art layer. To access this option, you must be in the Advanced Art mode.
option automatically creates the corresponding strokes in the Colour Art layer. To access this option, you must be in the Advanced Art mode.
When enabled, the Auto-Flatten mode automatically flattens the new lines created with the existing artwork as you draw in the
The Respect Protected Colour ![]() option prevent the colours you marked as protected in the Colour view to be repainted using the Repaint Brush mode or any of the painting tools.
option prevent the colours you marked as protected in the Colour view to be repainted using the Repaint Brush mode or any of the painting tools.
The Use Stored Colour Gradient ![]() option makes your tool use the previously stored gradient position. This way, every new brush line or colour fill will use the stored gradient position.
option makes your tool use the previously stored gradient position. This way, every new brush line or colour fill will use the stored gradient position.


