


Relative Size

The size relation between the props, characters and backgrounds is very important in maintaining consistency and structure throughout the project.
A production can contain many characters and props. It is not unusual for these to be created by different people. If there is no size control implemented, the characters and elements created by different artists can vary greatly. When this occurs, the characters that are placed together in a scene will be out of proportion. The animator or person doing the scene setup will then have to scale them to the correct size.
When a character or prop is scaled down, the outline will become increasingly thinner. By the time the element is scaled to its proper size, the outline may be so thin that a difference between one character's outline and the one beside it will not look very good.
Here are a few tips you can use to create a suitable size relation.

A line up consists of copying and pasting all your character designs into the same drawing and then scaling them to the correct proportion in relation to the other characters. This line up is very important and should be handed to any animator, layout and posing artist or scene setup person working on the project.
For the prop design, it is recommended that you paste one of the main character's hands or even the full body beside the prop. This enables the animator to know what size to draw the prop.
In your character design scene, it is a good idea to create a column for the character line up.The line up is usually done during the character design step. When the character builder imports the model to the breakdown scene, the size relation should be correct.

Harmony includes a field chart in its
It is recommended that you keep the character design and breakdown inside the 12 field size. This ensures that it fits the default camera size and the template thumbnails. If some parts were drawn too big or too far apart, you can use the Reposition All Drawings tool and reposition, scale or rotate multiple drawings from different layers all at once.
Use the Show Grid option to display a grid in the
| Name | Button | Description | Keyboard Shortcut |
|
Show Grid
|
|
Displays the grid |
From the top menu, select View > Grid > Show Grid Press Ctrl + ' (Windows/Linux) or ⌘ + ' (Mac OS X). |
| Square |
|
Displays a standard square grid |
From the top menu, select View > Grid > Square. |
| 12 Field Grid |
|
Displays a 12-field size grid |
From the top menu, select View > Grid > 12 Field Grid. |
| 16 Field Grid |
|
Displays a 16-field size grid |
From the top menu, select View > Grid > 16 Field Grid. |
| Underlay |
|
Displays the grid under the drawing elements | From the top menu, select View > Grid > Underlay |
| Overlay |
|
Displays the grid over the drawing elements | From the top menu, select View > Grid > Overlay |
| 1. | In the Tools toolbar from the Select drop-down menu, select the Reposition All Drawings |
| 2. | To deform or reposition a selection: |
| ‣ | To reposition, click and drag your selection to a new area. |

| ‣ | To scale, pull or push on the top, side, bottom or corner control points. Hold down Shift to lock the selection’s ratio. |

| 3. | When you release your cursor, every drawing contained in the drawing layer you repositioned, scaled, rotated or skewed will follow the same transformation. |
Harmony provides a variety of pens and brushes and also allows you to create and save your own through creating a tool preset.
It is a good idea to create and save pens with precise sizes and parameters to trace and design your models and breakdowns.
| 1. | In the Tools toolbar, select a tool, for example the Brush tool. |
| 2. |
|
| 3. | To set a specific colour for your preset, in the Colour view, select the colour swatch to link to the tool. Note that when using this preset in another scene not using that colour palette, upon selecting this new preset, a colour recovery dialog box will appear asking to add this colour to your scene. |
| 4. | In the Tool Presets toolbar, click the New Tool Preset |
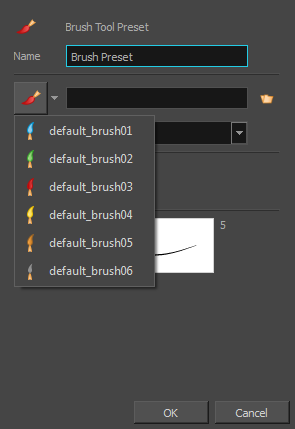
| 5. | In the New Tool Preset dialog box, in the Name field, type a name for your new preset. |

| 6. | From the icon list, select an icon to quickly identify your preset or upload your own by clicking the File |
| 7. | (Optional) From the Shortcut menu, set a keyboard shortcut to quickly access your preset. |
| 8. | When you select any of the following options, they will take effect when you use the tool preset. If an option is deselected, then using a tool preset will not override your current settings. |
| ‣ | Colour: Saves the current colour into the tool preset. |
| ‣ | Tool: Only the colour will be associated. You could, for example, set three different colours with shortcuts. It would use the current tool with the chosen preset colour. |
| 9. | Click OK. |