Inking the Lines
Some animation styles require you to paint the lines, a process also be called inking. To ink your lines, you must be in Line Art mode. You can repaint any type of lines including the texture lines—see Art Layers.
Unless you are repainting all of the lines on the whole animation sequence, do not use the Apply Tool to All Drawings option. Since the line positions change a lot over time, you risk painting lines that are not supposed to be painted.
These are the main tools used to ink the lines:
| • | Repaint Tool |
| • | Repaint Brush Tool |
| • | Ink Tool |
| • | Protecting Colours |
| • | Breaking Triangles |
The main tool used to ink the lines is the Repaint tool. As the colour filling is probably done in the Colour Art, you will not have to worry about not touching it. The Repaint tool will not paint empty zones either.
During the vectorization process on traditional scanned drawings, triangles are added on the lines' intersections to break the artwork in segments. This way, when you paint a line, it will not repaint the whole drawing, only the relevant segment.
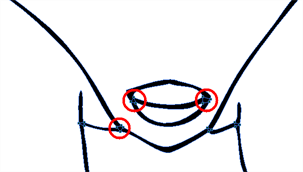
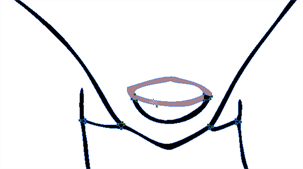
The Repaint Brush tool is used to paint a section by manually painting over the lines. This is useful when the vectorization triangles are not placed as you would like or you simply need to repaint a section of a segment. It is also useful for paperless animation, where there are no triangles. So, the Repaint Brush is used to paint a certain area. It acts like the Brush tool, but will only show on painted areas that are already painted.
Unlike the Brush tool, the Repaint Brush flattens automatically. The brush strokes are not added one on top of each other.
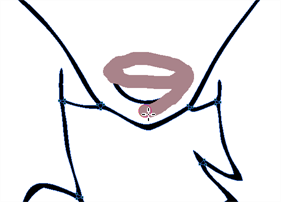
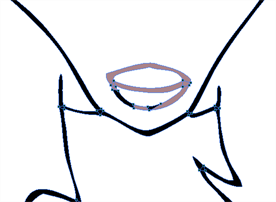
When you are done inking one colour, you can lock it so if you ever paint over it accidentally, the work already done will not be affected. You can also use the Protect Colour feature to block the filling colours if you painted all of the animation in Line Art and you plan to repaint the lines—see Protecting Colours .
The Brush tool is often the most intuitive and rapid tool for creating rough sketches and clean lines. A single colour, such as black, is often used when tracing a clean version of a rough sketch. However, when it comes time to soft trace the lines in different colours, the flattened or unflattened clean brush strokes can suddenly become time consuming to ink.
Toon Boom Harmony lets you create triangular breaks at natural line intersections. These intersections are the probable locations where colour line breaks may occur, such as where a sleeve meets a hand.
Although pencil lines can be painted in much the same way as closed zones, you can use the Paint, Repaint, Repaint Brush, and Ink tools to make painting segmented lines easier. Normally when you have a drawing, such as the one below, and you use the Paint tool to paint one of the lines, the entire line is painted.

However, if you select the Ink ![]() tool instead and click on the same pencil line, only the segment that you clicked on between two intersections will be painted.
tool instead and click on the same pencil line, only the segment that you clicked on between two intersections will be painted.
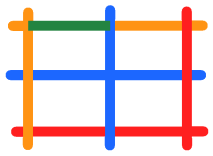
The newly inked segment will always be moved to the front of all other pencil strokes, even if it was behind all other pencil strokes before it was inked.
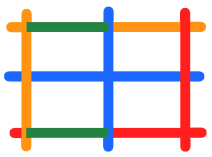
That is, unless you hold down Alt while clicking a segment. Then the opposite becomes true. The inked segment will be sent to the back, even if it was in front of all other segments to begin with.
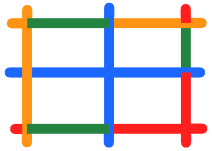
Painting and Inking can be used in combination depending on what it is that you need to paint. If you need to ink a character’s outline in black, it might be easier to use the Paint tool. If you need to paint the outline of a character’s neck with a tan colour and its shirt outline blue and both the neck and shirt belong to the same continuous outline, then the Ink tool might prove more useful.
| 1. | In the Tools toolbar, select the Repaint |
| 1. | In the Tools toolbar, select the Brush |
| 2. | In the Tool Properties view, enable the Repaint Brush |
| 1. | In the Tools toolbar, select the Ink |
| 1. | In the Colour view, select a colour to lock. |
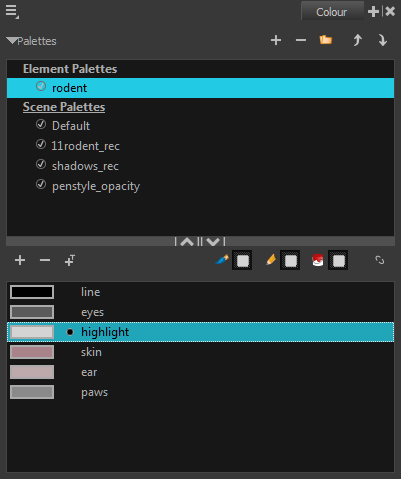
| 2. | Do one of the following: |
| ‣ | Right-click and select Protect Colour. |
| ‣ | From the Colour view menu, select Colours > Protect Colour. |
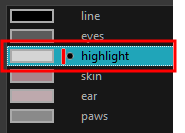
A red bar appears beside the colour to indicate that it is locked.
| 1. | In the |
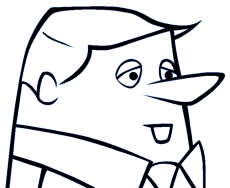
| 2. | From the top menu, select Drawing > Create Breaking Triangles. If your brush strokes are not flattened, they will be flattened automatically before the breaking occurs. |
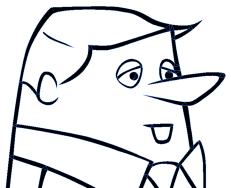
| 3. | Use the Repaint tool |


