Dirt Clean Up
When paper drawings are passed through a scanner, there can be some hair and dirt scattered across them. These lines and dots need to be cleaned. Harmony provides different tools to help get rid of them quickly.
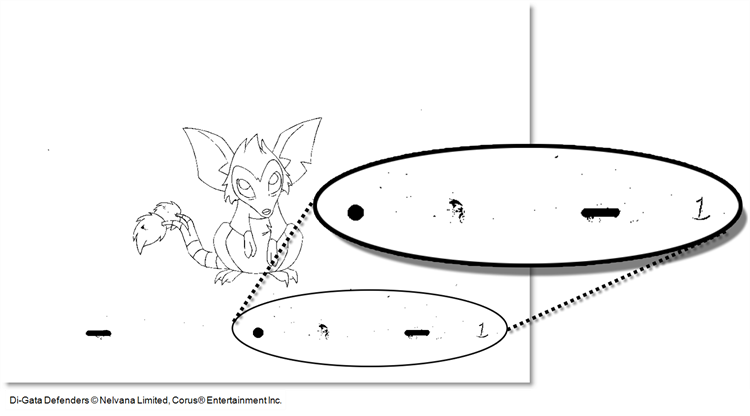
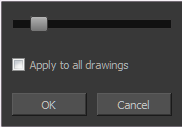
The Remove Dirt tool selects small dots and hairs on the drawing. Raising the Remove Dirt level will select bigger dots. When selecting larger dots, be careful not to lose small details like pupils and nostrils. Once you have chosen the level, you can apply it to the current drawing or the entire animation sequence. This is a quick way to get rid of most dirt and dust.
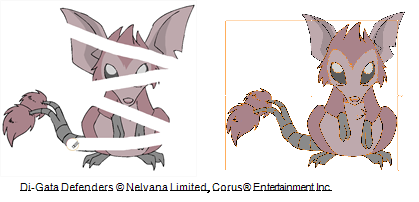
During this process, the dirt that will be removed is highlighted in red.
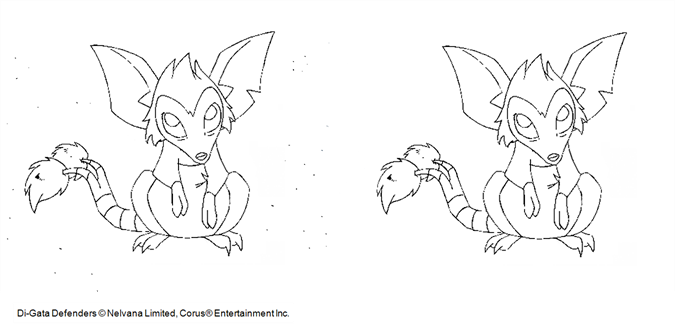
The Remove Art Outside Selection option lets you remove any art existing outside a selection. It is recommended that you clean your Colour Art level as well. If you have a stroke accumulation in your Colour Art, it can result in large output files, especially if you work in high-definition resolutions.
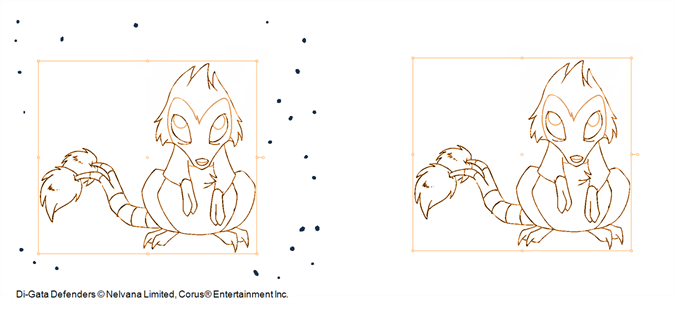
If there are some marks that cannot be removed with the automated tools, you can erase them with the Eraser tool or select them with the Select tool and then delete them. It is always safer to select and delete them than to erase them, so you do not overlook anything.
 How to use the Remove Dirt tool
|
1.
|
Do one of the following: |
|
‣
|
From the top menu, select Drawing > Clean Up > Remove Dirt. |
|
‣
|
From the Camera or Drawing View menu, select Drawing > Clean Up > Remove Dirt. |
|
2.
|
Increase the Remove Dirt value by moving the slider to the right. |
|
3.
|
Enable the Apply to All Drawings if you want to operation to be apply to all drawings in the layer. |
 How to clean dirt with Remove Art Outside Selection
|
1.
|
In the Tools toolbar, select the Select  tool. tool. |
|
2.
|
In the Tool Properties view, enable the Permanent Selection option. |
|
3.
|
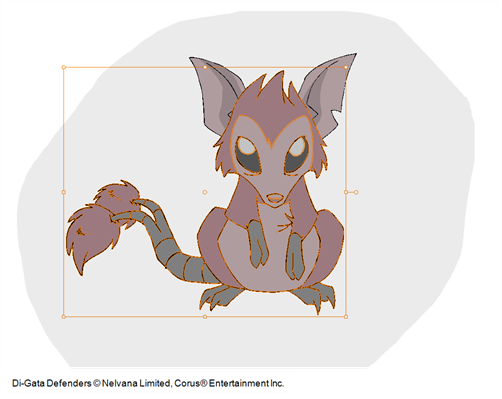
Draw a selection around the animation making sure to include the entire animation sequence. |
|
4.
|
In the Camera or Drawing View menu, select Drawing > Clean Up and one of the following options: |
|
‣
|
Remove Art Outside Selection to delete artwork outside your selection on a single drawing. |
|
‣
|
Remove Art Outside Selection on All Drawings to delete artwork outside your selection on all the drawings. |
The art outside the selection is removed.
 How to clean dirt with Remove Art Outside Selection
|
1.
|
In the Tools toolbar, select the Select  tool. tool. |
|
2.
|
In the Tool Properties view, enable the Permanent Selection option. |
|
3.
|
Draw a selection around the animation making sure to include the entire animation sequence. |

|
4.
|
In the Camera or Drawing View menu, select Drawing > Clean Up and one of the following options: |
|
‣
|
Remove Art Outside Selection to delete artwork outside your selection on a single drawing. |
|
‣
|
Remove Art Outside Selection on All Drawings to delete artwork outside your selection on all the drawings. |
The art outside the selection is removed.

The Remove Art Inside Selection option is used to delete any art inside a selection. We recommend that you clean your Colour Art level as well. If you have a stroke accumulation in your Colour Art, it can result in large output files, especially if you work in high definition resolutions.
You can simultaneously apply this operation to all of your drawings in the layer by using the Remove Art Inside Selection On All Drawings command.
 How to clean dirt with Remove Art Inside Selection
|
1.
|
In the Tools toolbar, select the Select tool. The default keyboard shortcut is [Alt]+[V]. |
|
2.
|
If you want to apply the action on your entire animation, in the Tool Properties view, enable the Permanent Selection option in the Tool Properties view. |
|
3.
|
In the Camera or Drawing view, draw a selection around the animation. (Make sure the area is large enough to include all the zones to be cleaned up on all drawings). |
|
4.
|
In the top menu, select Drawing > Clean up > Remove Art Inside Selection option to delete artwork inside your selection on one single drawing. The default keyboard shortcut is [Del]. |
|
‣
|
To apply the action on all your drawings contained in the layer, in the top menu, select Drawing > Clean up > Remove Art Inside Selection on All Drawings option to delete artwork inside your selection on all the drawings. |

The Remove Hair command is used to remove any small strokes created in the Colour Art from very thick lines or filled zones.
Increasing the Remove Hair level value will select larger strokes for removal from the drawing. You can also s
 How to use the Remove Hair tool
|
1.
|
In the Timeline or Xsheet view, select the drawing containing the drawing to clean. |
|
2.
|
In the top menu, select View > Show > Show Strokes to display the invisible lines. The default keyboard shortcut is [D]. |
|
3.
|
In the top menu, select Drawing > Clean Up > Remove Hair. |
The Remove Hair dialog box opens.
|
4.
|
Move the Hair Selection slider to the right to increase the number and length of hairs to be selected. |
|
5.
|
Enable the Apply to All Drawings option if you want to apply the operation to all the drawings in the layer. |
|
6.
|
Click on the OK button. |
 How to access the Eraser tool
|
‣
|
From the Tools toolbar, click the Eraser  button. button.
|
|
‣
|
From the top menu, select Drawing > Drawing Tools > Eraser. |
|
‣
|
From the Camera or Drawing View menu, select Drawing Tools > Eraser. |
 How to access the Select tool
|
‣
|
From the Tools toolbar, click the Select button. button.
|
|
‣
|
From the top menu, select Drawing > Drawing Tools > Select. |
|
‣
|
From the Camera or Drawing View menu, select Drawing Tools > Select. |


