Preparation
Before painting, you need to organize the colour model scenes and bring in your references. The colour styling preparation is done in five steps:
| • | Colour Model Storage |
| • | Scene Creation |
| • | Setting Up the Workspace |
| • | Naming |
Colour Model Storage
First, you will need to create a storage location for all your models and palettes. The best way to do this is to create a colour model scene. There are different possibilities available to structure your designs and colour model scenes. We strongly recommend that you put all of your colour models in the same scenes. It is important to maintain a structure for your models so they do not end up scattered throughout the project.
There are four main model categories:
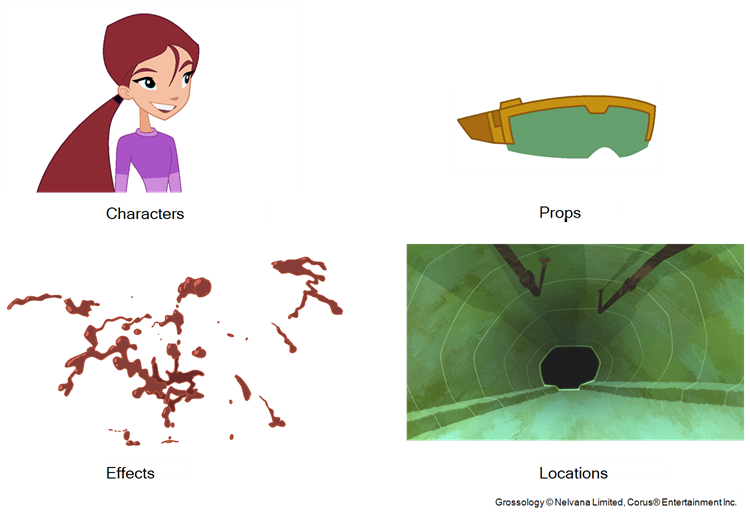
If you have a small project, such as a short or an advertising contract, you can always place all the characters, props, effects, and locations in the same scene. For large projects such as feature-length productions or series, you should create four separate model scenes following these categories.
Scene Creation
In order to create colour models, you need to create your scenes.
When working on a paperless or cut-out animation project, if you have designed your characters, props, effects and locations directly in Harmony, you can paint your models directly in your design scene. You can also create a new colour model scene and import your designs in that one. Refer to the Fundamentals Guide to learn more about creating a scene.
If you have not already done so, refer to the Fundamentals Guide to learn about production structure, file organization, and how to create a Project root directory. We recommend storing your colour model scenes in the root directory or in a colour models subdirectory for even better organization.
A useful way to name your colour model scene is to include the project name, then the colour model type such as characters, props, effects, or locations, and finally colourmodel. For example, a character colour model scene for the Adventure project would be named adventure_characters_colourmodel. This ensures that you always know what scene corresponds to what.
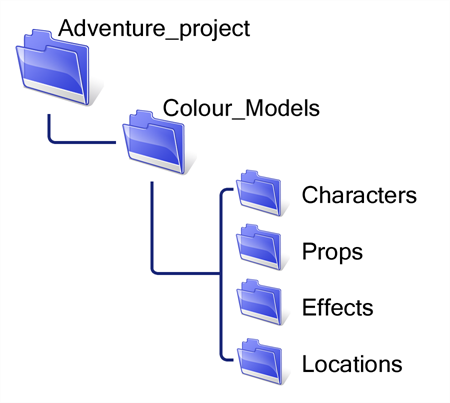
To learn how to create environment, job, and scene for your colour models, refer to the Control Center and Server Guide.
Colour Model Scene Structure
To store your colour models in a scene, it is recommended that you create one drawing layer for each character, prop, effect, or location. You should name these according to the model.
You can also load other colour references in the scene to balance your overall colours. For example, if you work in a character colour model scene, it is a good idea to import some of the key locations to compare and adjust the colours so they match well.
Setting Up the Workspace
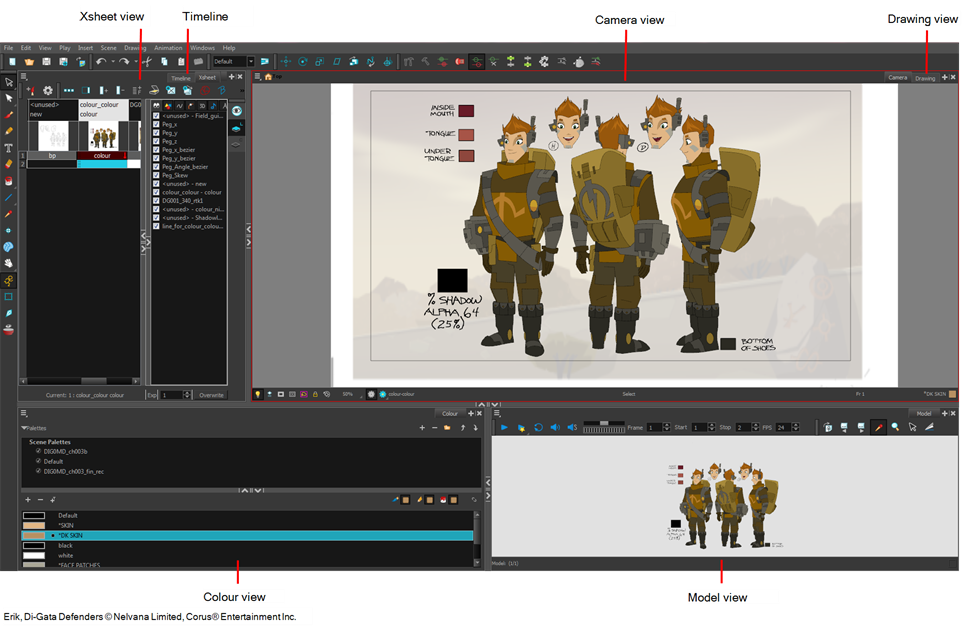
Now that your scenes are created and structured, you can open the corresponding colour model scene. For the optimal workspace for inking and painting, set up your workspace with these views:
| • | Xsheet |
| • | Camera |
| • | Drawing |
| • | Colour |
| • | Model |
Naming
Now that your models are imported, you can rename them appropriately. You should rename elements (layers) and drawings corresponding to the model. This will help keep the work organized and make it easy for others to follow.
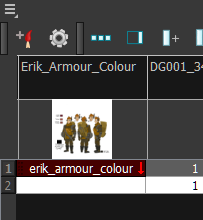
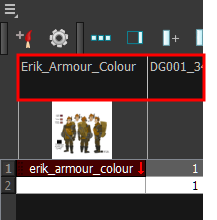
For example, if there is a black and white character model called Erik in one drawing element and its colour models in another one, rename your elements to include the character's name. For example, the colour model for Erik's armour could be named: erik_armour_colour.
| 1. | Do one of the following: |
| ‣ | In the Xsheet view, double-click on the column header of the drawing element. |
| ‣ | In the Timeline view, double-click on the drawing element's layer. |

The Layer Properties window opens.
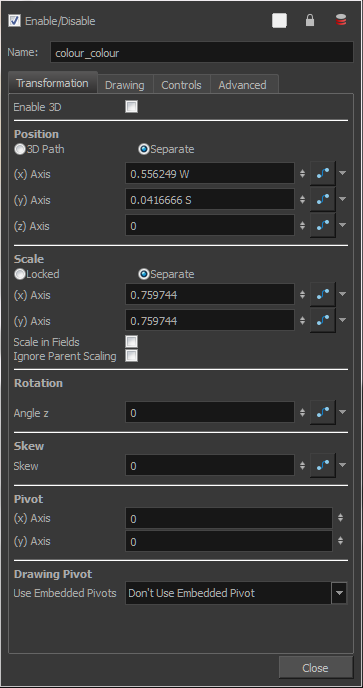
| 2. | Type in a new name. |

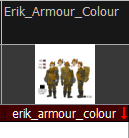
| 1. | In the Xsheet view, click on a drawing name. |
| 2. | Do one of the following: |
| ‣ | From the Xsheet menu, select Drawings > Rename Drawing. |
| ‣ | Right-click on the drawing name and select Drawings >Rename Drawing. |
| ‣ | Press Ctrl + D (Windows/Linux) or ⌘ + D (Mac OS X). |
The Rename Drawing dialog box opens.

| 3. | Type in a new name and click OK. |


