


Scene Preview Clip
It is possible to view the preview clip for a scene from Harmony Cloud. It is also possible to configure Harmony Stage to automatically render a video and image to be set as the Cloud preview clips.
Here are the image and clip formats supported by Harmony Cloud:
| • | bmp |
| • | gif |
| • | jpg |
| • | mov |
| • | png |
| • | tif |
| 1. | Select the Database tab. |
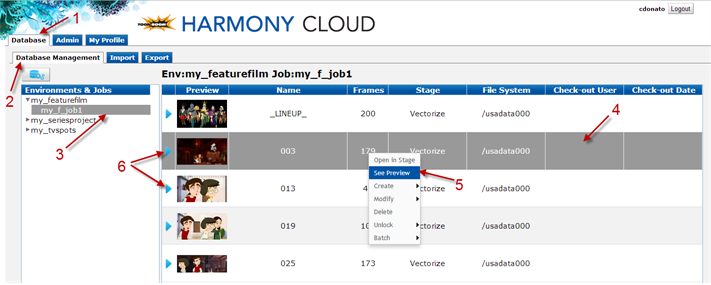
| 2. | Select the Database Management tab. |
| 3. | Select an environment and then a job. |
| 4. | Select a scene from the Scenes list. |
| 5. | Right-click and select See Preview or click the  button. button. |
| 1. | Run Harmony Stage in database mode. |
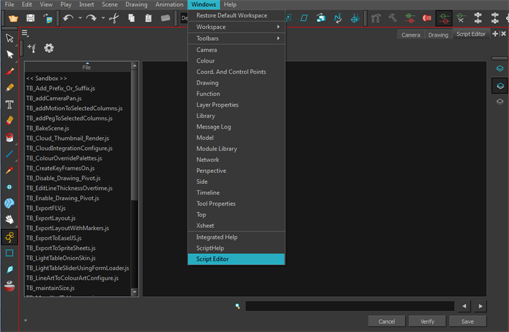
| 2. | Select Windows > Script Editor to enable the Script Editor view. |
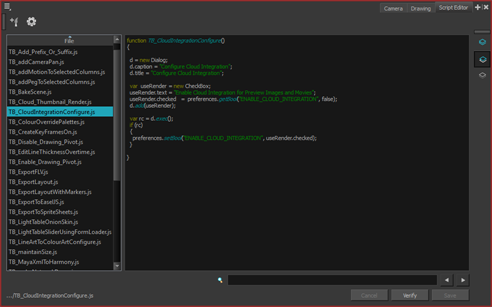
| 3. | From the list of scripts, select TB_CloudIntegrationConfigure.js. |
| 4. | From the view menu, select Play/Debug > Run. |
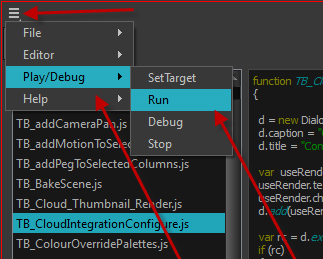
The Run dialog box opens.
| 5. | From the Files list, select TB_CloudIntegrationConfigure. |
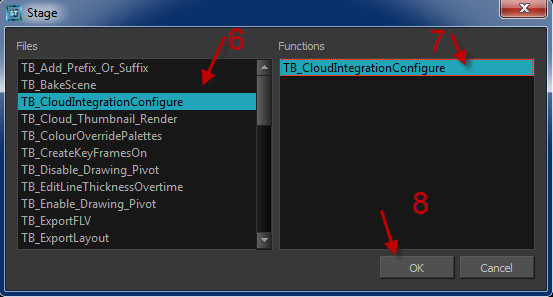
| 6. | From the Functions list, select TB_CloudIntegrationConfigure. |
| 7. | Click OK. |
| 8. | Select the Enable Cloud Integration for Preview Images and Movies option. |
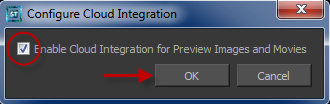
| 9. | Click OK. |
| 1. | Run Stage in database mode. |
| 2. | Right-click on the toolbar of your choice and select Customize. |
| 3. | In the Available Tools panel, locate the tb_cloud_thumbnail_render in TB_Cloud_Thumbnail_Render.js script. |
| 4. | Click the Move Right  button. button. |
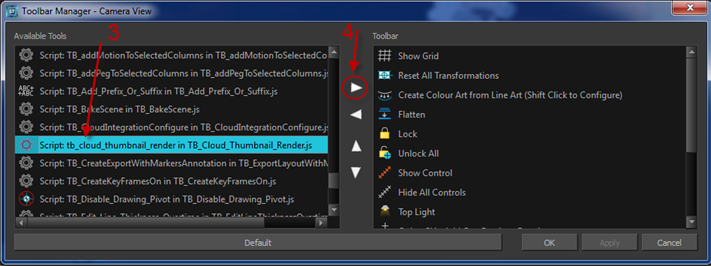
| 5. | Click Apply. |
| 6. | Click OK. |
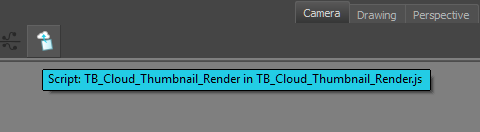
The new button appears in your toolbar.
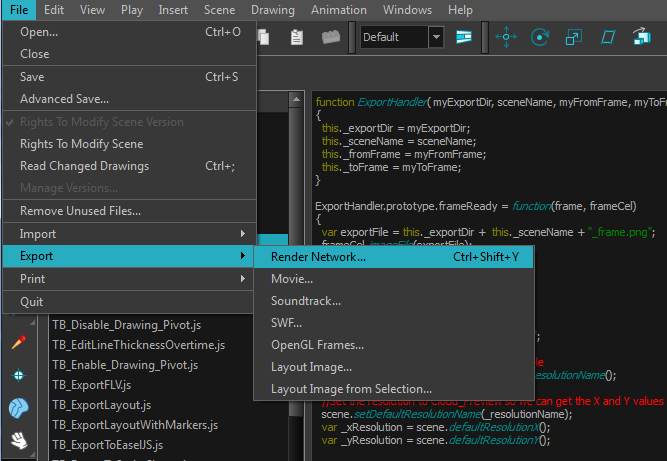
| 1. | From the top menu, select File > Export > Render Network. |
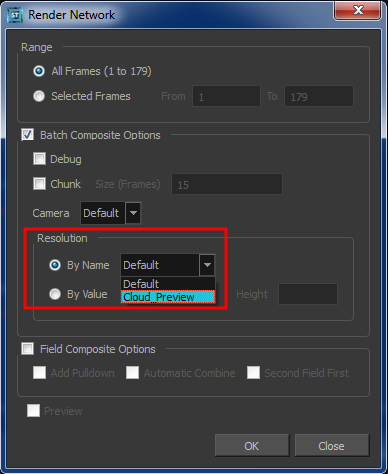
| 2. | In the Batch Composite Options (Resolution) section, select the By Name option and then select Cloud_Preview. |
| 1. | In Harmony Stage, go to the Camera view . |
| 2. | Select the frame you want to render in your timeline. |
| 3. | Click the script button you added to your toolbar—see How to create a preview image of the current frame. |