Activity 1: Gathering Content
Harmony allows you to draw directly in the software, and import external content.
You can import QuickTime videos, pictures, multilayered PSD files, as well as AI, SWF and PDF files.
Material Provided for This Lesson
The sample material for this activity consists of a template which was previously loaded into your Template Library, as well as an image and video file which can be imported into your project.
Setting Up the Living Room
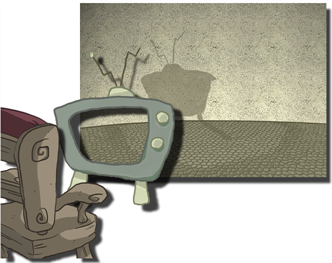
For some of your projects, you will probably want to paint your backgrounds using a bitmap editing software, such as Adobe Photoshop. With Harmony, you can import multilayered PSD backgrounds and keep the layers separated.
You can use the background_tv.psd image file provided with the Sample Material: Sample Material > 02_HAR_Assets > Lesson_
Preparing and Importing a PSD File
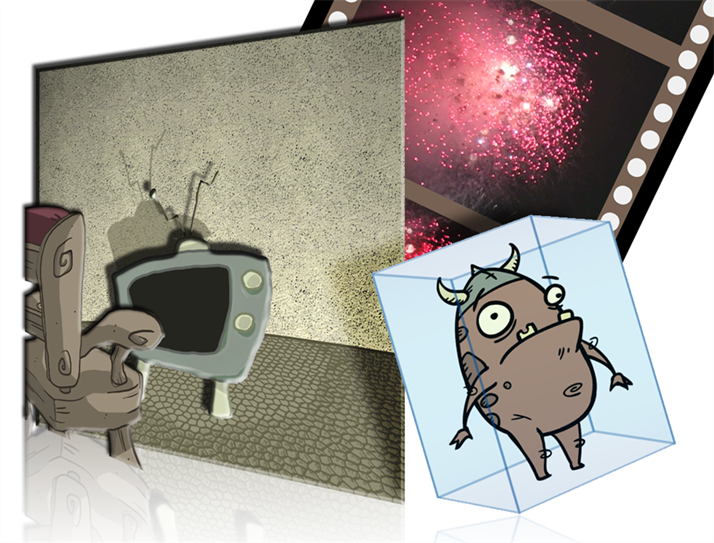
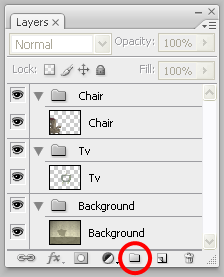
To start building the scene, we will import a living room background which consists of three layers: a wall, a television and a chair. We will import the file so each one of these PSD layers will be inserted in a separate timeline layer.
To do this, you must group your layers in Adobe Photoshop.
To prepare and import a PSD file:
| 1. | In Adobe Photoshop, group your layers. Each PSD layer you want on a separate timeline layer must be in a different group. If you want some of your PSD layers to be integrated in the same timeline layer, insert them in the same group. Before saving your PSD file, make sure its mode is set to RGB. |
If you name your groups, their name will be preserved once your import the file in Harmony.
| 2. | In Harmony, select Files > Import > Images. |
| 3. | In the Import Drawings dialog box, browse for the PSD file to import: Sample Material > 02_HAR_Assets > Lesson_ |
| 4. | In the Layer section, select the Create Layer(s) and Create Single Layer Named options. |
| 5. | Deselect the Vectorize the Imported Items option and click OK. |
| 6. | In the Multilayer Image Import Settings dialog box, select All Layer Images from Image to Load menu. |
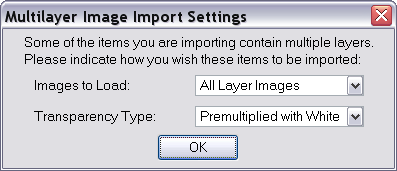
| 7. | Select the Transparency Type if applicable and click OK. |
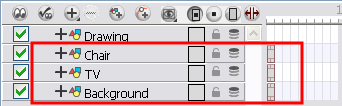
Your background appears in the Timeline view and the new layers are named as your PSD groups. The only thing left to do is to extend their exposure.
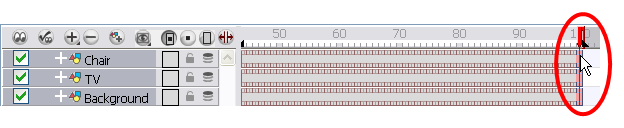
| 8. | In the Timeline view, select the last cell of each layer and press [F5] to extend their exposure. |
Importing a QuickTime Movie
If you have a live-action clip you want to integrate into your project, you can do it with Harmony. Using Harmony you can import QuickTime movies. This allows you to integrate your videos with your animation.
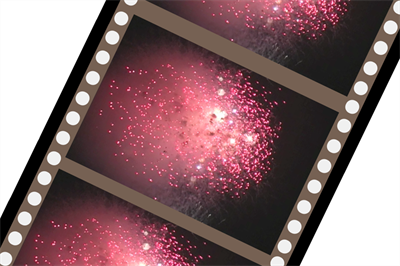
If your clip is not a QuickTime movie, you need to convert it to *.mov format first. You can do this using an editing software. In this example, we import a Happy New Year fireworks clip that we will position inside the television.
You can use the fireworks.mov movie file provided with the Sample Material Package: Sample Material > 02_HAR_Assets > Lesson_
To import a QuickTime movie:
| 1. | From the top menu, select Files > Import > Movie. |
| 2. | In the Import QuickTime Movie dialog box, browse for the movie to import and click Open. |
Your movie is transformed into an image sequence and a sound layer is added for the sound (if any).

Once the import process is completed, you will be asked where and how you want to insert your movie’s images.
| 3. | In the Import Images dialog box, select the Create Layer(s) and Create Single Layer Named options. |
| 4. | Name your new layer with a relevant name. |
| 5. | Deselect the Vectorize the Imported Items option. |
| 6. | Select the Create Symbol for Imported Items option if you want your movie to be a Symbol. |
| 7. | Click OK. |
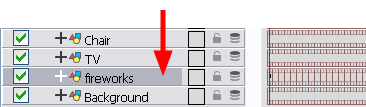
| 8. | In the Timeline view, drag and drop the fireworks layer below the TV one. |
| 9. | In the Tools toolbar, select the Transform |
| 10. | In the Timeline view, select the QuickTime Movie layer. |
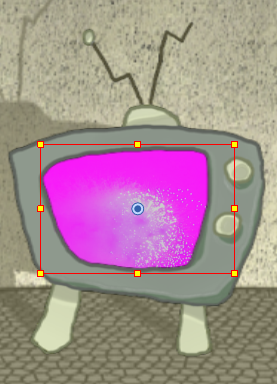
| 11. | In the Camera view, resize your clip to the tv screen size. Hold [Shift] to maintain the aspect ratio of the movie. |
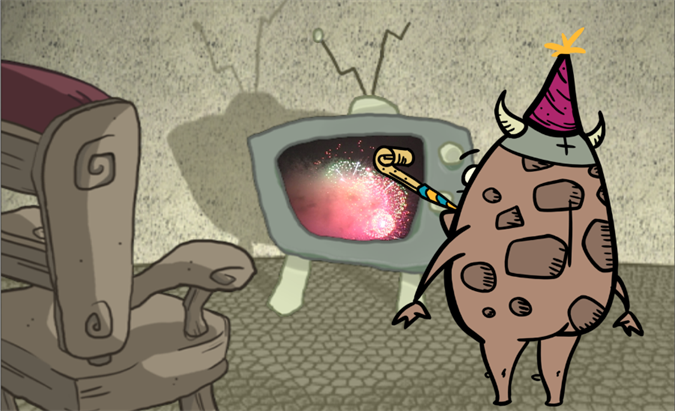
Making the Limpa Character Celebrate

Now that the living room is ready for the celebration and the television is switched on, locate the Limpa character’s template in the Library and import him into the scene. Limpa was previously designed and stored in the sample library as a template.
A template is a small scene or container that you can import into any of your projects and its content will be copied in your scene.
To import Limpa’s template:
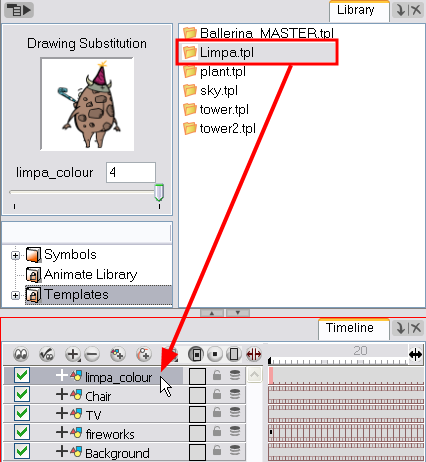
| 1. | In the Library, select the Templates folder and then select the limpa_colour.tpl template 01_HAR_Templates > Lesson_18 > 01-Gathering_Content |
| 2. | Drag the selected template to the Timeline view. |
| 3. | Use the Transform |
| 4. | Play back |