Creating Scenes, Elements and Drawing Lists
To be able to scan your drawing, you must have a scene, element and drawing list ready. You can create these directly from the Harmony Scan module without having to go through the Control Center.
To create a scene from the Harmony Scan module:
| 1. | Launch the Harmony Scan module and log in the database using your Harmony user name. |
The Database Selector dialog box opens, displaying the Environments available from the Harmony database.
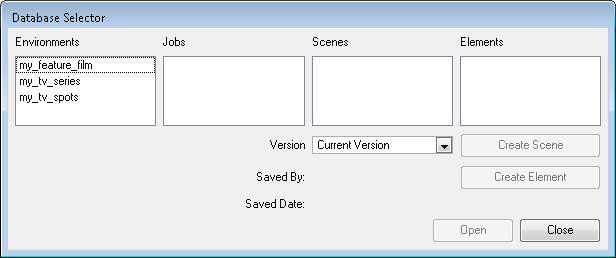
| 2. | Select the Environment and the Job in which you want to a Scene in. |

| 3. | Click on the Create Scene button |
The Create Scene dialog box opens.
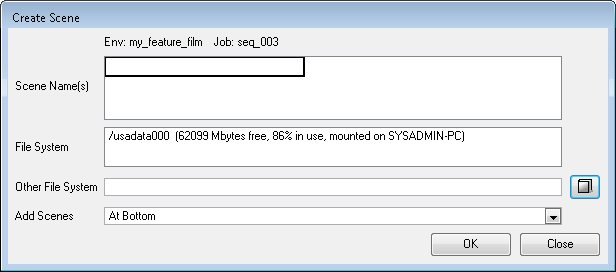
| 4. | In the Scene Name(s) field, type the new scene’s name. |

| ‣ | Press [Enter] after each scene’s name to create more than one scene. |
| 5. | Select the file system from the File System list. |

| ‣ | Click on the Other File System browse button to select another file system to use. |
Refer to the Toon Boom Server Guide to learn more about creating project in the database.
| 6. | Select where you want to position your new scenes in the database scene list using the Add Scenes drop-down menu. |

| ‣ | At Bottom: The new scenes will appear at the bottom of the scenes list. |
| ‣ | At Top: The new scenes will appear at the top of the scenes list. |
| ‣ | Name Sort: The new scenes will be sorted out in the scene list following their alphanumerical order. |
| 7. | Click on OK. |
The new scenes appear in the Database Selector.
