Toon Boom Studio uses colour palettes to add colour to your project.
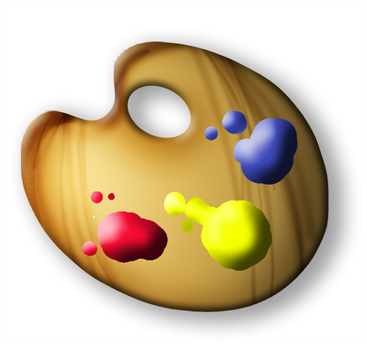
The idea behind a colour palette is to create a set of colours for each character, object or background that you reuse each time you have a new drawing to paint. If you create a teddy bear character, you create a teddy bear colour palette that you use each time that character appears in your project.
You do not use that teddy bear palette to paint a bedroom background or a doll. You would create new palettes specifically for each of those. This way, colours never get mixed up and your character is always the same colour scheme. It also makes your work more organized.
Using a colour palette has many benefits, including:
| • | Characters consistently retain dedicated colours |
| • | You cannot accidentally use a colour which is not in the palette |
| • | Standardization and colour consistency throughout the project |
| • | The results are repeatable, no matter who uses the colour palette |
A palette is created by assigning a set of colours to each character, prop or effect. You can create a new palette and add a new colour, known as a colour swatch, for each zone on the character, such as the skin, hair, tongue, shirt, pants, etc.
This topic is divided as follows:
| • | Creating a Colour Palette |
| • | Renaming a Colour Palette |
| • | Deleting a Colour Palette |
| • | Duplicating a Colour Palette |
| • | Creating a Palette Style |
| • | Assigning a Style |
| • | Deleting a Style |
| • | Mixing the Colours |
| • | Exporting a Colour Palette |
| • | Importing a Colour Palette |
The first step in the palette process is to create a new palette rather than using the default palette to paint all of your drawings.
| 1. | In the Colour Palette view, click the Menu  button and select Palette > New Palette. button and select Palette > New Palette. |
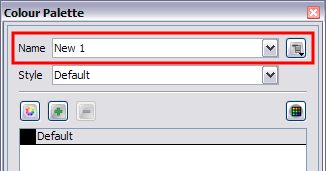
The new palette appears in the Colour Palette view.
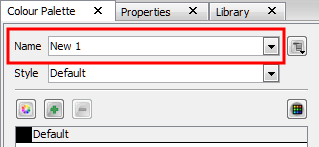
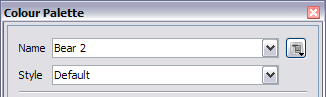
The Rename Palette dialog box opens.
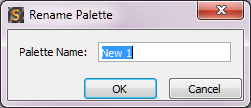
| 2. | In the Palette Name field, type the new palette's name and click OK. |
| 3. | Analyze the character or background you want to create this palette for and list all the colour swatches you need to paint it. |
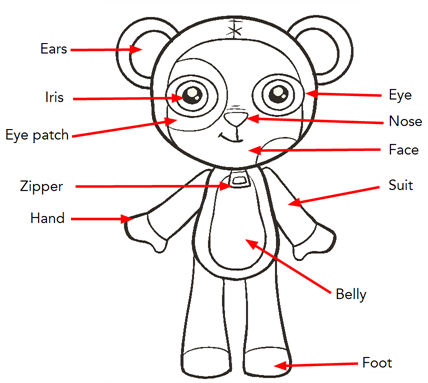
| 4. | Add the colour swatches needed—see Adding a Colour Swatch . |
To keep your palette organized, you can rename them to better represent who and what they are used for.
To rename a palette:
| 1. | In the Colour Palette view, select the palette to rename. |
| 2. | Click the Menu button and select Palette > Rename Palette. |
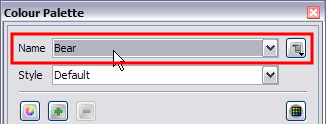
The Rename Palette dialog box opens.
| 3. | In the Palette Name field, type the new palette's name and click OK. |
You can remove palettes from your Palette list if they are not needed in your scene.
| 1. | In the Colour Palette view, select the palette to remove. |
| 2. | In the Colour Palette view, click the Menu button and select Palette > Delete Palette. |
A Warning dialog box opens to confirm the operation.
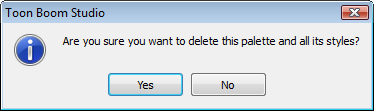
| 3. | Click OK. |
| ‣ | If the palette was in use in your scene, the zones painted with its colours turns red. |
If you have two characters using similar colours and colour pots, you can use the Duplicate palette option to copy the existing palette and modify the new one instead of creating a new palette from scratch. This saves time creating new colour swatches and renaming them.
| 1. | In the Colour view, select the palette to be duplicated. |
| 2. | In the Colour Palette view, click the Menu button and select Palette > Duplicate Palette. |
The new palette appears in the Colour Palette view.
| 3. | In the Colour Palette view, click the Menu button and select Palette > Rename Palette. |
The Rename Palette dialog box opens.
| 4. | In the Palette Name field, type the new palette's name and click OK. |
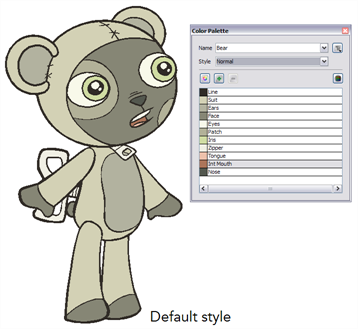
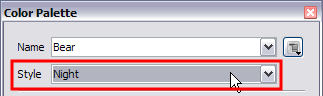
A character usually has one colour palette, although there are times when the characters are placed in different lighting conditions and require a different colour shading. The night palette is a popular choice when a scene or sequence changes from day to night. It can be difficult and time-consuming to repaint everything and creating two independent palettes can be quite complex. As an alternative, you can create a palette style.
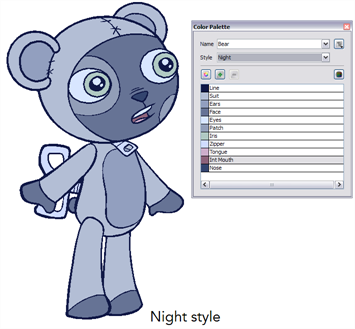
The palette style is a copy of the main palette. The colours in each palette have the same properties. The colours have the same identification number pointing to the same colour painted zones, the same names, but the swatches can be different colours. Depending on the selected style (night or day), the painted drawing updates. There is no need to repaint the animation, only to create or import a clone palette (palette style).
To create a palette style:
| 1. | In the Colour Palette view, select the palette you want to create a new style for. |
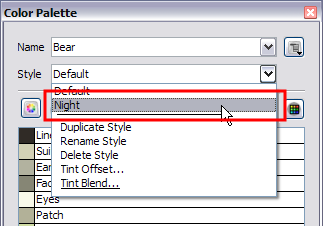
| 2. | In the Colour Palette view, click the Menu button and select Style > Duplicate Style. |
The new style appears in the Style list.
| 3. | In the Colour Palette view, click the Menu button and select Style > Rename Style. |
The Rename Style dialog box opens.
The Rename Palette dialog box opens.
| 4. | In the Palette Name field, type the new palette's name and click OK. |
In the Colour Palette view, you can modify the colours individually by using the Colour Picker window or all at once using the Tint Panel window.
Once you paint a character with a palette, you may want to assign a different style to it. Note that the style is used for the entire length of the scene. You cannot use two different styles in one scene. Although, you can use a different style for each scene in the project.
| 1. | In the Colour Palette view, open the Style list and select the palette style to use for the current scene. |
If a style is not needed anymore, you can delete it from the Style list.
| 1. | In the Colour Palette view, select the palette you want to delete a style from. |
| 2. | In the Colour Palette view, click the Menu button and select Style > Delete Style. |
The zones painted with the current styles are now painted with the default style.
If you want to modify a series of colours at once to blend a tint in them or offset their colour, you use the Tint Blend or the Tint Offset panels. These panels are quite useful when creating palette styles such as "night" and "day" styles.
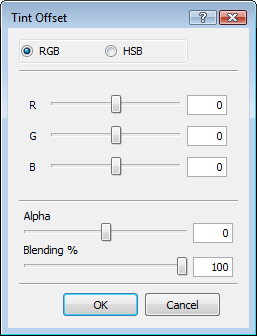
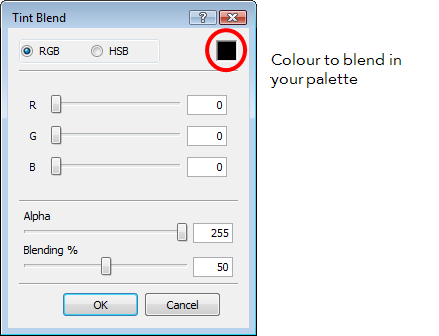
The Tint Offset panel takes all the current colours in your palette and changes their tints. The Tint Blend panel takes a selected colour and applies it over your current colours.
To mix colours:
| 1. | In the Colour Palette view, select the palette and the style to offset or blend the colours for. |
| 2. | In the Colour Palette view, click the Menu button and select Style > Tint Offset or Tint Blend. |
The Tint Offset or the Tint Blend panel opens.
| 3. | To modify your colours: |
| ‣ | In the Tint Offset panel, move the R (red) slider to the right to increase the amount of red in your palette. Slide it to the left to remove the amount of red in your palette. You can do the same with the G (green) and B (blue) sliders. |
| ‣ | In the Tint Blend panel, move the R (red) slider to the right to increase the amount of red in the colour to blend in your palette. Slide it to the left to remove the amount of red in the colour to blend in your palette. You can do the same with the G (green) and B (blue) sliders. |
| ‣ | If you select the HSB mode rather than the RGB mode to modify your colours, you can modify the colour the same way by moving the H(hue), S (saturation) and B (brightness) sliders left or right. Those are simply two different ways of selecting a colour. Some people are more comfortable modifying colours by changing the Red, Green and Blue amounts and others are more comfortable changing the Hue, Saturation and Brightness values. |
| ‣ | If you want your colours to become semi-transparent or your semi-transparent colours to become opaque, move the Alpha (transparency) slider left or right to increase or decrease the transparency level. |
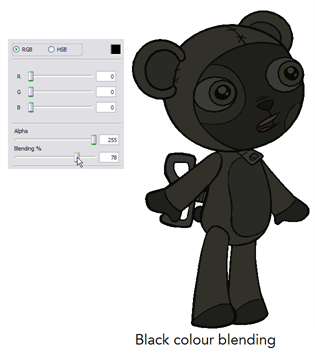
| ‣ | Finally, increase or decrease the Blending amount to indicate how strong the blending or offset of the colours should be. |
If you blend a colour in your palette, the blending amount progressively turns all your colours into that same colour. If you offset your colours, all the colours progressively changes to another tint, but they do not necessarily end up all the same colour.

| 4. | Click OK. |
When you work on a project, you should create a backup for your palettes. Since you can modify all the colours throughout the whole project, export your palettes once they are final and keep them in an external folder.
Also, it is quite possible that you will reuse your characters in other projects and you will want to reuse the colour palettes you already created instead of recreating them. You simply need to export your palette from the previous project and import it in the new one.
| 1. | In the Colour Palette view, click the Menu button and select Palette > Export Palette. |
The Export Palette dialog box opens.
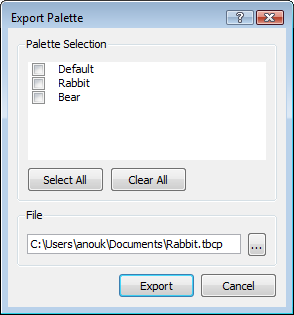
| 2. | In the Palette Selection section, select the palettes you want to export. |
| 3. | In the File section, click the Browse button and select a location to save your backup palettes. |
| 4. | Click Export. |
If you created a palette in another project and you would like to import it in your current project, you can browse for the palette file on your computer and add it to your project. When the palette is imported in your scene, the file is copied in the project's directory. It is not linked to the original file.
To import a palette into your project:
| 1. | In the Colour Palette view, click on the Menu button and select Palette > Import Palette. |
The Browser window opens.
| 2. | Browse for a palette file located on your hard drive. |
| 3. | Click Open. |
The palette appears in the Palette list.