
Download Documentation
Tracing

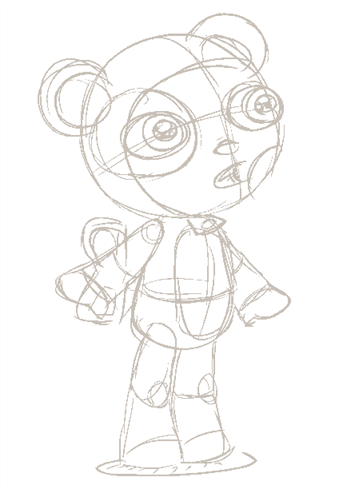
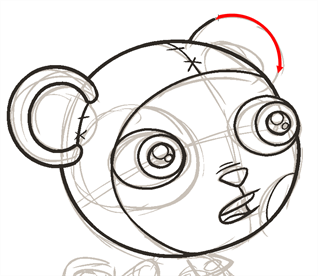
Once you have sketched a rough version of your design, the next step is to trace it. Tracing lets you determine the final look and line style of your drawing. Toon Boom Studio has many tools available for you to trace and perfect your drawing line.
To trace a drawing:
|
1.
|
In the Drawing Tools toolbar, select the Brush  tool or press [@]. tool or press [@]. |
|
2.
|
In the Pen view, set the look of the brush: |
|
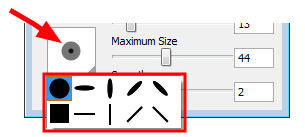
‣
|
Click the Brush Preview area and select a brush shape. |
|
‣
|
Use the sliders to set the Minimum and Maximum brush sizes. |
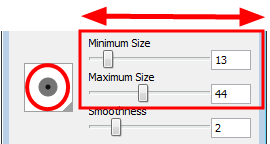
As you set your brush size, the Brush Preview area displays the Minimum size of the brush in black and the Maximum size in dark grey.
|
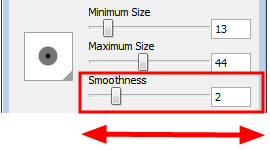
‣
|
You can also set the Smoothness value of the Brush tool. Use this option to smooth out the brush stroke after you trace it. The higher the value, the more smoothness will be applied to your line. |
|
3.
|
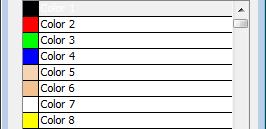
In the Colour view, select a default colour swatch to change the colour of the Brush tool. |
|
4.
|
In the Timeline or Exposure Sheet view, click the Add Drawing Element  button to add a new drawing layer. button to add a new drawing layer. |
|
5.
|
In the Timeline or Exposure Sheet view, select the cell of the new drawing layer corresponding to the frame your sketch is in. |

|
6.
|
To see your sketch as a reference, do one of the following: |
|
‣
|
In the Onion Skin toolbar, click the Auto Light Table  button. button. |
|
‣
|
Select View > Turn Auto Light Table On. |
Your sketch drawing layer appears washed-out in the Drawing view.
|
7.
|
Sometimes it helps to hide elements, specially when there are many drawing layers. You can hide elements in the Drawing view using the Exposure Sheet view, so you can focus on a specific layer. |
|
‣
|
In the Exposure Sheet view, select the column containing the drawing you want to hide and select
Element > Display > Exposure Sheet > Hide. |
|
‣
|
To hide all the drawing columns except the currently selected ones, select
Element > Display > Exposure Sheet > Hide All Others. |
|
‣
|
To show again the hidden columns, select
Element > Display > Exposure Sheet > Show All Exposure Sheet Elements. |
|
8.
|
In the Drawing view, trace your character. |
|
9.
|
You can use the Rotary Table to rotate your workspace in the same way as you would rotate a sheet of paper you are tracing on: |

|
•
|
Press and hold [Ctrl] + [Alt] (Windows) or [Ctrl] + [⌘] (Mac OS X) to display the rotary table and then click and drag inside the drawing view to rotate the workspace. |
|
•
|
Select View > Reset Rotation or press [Shift] + [C] to reset the rotation of the view. |
Once you are comfortable using the Drawing tools, you can improve your line art using the Contour Editor tool.
Related Topics