Once you import your cut-out puppet into your Studio project, you can start animating it.
To animate a puppet:
| 1. | In the Animation Tools toolbar, select the Transform Tools > Animation Tools > Transform or press [7]. |
| 2. | In the Timeline view, go to the frame where you want to set the first pose of your puppet. |

| 3. | In the Camera or Timeline view, select the parts to animate. |
| ‣ | If your puppet is collapsed, click the top layer arrow to expand it. |
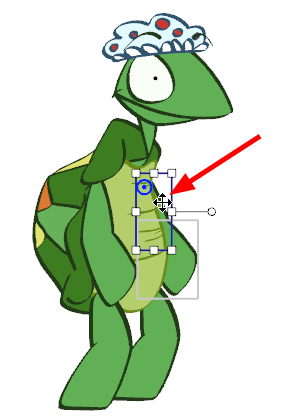
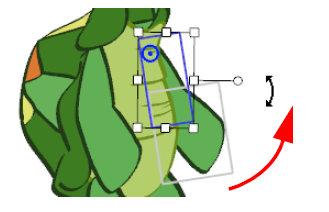
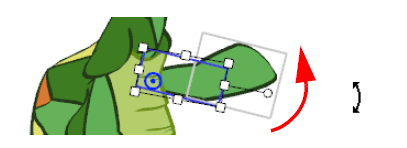
| 4. | Use the Transform tool to rotate, skew, scale or translate the selection to its new position. |
A keyframe is created in the Timeline view. If your puppet is collapsed, note that you do not see the keyframe on the master peg layer.
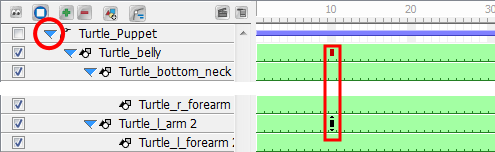
| ‣ | If you expand the elements of your puppet by clicking the arrow next to the master peg element, you will notice a red square on the parent element of the element you moved. This is an indication that a child of this element has a keyframe. |
| ‣ | A black square on the element you moved represents the keyframe. |
| 5. | In the Timeline view, go to the frame where you want to set a second keyframe. |

| 6. | In the Camera view, animate your character. |
Once you position your puppet, you can create a keyframe for all the elements of your collapsed puppet and block the complete body at a specific frame.
To block the entire body position:
| 1. | In the Timeline view, on the master peg, select the frame at which you want to block your puppet's position. |
| 2. | Select Element > Peg > Add Keyframe or press [l]. |
