When Toon Boom Studio starts, the Welcome Screen appears. This screen is also accessible once you are inside a project. To display the Welcome Screen from within the application, you must close the current project by selecting File > Close. This command closes the scene which is currently open.
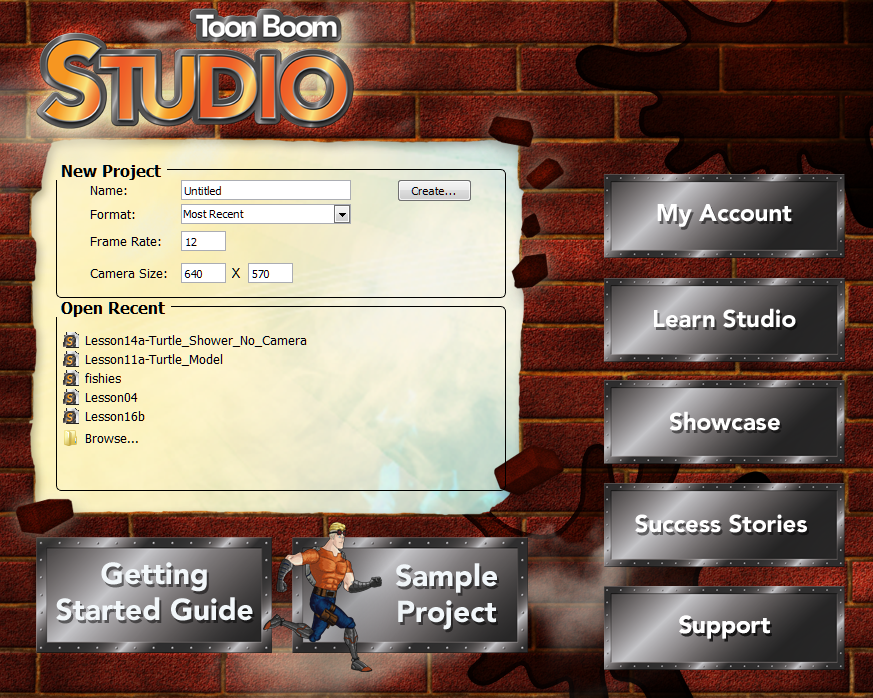
To create a project from the Welcome Screen:
| 1. | In the Name field, type a name for your new project. Make sure to give it a name which easily identifies the project, such as JumpingFrog. That way, when you have several projects, you can locate specific ones more easily. |

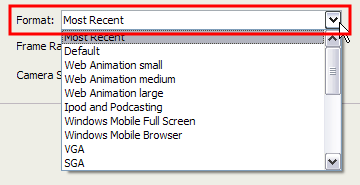
| 2. | In the Format list, select the format in which you want to produce your project. |
You can choose from a wide variety of presets such as Web, iPod and DV. By default, the option selected is Most Recent. This means that it will use the last setting you chose when creating your last project.
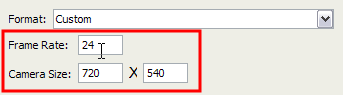
When you create a project for the first time, it will use the settings marked in the Frame Rate and Camera Size field. By selecting any of the presets, the Frame Rate and Camera Size fields will be automatically populated with the corresponding values.
| 3. | If you prefer to use your own settings, you can type the Frame Rate and the Camera Size directly in the fields. |
| 4. | Once the information is in place, click Create to make your project. |
The new project opens.
Now that you have created a new project, the next step is to save it to the correct location.
It is a good idea to follow a structure when saving your work, so that your files are not scattered all over your computer.