Uploading and Updating Snapshots
If Producer is not integrated with Harmony or any other option updating the task snapshot automatically, a user can manually upload a snapshot.
If Producer is integrated with Harmony, you can push the asset snapshot automatically from Harmony using a script.
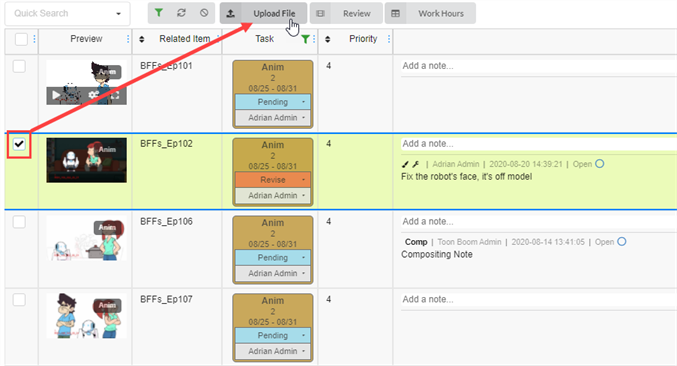
- In Open Tasks, check the box on the far left for the scene(s) you wish to upload a image or video.
- Select Upload File.
The Upload Preview window opens.
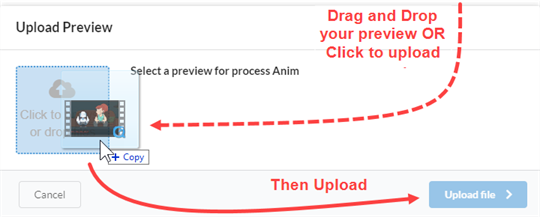
- In the Upload Preview window, you can either drag and drop your new preview or click and upload it.
- Select Upload.
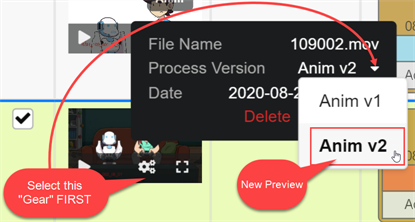
- In the Image area, select the Gear icon that appears when you hover your mouse over the window.
A new window opens.
- Here you can view the old preview and the new one. Producer automatically makes the latest upload the default preview.
- In Harmony, select the Asset Snapshot script within the asset scene you wish to upload.
A new window opens.
- The window may display an error at first because it associates the scene name as an asset. Enter in proper asset name.
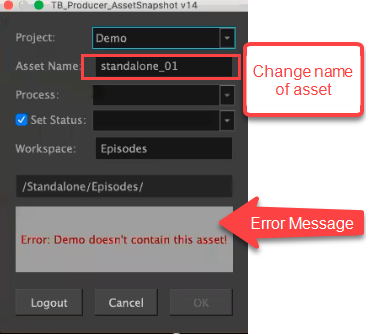
Harmony then communicates with Producer to recognize the Process you have in place.
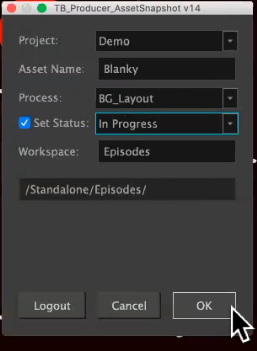
- Set your Process and set your Status (keep the box to the left checked).
- Click OK.
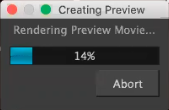
A new window will open showing the progress in Rendering Preview.
The Preview Confirmation dialog box opens.
- Select Upload.
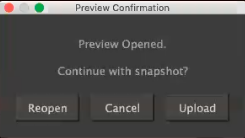
A confirmation window opens.
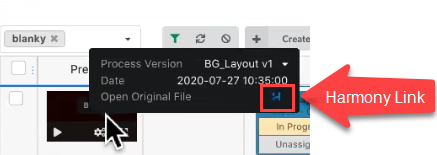
NOTEIf you view your asset in Producer, they will have a Harmony icon in the preview window linking directly to the original Harmony file.