Zones of Influence
To increase the quality of your animation and the accuracy of the deformation effect, you can modify the zones of influence around the deformation chains. A Zone of Influence is the area around the deformer within which art will be influenced by the deformation. The deformer has the power to shape all art contained within the influence area on its own element or on its children elements.
Zones of Influence are different depending on the deformer type and zone type you selected:
You can find the settings for the zones of influence in the Layer Properties of the Curve, Bone and Articulation modules as well as in the Rigging Tools Properties.
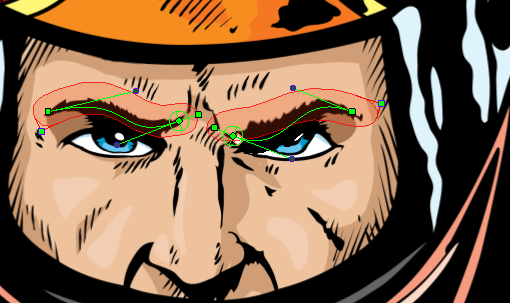
When working on a cut-out puppet built on several element layers, the best choice is to keep the default Infinite option as the Zone of Influence type. In the following examples, the zones of influence will be explained through deformation chains on a single bitmap image. The image was previously imported and vectorized with colour.
You can also prevent a child’s element from undergoing its parent deformation by connecting it through a kinematic output. Refer to
Assembling the Parts to learn how.
Related Topics