Break Down: Creating Ghost Drawings
At this point your basic break down should be almost complete. There is one optional step you can do before moving on, adding extra drawings and expressions to your character; adding ghost drawings.
This topic is divided as follows:
| • | Adding a Ghost Drawing |
Adding a Ghost Drawing
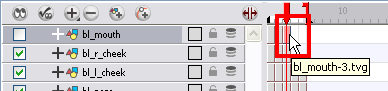
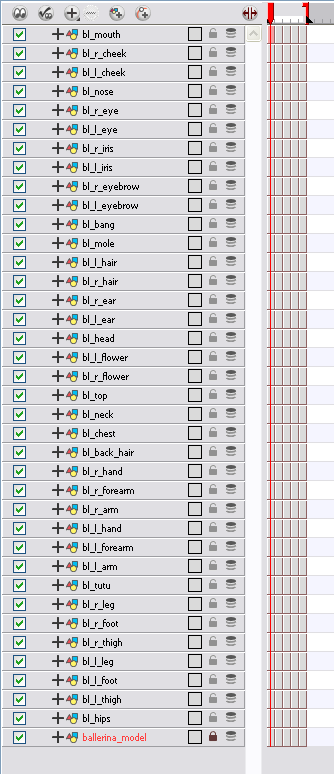
Right now, your timeline looks like this:
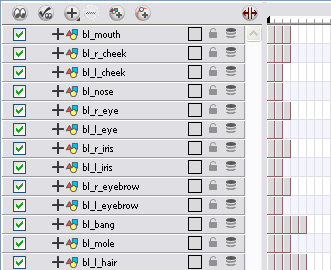
Some parts have no drawings in certain views. For example, the left eye has no drawing available for the Side view. To make your puppet more efficient when you will animate, a good trick is too add invisible drawings that you can select even when no image is necessary.
If you need to select a part of your character to use the Drawing Substitution feature or Inverse Kinematics tool, or to avoid having the system automatically fill in the exposure gaps when swapping images, then creating ghost or invisible drawings can be very useful.
To create ghost drawings, copy one of the existing drawings, paste it in the empty cell and repaint it with a fully transparent colour.
To create ghost drawings:
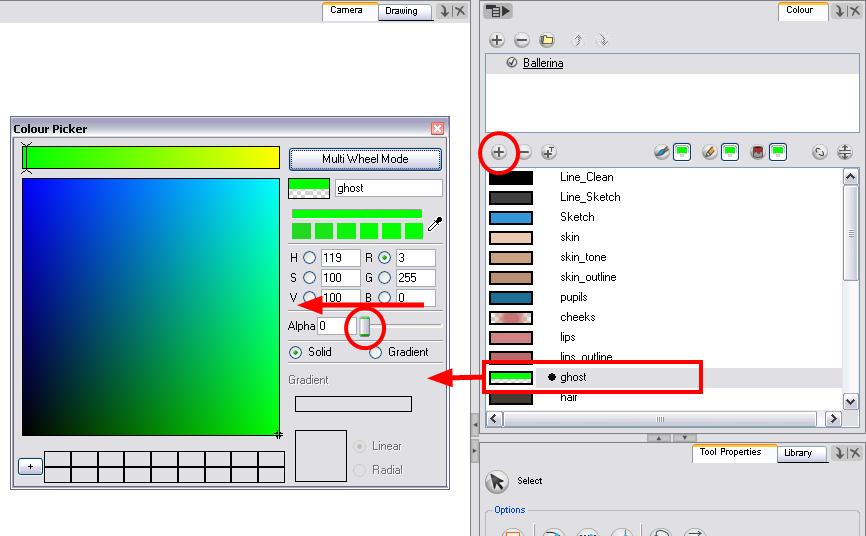
| 1. | In the Colour view, add a fully transparent colour to your character's palette. |
| 2. | In the Timeline view, select the cell containing the drawing you want to copy to create your invisible drawing. |
| 3. | In the Tools toolbar, select the Select |
| 4. | In the Camera or Drawing view, select the drawing to copy. |
| 5. | In the top menu, select Edit > Copy or press [Ctrl] + [C] (Windows/Linux) or [⌘] + [C] (Mac OS X). |
| 6. | In the Timeline view, select the empty cell where you want to create your ghost. |
| 7. | Click on the Camera or Drawing view and in the top menu select Edit > Paste or press [Ctrl] + [V] (Windows/Linux) or [⌘] + [V] (Mac OS X). |
| 8. | In the Colour view, select the transparent colour. |
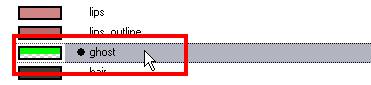
| 9. | In the Tools toolbar, select the Select |
| 10. | In the Tools toolbar, select the Paint |
| 11. | In the Camera or Drawing view, repaint the drawing to make it invisible. |
![]()
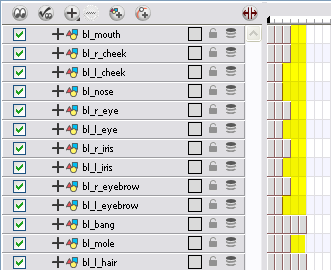
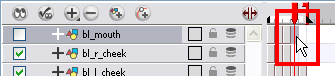
At this point, your timeline should look like this:
Related Topics
| • | Creating a Symbol |