Select Tool Properties
When you use the Select tool, its properties and options appear in the Tool Properties view.
| Icon | Tool Name | Description |
| Selection Tool Options | ||
|
|
Lasso |
Sets the selection mode to Lasso. Click and hold Alt to temporarily switch between the Marquee and Lasso modes. |
|
|
Marquee |
Sets the selection mode to Marquee. Click and hold Alt to temporarily switch between the Marquee and Lasso modes. |
|
|
Snap to Contour | Snaps your selection or point to any line you position it on. As soon as you move it close enough to another line, your point or selection will snap to it. |
|
|
Snap and Align | Snaps the selected anchor point to any existing line while displaying temporary rulers as a guide that you can also snap your anchor point to. |
|
|
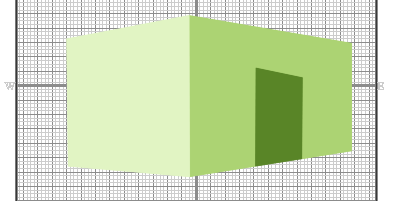
Snap to Grid |
Snaps your selection following the currently enabled grid.
|
|
|
Select by Colour |
Lets you select all the zones and lines in your drawing painted with the same colour swatch.
In the NOTE: Only the zones painted with the SAME colour swatch will be selected. If another zone is coloured with the exact same RGB value (same colour), but not painted with the same colour swatch, it will not be selected.
|
|
|
Permanent Selection |
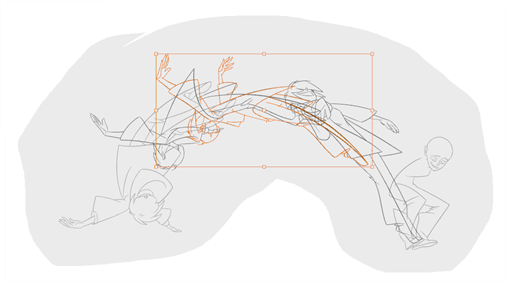
Lets you maintain a selection over multiple drawings. Once this option is enabled, the selection zone made using the Select tool will remain as you navigate through drawings of the same layer and drawings from other drawing layers. This option can be used to simultaneously delete artwork inside or outside of the selection on several drawings when combined with the Apply to Multiple Drawings option.
|
|
|
Apply to Multiple Drawings |
The Apply to Multiple Drawings option is used to perform an action on all the drawings contained in a layer. With the Select tool, this option can be used to select and remove vector shapes on all the drawings contained in a layer. To use it, activate Permanent Selection option and make a selection that can be applied to all your drawings. Then, activate the Apply to Multiple Drawings option and press delete. This will delete all the shapes that would have been selected by the permanent selection on every drawing in the layer. This can be used for example to remove dirt and registration on the same areas of all the drawings simultaneously on a layer. The Apply to Multiple Drawings option disables itself after each action.
|
|
|
Apply to Line and Colour Art |
The Apply to Line and Colour Art option uses the concept of Line Art and Colour Art layers. Use this option to apply an action such as selecting, resizing or erasing a drawing on both Line Art and Colour Art layers, as well as the Overlay and Underlay layers. |
|
|
Apply to Synced Drawing Layers |
Applies to the Camera view only. Works in conjunction with the Works on Single Drawing. Only selects lines from the current drawing and drawing layers synced to the current drawing. |
|
|
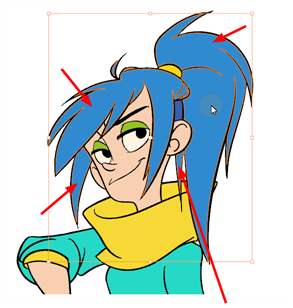
Works on Single Drawing |
By default, when you draw a selection box in the Camera view, the Select tool will select only the drawing strokes of the current drawing. If you prefer the Select tool to select all the strokes on all layers, you can disable the Works on Single Drawing option in the Tool Properties view or disable the Select tool Works on Single Drawing preference. To do this, go to the top menu, select Edit > Preferences > Camera (Windows/Linux) or Harmony > Preferences > Camera (Mac OS X) and uncheck the Select tool Works on Single Drawing option.
|
| Icon | Tool Name | Description |
| Selection Tool Operations | ||
|
|
Flip Horizontal | Flips the current selection horizontally. |
|
|
Flip Vertical | Flips the current selection vertically. |
|
|
Rotate 90 Degrees CW | Rotates the current selection 90 degrees clockwise. |
|
|
Rotate 90 Degrees CCW | Rotates the current selection 90 degrees counter-clockwise. |
|
|
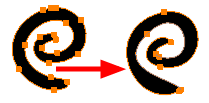
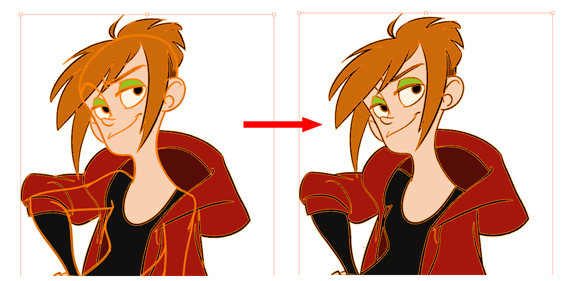
Smooth |
Smooth out selected drawing strokes and remove extra points.
|
|
|
Flatten |
Merges drawing objects and brush strokes into a single layer. If you draw new lines to fix a drawing or line with many brush strokes, it can be useful to flatten them all into a single shape. By default, lines are drawn one on top of each other. If you intend to repaint the lines or modify their shape, it will be easier if they are flattened.
|
|
|
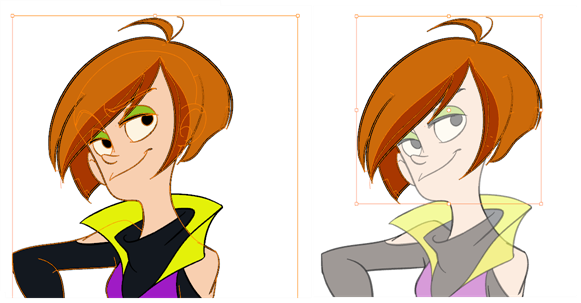
Create Colour Art from Line Art |
Lets you use the outline you traced on one of the four embedded layers (line art, colour art, overlay, underlay) and create invisible strokes to paint your drawings on separate layers. This provides more inking and painting flexibility. You can also configure this option to create the invisible strokes on any of the four embedded layers. |
|
|
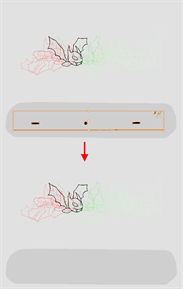
Distribute to Layers |
The Distribute to Layers option is used to separate the selected art strokes and send them to new drawing layers. In the Camera view, once you have drawn your artwork, you can select the strokes you want to distribute using the Select tool and click on the Distribute to Layers button; you can also select Drawing > Distribute to Layers. It will automatically take every stroke from the drawing selection made in the Camera view and separate them into a different layer for each. If an artwork is composed of several strokes, you must group them using Edit > Group > Group before using the Distribute to Layers option. This option cannot be done from the Drawing view. |
|
|
Store Colour Gradient | Use the Store Colour Gradient operation to record the selected gradient’s position. This reuses the stored position of the gradient when drawing new brush lines or painting colour zones. Enable the Use Stored Colour Gradient |
|
|
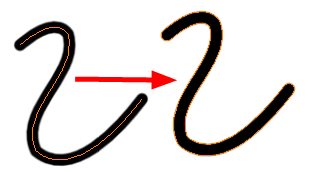
Pencil to Brush |
Converts the selected centre line pencil strokes into contour strokes brush lines.
|
|
|
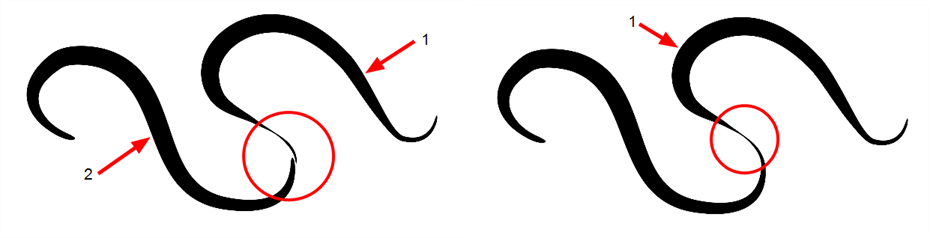
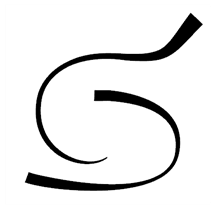
Merge Pencil Lines |
Pencil lines are central vector lines and it might be difficult to match pencil line’s tips properly to align them and make it look like it is one single line. With the Select tool, you can select several pencil lines and merge them as one single object using the Merge Pencil Lines option. The ends of your lines are adjusted to form one single line.
NOTE: Points must be close enough to be merged. If there is a large gap between the lines, they will not be merged.
|
|
|
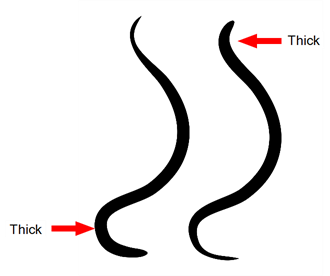
Reverse Pencil Thickness |
The Reverse Pencil Thickness option inverts the thick and thin section on a selected pencil line. This option will take the thickest size on the line and apply it to the thinnest, and it will apply the thinnest to the thickest.
|
| Offset X and Y |
Use the Offset X and Offset Y operation fields to enter specific values and precisely reposition the selected shape.
|
|
| Width and Height |
Use the Width and Height operation fields to enter specific values to resize the selected shape with precision.
|
|
| Angle |
The Angle operation lets you to enter specific values and accurately rotate the selected shape.
|
|
| Adjusting the Pencil Line Thickness |
When you select a pencil line with the Select tool, additional options appear in the Tool Properties view. Use the Adjusting the Pencil Line Thickness operation field to resize the selected centreline strokes. This operation is not permitted on contour line shapes, such as brush strokes or shape fills.
|
|
| Pencil Line Shape |
You can adjust the start, end, and joint style of a pencil line.
|
|
| Pencil Stencils | Gives you the flexibility to change the style and thickness of your pencil lines even after they are drawn. You can apply preset pencil stencils or create your own.
|
|
| Adding Texture to a Pencil Line |
Pencil lines support texture. Once a pencil line is drawn, you can apply a preset texture or load your own. Textures are independent from pencil stencils |
|
| Adjusting the Text Selection |
When you select text with the Select tool, the tool properties will display the Text tool options on the bottom of the view. You can also press Alt + 9 to display only the Text properties in the Tool Properties view—see Text Tool Properties.
|
|