How to Create Templates
You can create a template from a layer or from cells. You can store anything available in the Timeline view as a template.
When creating a template from the Timeline view, it will lose the extra connections, effects and groupings from the Node view.
Creating a template by selecting a layer in the layers list on the left of the Timeline view will incorporate the layer and all the drawings that were created in it, even if they're not exposed in the scene's timeline, whereas creating a template by selecting specific cells in the timeline will only save the selected drawings in the template.
- In the Timeline view, select some cells or layers.
You can create a template from a whole hierarchy of layers by collapsing the hierarchy and selecting the root layer. This can be useful for creating templates based on character rigs or scene backgrounds.
- In the Library view, select a folder to store the template. By default, a local scene will have a Harmony Premium Library folder, which is stored in your Documents folder.
- If the library folder is locked
 , right-click and select Right to Modify.
- Drag the selection to the chosen library folder.
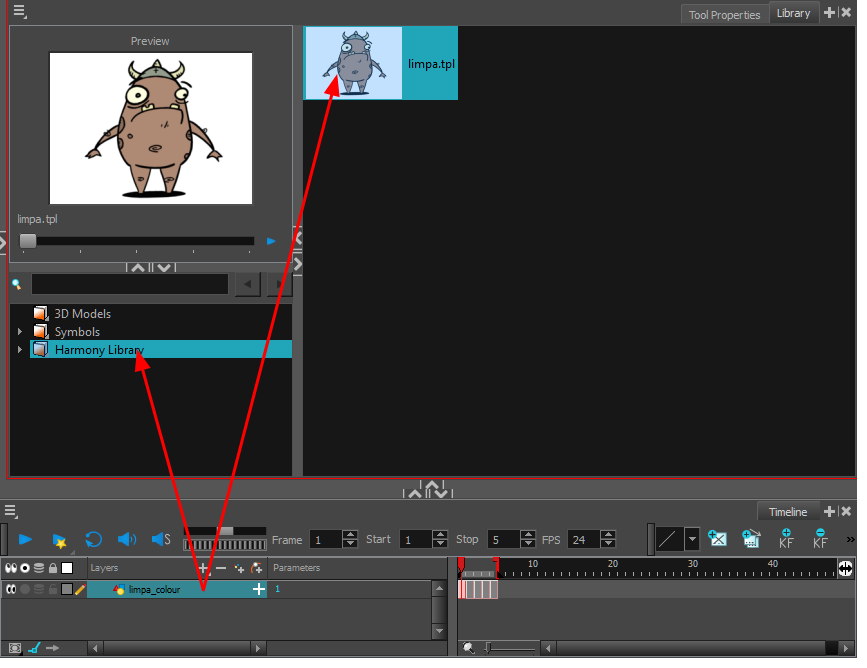
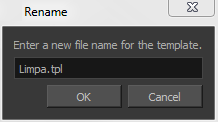
- In the Rename dialog box, give the new template a name.
- Click OK.
- In the Library view, select the template you want to import.
- Drag the selected template to the Camera view or to the left side of the Timeline view.
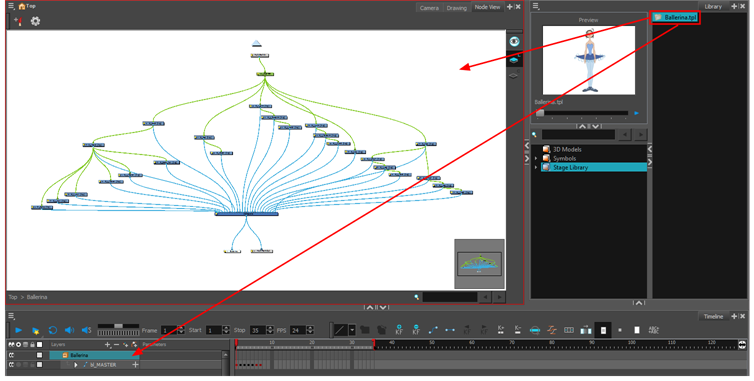
If you drop the template in the Camera view, its layers will be added at the top of your layers list. If you drop a template in the layers list in the Timeline view, it will be inserted between the layers where you dropped it.
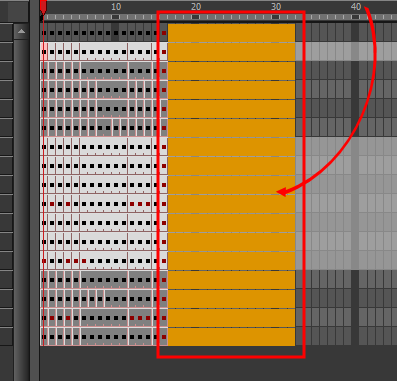
If your template has the same layer structure as a part of your scene, you can drop the template directly onto the frames on the right side of the Timeline view. Instead of inserting new layers into your scene, this will replace the drawings and keyframes in your scene with the ones from the template. This is useful for importing pose or animation templates for characters that are already in your scene.
Creating a Template from the Node View
The Timeline view and the Node view display different information about a scene and its structure. To make sure a character's main template, also called the master template, is rigged exactly the way it was meant to be when it's imported into a scene, it should be created with all the connections, effects, composites, nodes, pegs, groups, drawings, timings, as well as all the other information in the scene it was originally created in. Because the Node view is the most faithful representation of a rig's structure, it is recommended to create master templates from the Node view rather than the Timeline view.
- In the Library view, select the folder in which you want to store the template.
- If the library folder is locked
 , right-click and select Right to Modify.
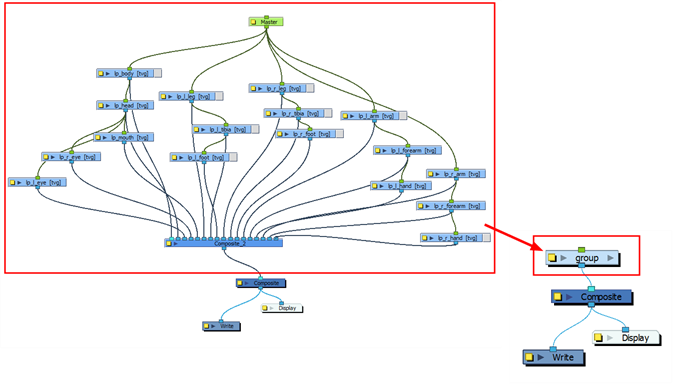
- In the Node view, select the nodes for creating the template and group them. It is very important to group your cut-out character rig before storing it in the Library, so your files are organized.
- From the top menu, select Edit > Group > Group Selected Layers or press Ctrl + G (Windows/Linux) or ⌘ + G (Mac OS X). Make sure you have a composite under the connections before grouping, otherwise there will be numerous connections going outside the group.
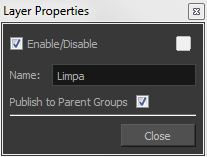
- In the Node view, click on the group node's yellow button to open the Layer Properties window.
- In the Node view, select the group node and copy and paste it inside the template folder in the Library view or press Ctrl + C and Ctrl + V (Windows/Linux) or ⌘ + C and ⌘ + V (Mac OS X).
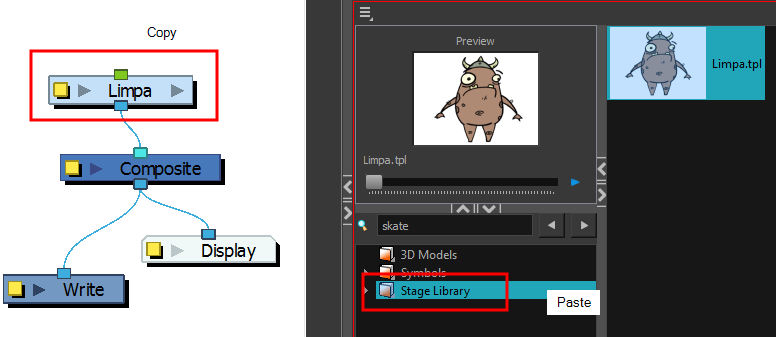
- In the Rename dialog box, give the new template a name and click OK.
