Importing a 3D Object
Once you have exported a model using a 3D authoring software, you can import it into Harmony and integrate it to set up your 2D animation scene.
You have the possibility to convert your 3D models to *.osb files upon import to Harmony and save them as such. This will allow Harmony to render 3D files with the associated textures without the need to copy them manually (as long as the auxiliary files are linked correctly and named appropriately on your disk).
- In Harmony, select File > Import > 3D Models.
The Import 3D Models dialog box opens.
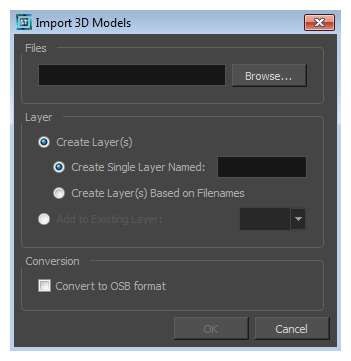
- Click Browse and locate your
*.fbxor other supported 3D format files.
- Click Open to validate your choice and close the browsing window.
- In the Layer section, choose your import options.
| ‣ | Create Layer(s): This option is selected by default. A new layer will be created for the selected files for the import. You have two choices: |
Create Single Layer Named: Imports all your selected *.fbx files in the same layer you can name.
Create Layer(s) Based on Filename: Creates a different layer for each file selected import. The layers will be automatically named according to the file names.
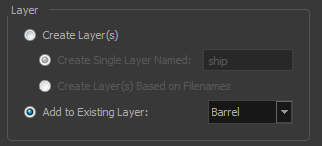
| ‣ | Add to Existing Layer: Imports the selected files into an existing layer in the scene. Use the drop-down menu to select a layer. Note that if you add to an existing layer which is a vector layer, it will encapsulate the 3D model inside a symbol. |
- In the Conversion section, select the Convert to OSB format option if you want your file to be transformed into an OSB and import all related files.
- Click OK to validate your choices and import the selected file(s).
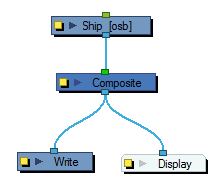
The 3D models are imported in the scene.