Morphing Holes and Transparencies
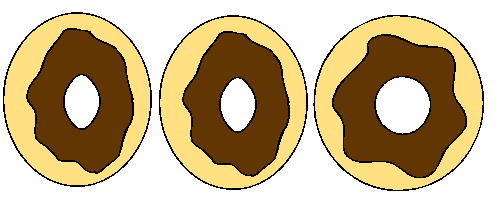
To be able to morph shapes with holes or transparent colours, it is important to understand the process of analyzing and morphing a shape. Harmony begins the process by reading the exterior outline of the entire shape. So if you are morphing a doughnut, it will first read the entire circular shape and ignore the central hole.
Once the general morphing shape is analyzed, the system will carry on analyzing the interior details such as colour zones and holes.
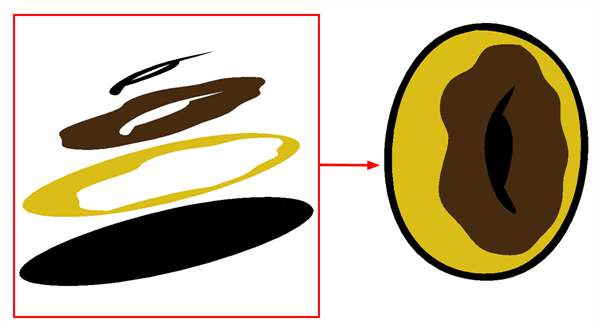
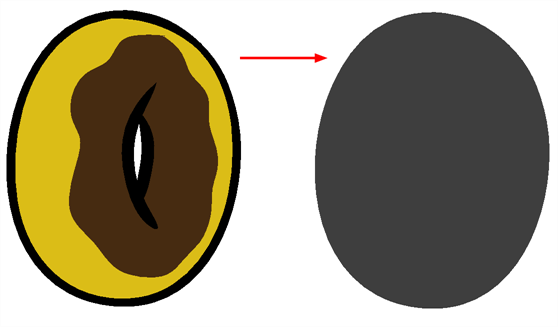
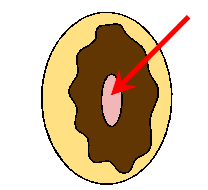
As you can see, because the hole was placed on top after the main shape was morphed, the centre is filled with an opaque brown colour. In order to avoid opaque holes, you have to paint the zone with a transparent colour so that you can control it and flatten the transparency to cut a hole through the main shape.
The same thing happens when you have holes painted with semi-transparent colours. To see through your shapes, you have to follow the same process as morphing shapes with holes.
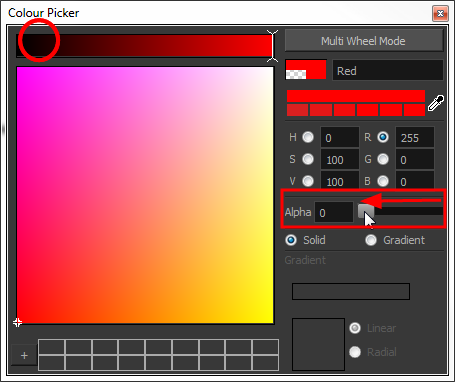
- In your Colour view, select an unused colour swatch and set its alpha (transparency) to
0.
- Paint both holes on the source and destination drawings.
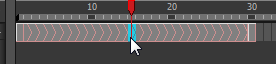
- In the Timeline or Xsheet view, click on a cell in your morphing sequence.
- Do one of the following:
| ‣ | In the Tools toolbar, select the Morphing |
| ‣ | Press F3. |
- In the Tool Properties view, enable the Flatten
 button.

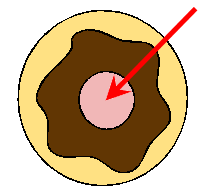
A hole appears in the shape.