Chapter 23: How to Export a Movie
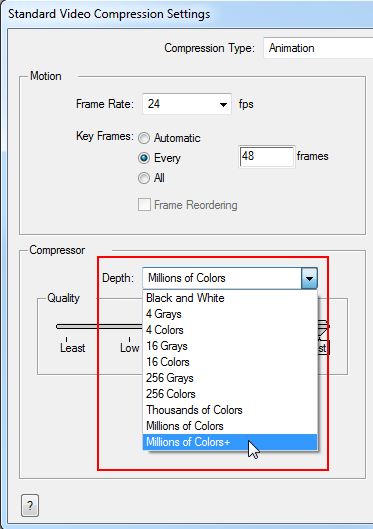
If you require a video file, you can export your animation as a QuickTime movie. To render a QuickTime movie with transparency, you need to set the Depth to Millions of Colours +. You can set this this when exporting a QuickTime movie.
If your exported video is too small or too large, you can change the project size from the top menu in Scene > Scene Settings. This will change the size of the video output.
- From the top menu, select File > Export > Movie.
The Export to QuickTime Movie dialog box opens.
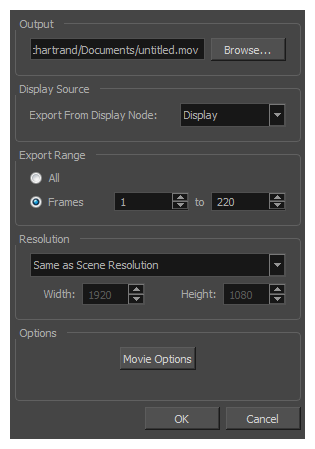
- Click Browse and select a folder in which to save your movie and give it a file name for the export.
- Click OK.
- In the Display Source section, select the Display node to use for rendering your project.
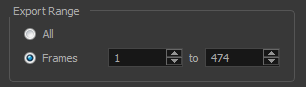
- From the Export Range section, decide whether you want to export the entire scene (All) or a specific frame range. If you decide on the latter, enter the frame range.
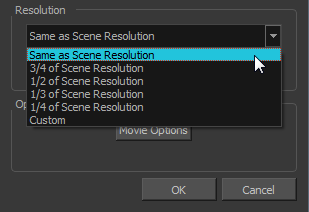
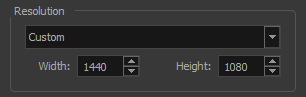
- In the Resolution section, select one of the following from the menu:
| ‣ | A preferred resolution ratio. |
| ‣ | Custom: Enables the Width and Height fields so you can enter a specific size. |
- In the Options section, click Movie Options.
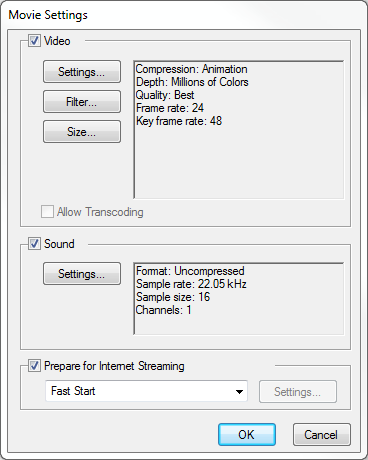
Parameter Description Video Enables the customization of the video settings, filters and size. Settings: Opens the Standard Video Compression Settings dialog box.
Filter: Opens the Choose Video Filter dialog box, where you can select from a range of filters to apply to your video export.
Size: Opens the Export Size Settings dialog box. The size settings are overridden by the Harmony's scene settings.
Sound Enables the customization of the sound settings.
Settings: Opens the Sound Settings dialog box (see below).
Prepare for Internet Streaming Enables the customization of the Internet streaming options.
- In the Video section, click Settings.
The Standard Video Compression Settings dialog box opens.

- From the Compression Type menu, select a codec. The availability of certain compression settings depends on the Compression Type selected. For example, Animation is the default compression type and as a result the Data Rate option is greyed out.
- In the Motion section, choose a Frame Rate from the list.
By default, it is set to match the frames-per-second (fps) of your Harmony project. If you choose a lower frame rate, your export playback will be faster than your actual project. The reverse is also true for a higher frame rate.
- If you want keyframes inserted, select the Every option and set the number per frame.
This is the option is recommended by QuickTime. For further details, refer to the QuickTime documentation.
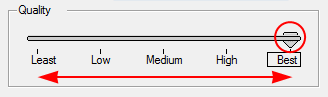
- In the Quality section, use the slider to choose a quality setting. Remember that the better the quality of the export, the larger the file.
- From the Data Rate section, either choose to allow the program to automatically select the most optimal bit rate, or enter a Restricted rate to save space and allow for faster downloading at a cost to the quality of the export.
- In the same section, from the Optimized For menu, select the intended viewing method for the export.
- Click OK.
- From the Movie Settings dialog box, click Sound Settings.
The Sound Settings dialog box opens.
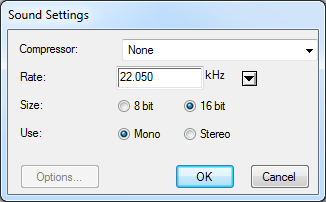
- From the Compressor menu, select a compression type. The default setting is None. This will preserve your original sound file without the loss of information. However, an uncompressed sound file will inevitably add “weight” to the overall size of your video export.
- From the Rate menu, select a rate. It is best to check and match the original properties of your sound file. For example, if your file has an audio sample rate of 48 kHz and you choose a conversion rate of 22.05 kHz, the sound will play at the same speed, but with higher frequencies missing. For a standard film sound quality, choose 44.1 kHz, or 48 kHz for DVD quality. Anything less will make the sound “dull” or less bright. For things like recorded voice, this doesn't matter so much, but for music it can make an audible difference. If file size is a consideration, such as with videos for the Internet, then a lower rate might be more practical.
- Select the Size and Use, which are related. It is advisable to check your original sound file properties. If the file was recorded in one channel (mono), there is no point in choosing the two channel (stereo) option. Although Mono can support a 16-bit channel, the extra information is unnecessary. Mono is generally paired with 8-bit and Stereo with 16-bit.
- Click OK.
- In the Export to QuickTime Movie dialog box, click OK.
A progress bar appears.
- Browse to the location on your computer where you saved your QuickTime video and double-click on it to view the export.
| ‣ | In the Standard Video Compression Settings dialog box, select Millions of Colors+ from the Depth menu |