Adjusting the Velocity and Timing
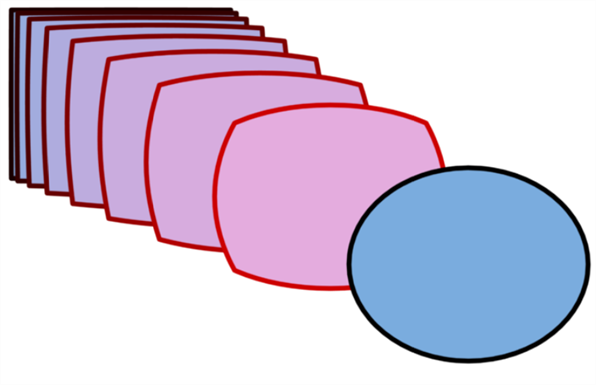
Once you have set up a morphing sequence, you can control its timing and velocity. When you look at your animation you will notice that the morphing motion is constant. To produce a less mechanical motion, you will probably want to create some ease in or ease out.
If you did not place your source and destination drawings on the correct frames you may need to extend or shrink the sequence length.
If you have several morphing sequences on a single layer, you may find it easier to adjust their velocities on one function curve rather than several separate ones. Having all of your velocity parameters in one place is more efficient and easier to modify.
Adjusting the velocity in the Layer Properties editor also allows you to reverse a section of the morphing sequence. The sequence will always start with the source drawing and end at the destination. You can play the morphing sequence backwards or forwards during the animation.
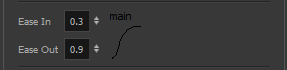
You can have two levels of easing:
| • | In the Tool Properties View, you can adjust the velocity of each sequence in your layer independently |
| • | In the Layer Properties editor, you can adjust the morphing velocity function to control the entire layer's easing |
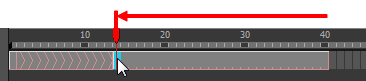
- In the Timeline view, select the source or destination drawing.
- Click on your selection and drag the drawing to its new frame.
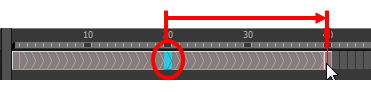
- In the Timeline view, click on a frame in the morphing sequence you want to adjust.
- In the Tool Properties view, increase and decrease the Ease In and Ease Out value to adjust the sequence's velocity.