Adding Basic Deformation Chains
Using the Rigging tool, you can quickly create a basic deformation rig.
As you create your chains, the controls will be showing. However, whenever you close your project, the deformation controls display is turned off. When you reopen the project, you can display all controls or only some of them—see
The
- From the Deformation toolbar, click the Rigging
 tool.
tool.
- In the Camera or Timeline view, select the element on which you want to add a deformation. When selecting a drawing node, the deformation components will be automatically added on top of the drawing node. When selecting a peg node, the deformation components will be added below the peg.
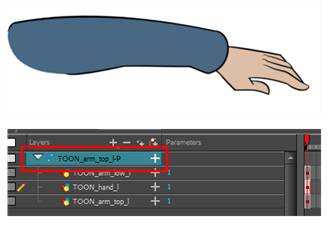
- In the Camera view, create your rig. See the following procedures to learn how to add a specific deformation type.
- Once your element and the Rigging tool selected, in the Tool Properties view, enable the Bone
 mode or the Game Bone mode depending on your purpose—see Main Types of Deformations.
- Place the cursor at the root of your drawing or group of drawings, click once and release. For example, on the shoulder.
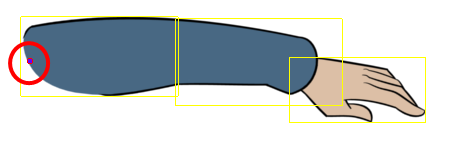
- Click again at the location where you want your first bone to finish and your second bone to start. An articulation control point will automatically be inserted between each bone you create. Note that the articulation parameters are part of the Bone and Game Bone nodes since Harmony 12.
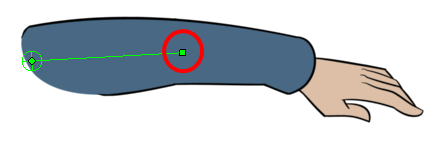
- Repeat this until you are finished creating the Bone chain.
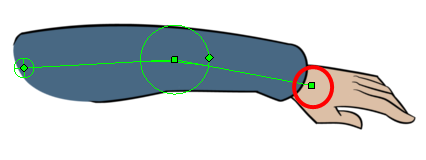
- If you need to insert a bone between existing ones, hold down the Alt key. When the Insert Bone cursor is displayed, click on the existing bone segment at the location where you want to add an additional bone.

- Note that you can click on any Bone articulation point to start a new bone chain from that point. Once the articulation point is selected (white), click on the location where you want to add a bone and a new bone chain will be created, parented to the previous one.
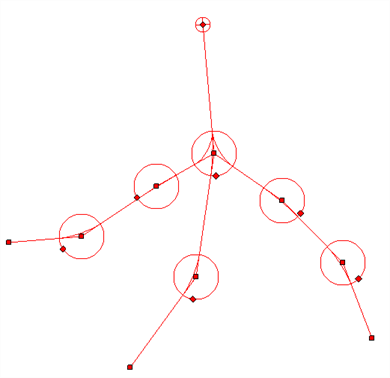
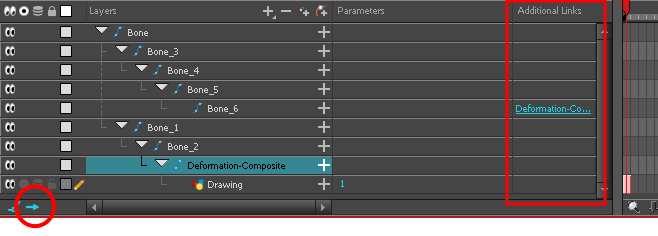
- When you have several chains controlling the same drawing or group of drawings, a Deformation Composite node is automatically be created and appears in the Timeline view. In the Additional Links section of the Timeline view, you can see which nodes are connected to the Deformation Composite.
- With the deformation nodes still selected, in the Deformation toolbar, click the Reset Current Keyframe
 button. This will set the current resting position as the current frame one.
- In the top menu, select Insert > desired deformation node.


