Modifying a Path in the Camera, Top and Side Views
Camera moves and motion paths can become quite advanced, especially with moves through 3D space. Harmony provides tools to view your camera’s path and make adjustments to it from both a 2D and 3D perspective.
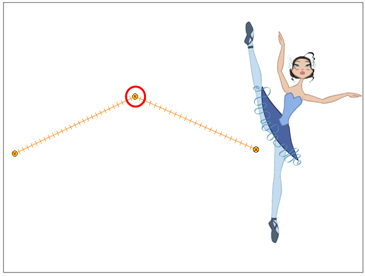
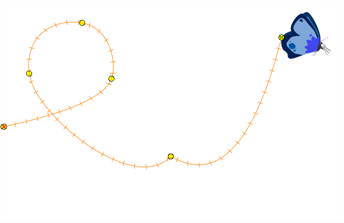
You can display the trajectory of a motion path when you select an object in the Timeline or Camera view.
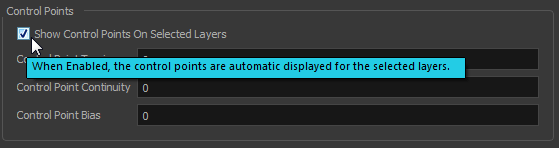
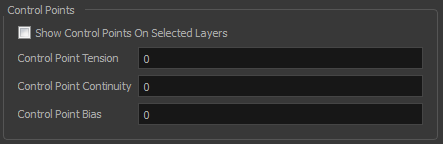
If you want to see the trajectory, enable the Show Control Points on Selected Layers option in the Preferences dialog box.
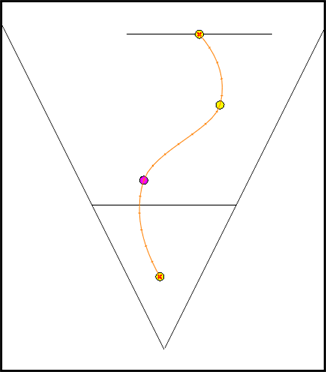
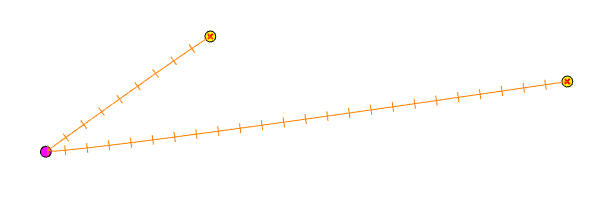
A motion path is easy to manipulate. One important concept to understand is that a trajectory contains both keyframes and control points. Both can be used to shape a path; each have their own significance and behaviour, however only keyframes appear in the Timeline view.
| • | Keyframe: Has a transformation value and a position in space at a given frame. Keyframes are locked in time. |
| • | Control Point: Has a position but no fixed frame or timing. It is mainly used to deform a trajectory. There are no velocity handles available on a control point. The velocity segments are set between keyframes only, making curves and trajectories much smoother. Control points can only be added on a 3D path. |
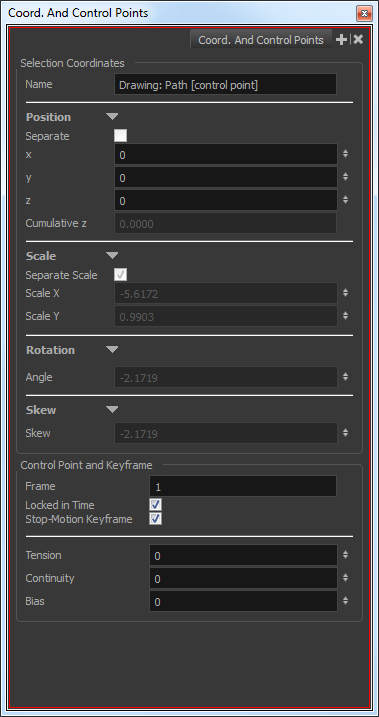
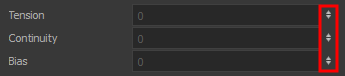
You can edit keyframes and control point parameters, such as the position, continuity, bias, tension and lock-in-time using the Coordinates and Control Point view.
Each time a keyframe or control point is selected in the Camera, Timeline or Xsheet view, its parameters appear in the Coordinates and Control Point view. You can also see the same information in the Coordinate and Control Point toolbars.
You can adjust these parameters by selecting the control points and keyframes in the Camera, Top and Side views with the Transform ![]() tool.
tool.
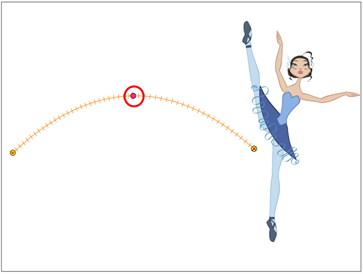
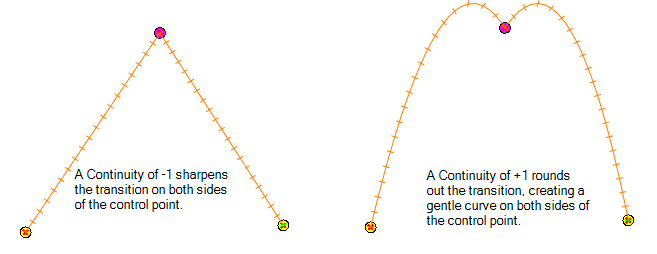
| • | Continuity controls the smoothness of a transition between the segments joined by a point. |
| • | Tension controls how sharply the path bends as it passes through a control point or keyframe. |

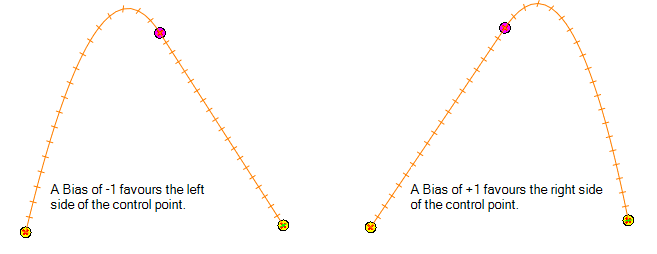
| • | Bias controls the slope of the path so that it flows towards one side of the motion point or the other. |
If you find that you are using the same Continuity, Tension and Bias settings, you can set a preference to remember your settings.
When you select a control point on a path, you can switch between a rounded or square corner by using the Linear/Curve command.
| 1. | Verify that the Camera view (click its tab) is selected and that the layer whose trajectory you want to display is selected in the Timeline view. |
| 2. | From the top menu, select View > Show > Control or press Shift + F11. |
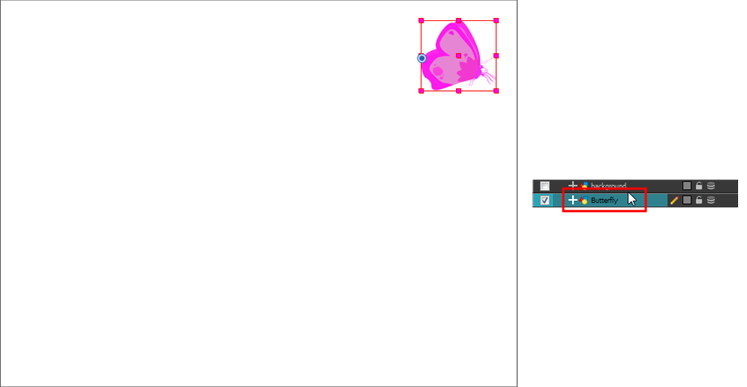
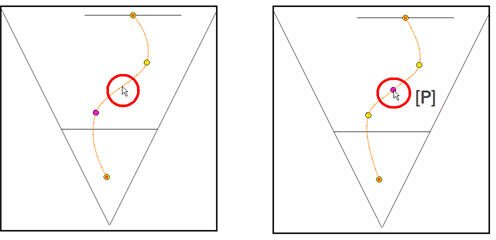
| 1. | In the Timeline or Camera view, select the peg or layer on which you want to add a control point. |
| 2. | If the selected element’s trajectory is not displayed, select View > Show > Control from the top menu or press Shift + F11. |
The Trajectory appears in the Camera, Top, Side and Perspective views.
| 3. | Add control points on a 3D path trajectory by placing the cursor where you want to add the point and press P once. If you hold the key down, control points will be added continuously until you release the key. |
| 1. | In the top menu, select Edit > Preferences (Windows/Linux) or Stage > Preferences (Mac OS X) or press Ctrl + U (Windows/Linux) or ⌘ + U (Mac OS X). |
The Preferences dialog box opens.
| 2. | Select the Camera tab. |
| 3. | In the Control Points section, select the Show Control Points on Selected Layers option. |
| 4. | Click OK. |
If the trajectory is hidden when you select an element, you may want to display it using the Control command.
| 1. | In the Camera view, use the Transform |
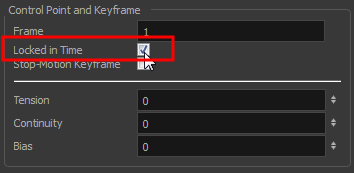
| 2. | To convert the point: |
| ‣ | In the Coordinates and Control Point view, select or deselect the Locked in Time option. |
| ‣ | From the top menu, select Animation > Lock in Time or press Alt + L. |
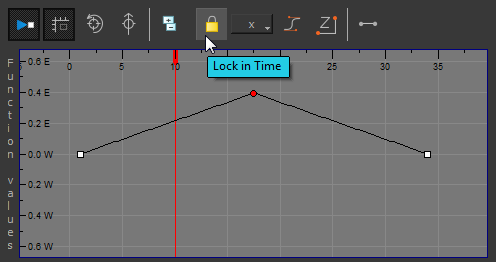
| ‣ | In the Function view or Function Editor, select the keyframe to convert and click the Lock in Time |
| 1. | In the Tools toolbar, select the Transform |
| 2. | In the Timeline view, select the layer that contains the parameters you want to adjust. |

| 3. | From the top menu, select View > Show > Control or press Shift + F11 to display the trajectory. |
| 4. | In the Camera view, select a control point or keyframe. |

| 5. | In the Coordinates and Control Points view, adjust the Continuity, Tension and Bias parameters. |
| 1. | From the top menu, select Edit > Preferences (Windows) or Stage > Preferences (Mac OS X). |
The Preferences dialog box opens.
| 2. | Select the Camera tab and adjust the parameters in the Control Points section. |
| 1. | In the Tools toolbar, select the Transform |
| 2. | In the Camera view, select the point to convert. |
| 3. | From the top menu, select Animation > Linear/Curve. |