


Marking the Timeline
As you animate, the Timeline view will contain many layers and keyframes. You might want to identify them using coloured layers and scene markers.
Scene markers are visual indicators displayed at the top of the timeline in the frame counter area. You can use it to denote anything relevant to your work. You can indicate at the frames you want to clean up, a change in action, an impact, or where you intend to apply an effect. You can also add a note to a scene marker, which is displayed when you hover over the scene marker.
There are two ways to add a scene marker. You can make a frame range selection and mark that whole section or simply mark the current frame.
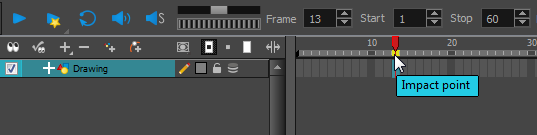
| 1. | In the Timeline view, make sure the playhead is set on the frame you want to mark. Even if you right-click on a different frame, the scene marker will be created on the current frame, which means where the red playhead is. |
| 2. | Right-click in the frame counter area and select Scene Markers > Mark Current Frame. |

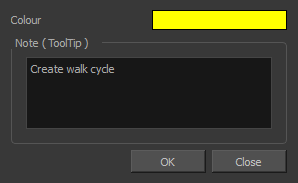
The Timeline Scene Marker dialog box opens. The Colour box displays a black colour swatch, or the colour of the last scene marker you created.
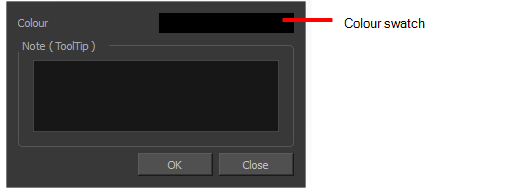
| 3. | Double-click the Colour box to select a colour for your scene marker. |
| 4. | In the Note field, enter text to display a tooltip. |
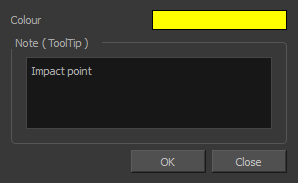
| 5. | Click OK. |
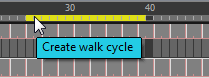
| 6. | In the Timeline view, the scene marker is displayed at the current frame. Hover over the scene marker to display its note as a tooltip. |
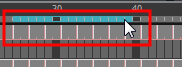
| 1. | In the Timeline view frame counter, select the frame range on which you want to mark your scene. |
| 2. | Right-click and select Scene Markers. |
The Timeline Scene Marker dialog box opens. The Colour box displays a black colour swatch, or the colour of the last scene marker you created.
| 3. | Click the colour swatch and select a colour for the scene marker. |
| 4. | In the Note field, enter text to display as a tooltip. |
| 5. | Click OK. |
| 6. | In the Timeline view, the scene marker is displayed over the selected frame counters. Hover over the scene marker to display its note as a tooltip. |
The Change Track Colour  button is used to change the colour of the exposed frames so you can quickly locate a layer in the Timeline view.
| 1. | Click the swatch to open the Select Colour dialog box and choose a new colour. You can modify the layer for any type of layer, such as group, peg, drawing and effects. |

