


Frames
Once the references are ready, you need to set the scene length by adding the right number of frames to your scene. You can set the global scene length from the top menu.
In the Xsheet
| 1. | From the top menu, select Scene > Scene Length. |
The Set Scene Length dialog box opens.

| 2. | In the Number of Frames field, enter the number of frames needed. |
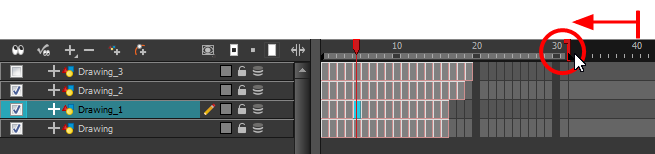
| 1. | In the Timeline view, drag the scene length bracket to the right to add more frames to your scene. |

You can add frames anywhere in the middle of the scene. If you select a frame row in the Xsheet view, Harmony will add the new frames before or after the selection, depending on your choice.
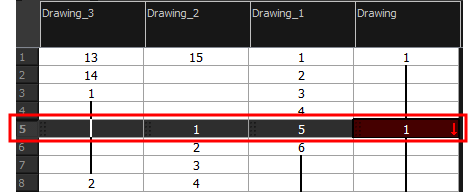
| 1. | In the Xsheet view, select a frame row. |
| 2. | Do one of the following: |
| ‣ | From the top menu, select Scene > |
| ‣ | In the Xsheet view, right-click and select Frames > Add Frames Before Selection or Add Frames After Selection. |
| ‣ | In the Xsheet view toolbar, click the Add Frames |
| ‣ | Press Ctrl + G and Ctrl + H (Windows/Linux) or ⌘ + G and Ctrl + H (Mac OS X). |
The Add Frames dialog box opens.
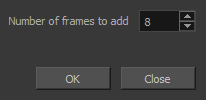
| 3. | In the Number of Frames to Add field, enter the number of frames needed in the scene. |
| 1. | From the top menu, select Scene > |
| ‣ | In the Xsheet view toolbar, press the Add Frames |
The Add Frames dialog box opens.
| 2. | In the Number of Frames to Add field, enter the number of frames needed in the scene. |
When you remove frames at the end of a scene to reduce the scene length in the Timeline view, the exposed drawings and symbols are not deleted. They are still available if you extend the scene afterwards.
| 1. | In the Timeline view, drag the scene length bracket to the left to remove frames from the scene. |
In the Xsheet view, you can remove any selected frame range, such as the last frame.
| 1. | In the Xsheet view, do one of the following: |
| ‣ | Select a frame in a given column. |
| ‣ | Select a frame range by clicking the first frame’s number and then dragging the selection highlight down to the last frame to delete. |

| 2. | To delete the selected frames, do one of the following: |
| ‣ | From the top menu, select Scene > |
| ‣ | Press Delete to delete the selection. |
| ‣ | Click Remove Frames |
If you selected a range of frames, the Warning dialog box may open.

| 3. | To complete the operation: |
| ‣ | Click Yes to delete the selection. |
| ‣ | Click No to delete only the exposure in the cell and not the frames. |
| ‣ | Select the Don’t Show This Message Again option to prevent the warning message from being displayed each time you delete a frame range. |