Articulations
Once your pieces are traced, you can proceed to the completion of the articulations.
Articulations are an important aspect of any cut-out break down, without them a puppet cannot move properly and will not look good.
This topic is divided as follows:
Classical Articulation
In this section, you will learn about classical articulation.
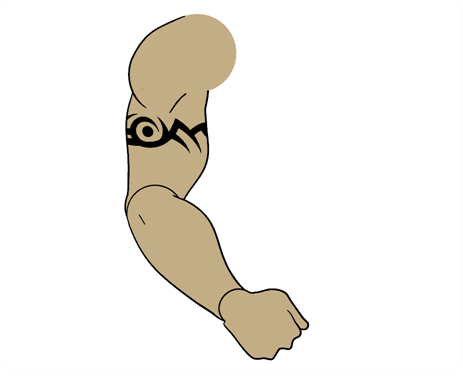
Classical articulation is the most popular technique for basic characters. It is quite simple and produces excellent results, but it is not the most efficient method. In many instances, it causes limitations and extra drawing corrections. For example, there may be a gap in the articulation if the part is bent too far. Joint design is usually designed as a circle; the overlapping part cannot be sent behind without showing the joint.


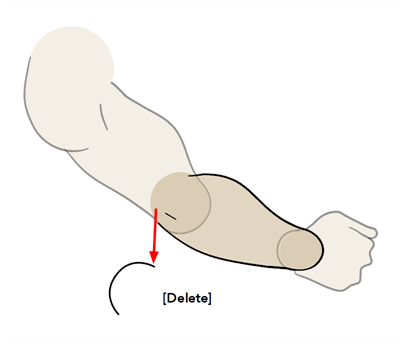
Classical articulation is done by erasing a part of the line from the overlay layer, leaving the colour overlapping the bottom one.
Repeat the following instructions for all the articulations on your puppet.
To create a classical articulation:
|
1.
|
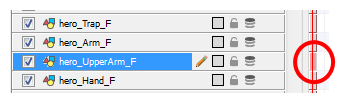
In the Timeline view, select the cell containing the first part to modify, such as the upper arm. |
|
2.
|
In the Tools toolbar, select the Pencil, Polyline, Ellipse, or Contour Editor tool. |
|
3.
|
In the Colour view, select the outline colour. |

|
4.
|
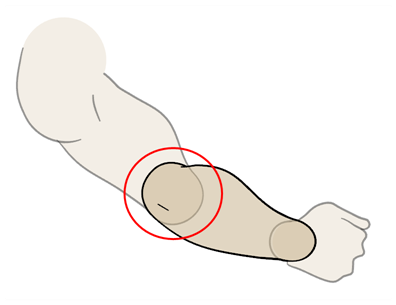
In the Drawing or Camera view, use your drawing tool to make sure that the joint is overlapping the other part in a half-circle shape. |
|
‣
|
If you are working in the Drawing view, click on the Light Table  button located in the Drawing View toolbar or press [Shift] + [L]. button located in the Drawing View toolbar or press [Shift] + [L]. |
|
5.
|
In the top menu, select View > Show > Show Strokes to display the invisible lines that could be present in your drawing. You can also press [K]. |
|
6.
|
In the Drawing or Camera view, select all the strokes in your drawing. |
|
7.
|
In the Tools Properties view, click on the Flatten button. |
|
8.
|
In the Drawing or Camera view, select all the strokes in your drawing. |
|
9.
|
In the top menu, select Drawing > Optimize > Remove Extra Strokes. This operation will remove any unnecessary invisible lines in your drawing. |
|
10.
|
Repeat Step 1 to Step 9 for the other part of the joint. |
|
11.
|
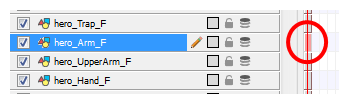
In the Timeline view, select the cell of the part that will be on top of the joint. |
|
12.
|
In the Tools toolbar, choose the Select, Cutter or Eraser tool. |
|
13.
|
In the Drawing or Camera view, remove a part of the overlapping outline in order to have only the filling colour overlapping the joint. |
|
14.
|
In the Tools toolbar, select the Contour Editor tool. |
|
15.
|
In the Drawing or Camera view, adjust the colour fill so that the pencil outline does not overlap it. Be careful not to leave a gap between the line and the fill. |
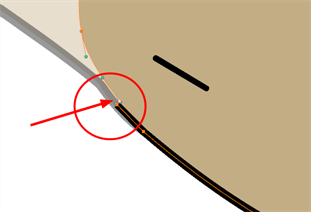
When placing rotation pivots later on, make sure they are positioned at the centre of the articulation.