Working with Thickness Stencils

A thickness stencil is a preset that already set with specific properties. There are two types of thickness stencils.
A Regular thickness stencils allow you to set the size and smoothing of the line or shape. As you draw, the thickness of the line varies according the amount of pressure you use with a pen and tablet.
Thickness stencils that are indicated with this icon  are also set with specific properties but disregards the pressure you use with your pen and tablet. The line thickness varies
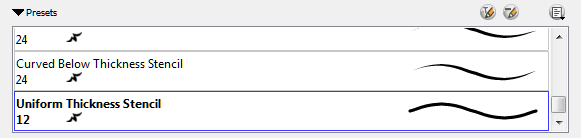
You can access thickness stencils from the list of preset on the Tool Properties view, or create your own.
Selecting a Thickness Stencil
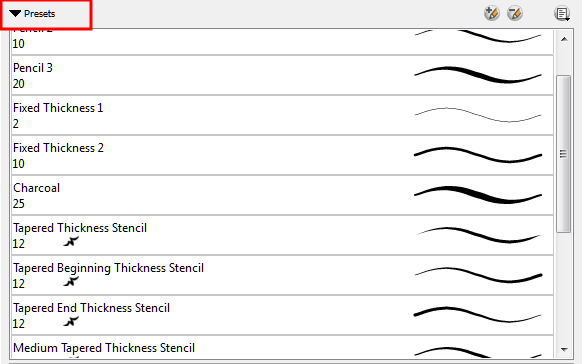
Using the drop-down menu, you can select an existing thickness stencil.
To select a pencil thickness stencil:
|
1.
|
In the Tools toolbar, select the Pencil  , Line , Line  , Ellipse , Ellipse  , or Rectangle , or Rectangle  tool. tool. |
|
2.
|
In the Tool Properties view, in the Presets drop-down menu, select the thickness stencil you want to use. |
|
3.
|
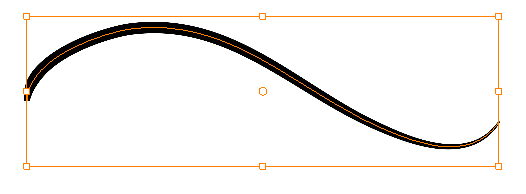
In the Drawing or Camera view, draw your pencil line or shape. |

Creating a Thickness Stencil
To create a thickness stencil:
|
1.
|
In the Tools toolbar, select the Pencil , Line , Ellipse , or Rectangle tool. |
|
2.
|
In the Tool Properties view, click the New Pencil or New Brush  button. button. |
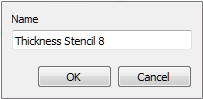
The New Preset dialog box opens.
|
3.
|
Enter a name for your new pencil thickness stencil and click OK. |
|
4.
|
Start drawing in the Camera or Drawing view. |
Creating a Pencil Thickness Stencil with the Select Tool
To create a pencil thickness stencil with the Select tool:
|
1.
|
In the Tools toolbar, select the Select  tool. tool. |
|
2.
|
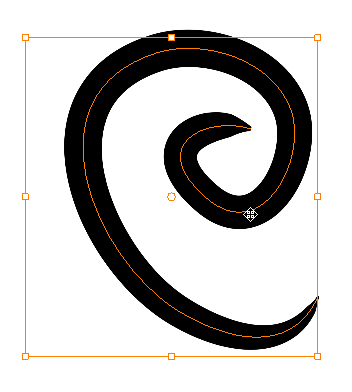
In the Camera view, select the pencil line or shape you want to take the style from. |
|
3.
|
In the Tool Properties view, click the New Preset button. |
A new thickness stencil is added to the end of the list in the Presets drop-down menu.
|
4.
|
In the Presets drop-down menu, select your new thickness stencil and click on a line or shape in the Camera view to apply the thickness stencil you created. |
Renaming a Thickness Stencil
To rename a thickness stencil:
|
1.
|
In the Tools toolbar, select the Pencil , Line , Ellipse , or Rectangle tool. |
|
2.
|
In the Presets drop-down menu, select the thickness stencil you want to rename. |
|
3.
|
From the Brush menu, select Rename Pencil or Rename Brush, depending on the tool you selected.
|
The Rename Preset dialog box opens.
|
4.
|
In the Name field, type in a name for the selected thickness stencil you are renaming. |
Deleting a Thickness Stencil
To delete a thickness stencil:
|
1.
|
In the Tools toolbar, select the Pencil tool. |
|
2.
|
In the Presets drop-down menu, select the thickness stencil to delete. |
|
3.
|
Click the Delete Preset  button. button. |
Locking a Thickness Stencil
To avoid modifying your thickness stencil inadvertently, you can lock them by enabling the Lock Pen  option.
To apply a thickness stencil to a pencil line or shape:
|
1.
|
In the Tools toolbar, select the Select tool. |
|
2.
|
In the Camera or Drawing view, select the pencil line or shape on which you want to apply a style. |
|
3.
|
In the Tool Properties view, select the style you want to apply from the Presets list. |
The style you selected is applied to your selection.
Related Topics